Enable Engage to enroll your contacts in monthly home value email campaigns.
Before setting up Engage, decide if you want emails to be sent using your team's Account Signature or with individual Agent Signatures. Learn how to set up your Account Signature here. Agents can learn how to set up their individual Agent Signatures here.
Step 1:
Click on the Marketing tab on top, go to the Branding menu on left and then scroll to Brand Signature section on the right as shown to choose whether the account signature or agent signatures will be used on Engage emails. 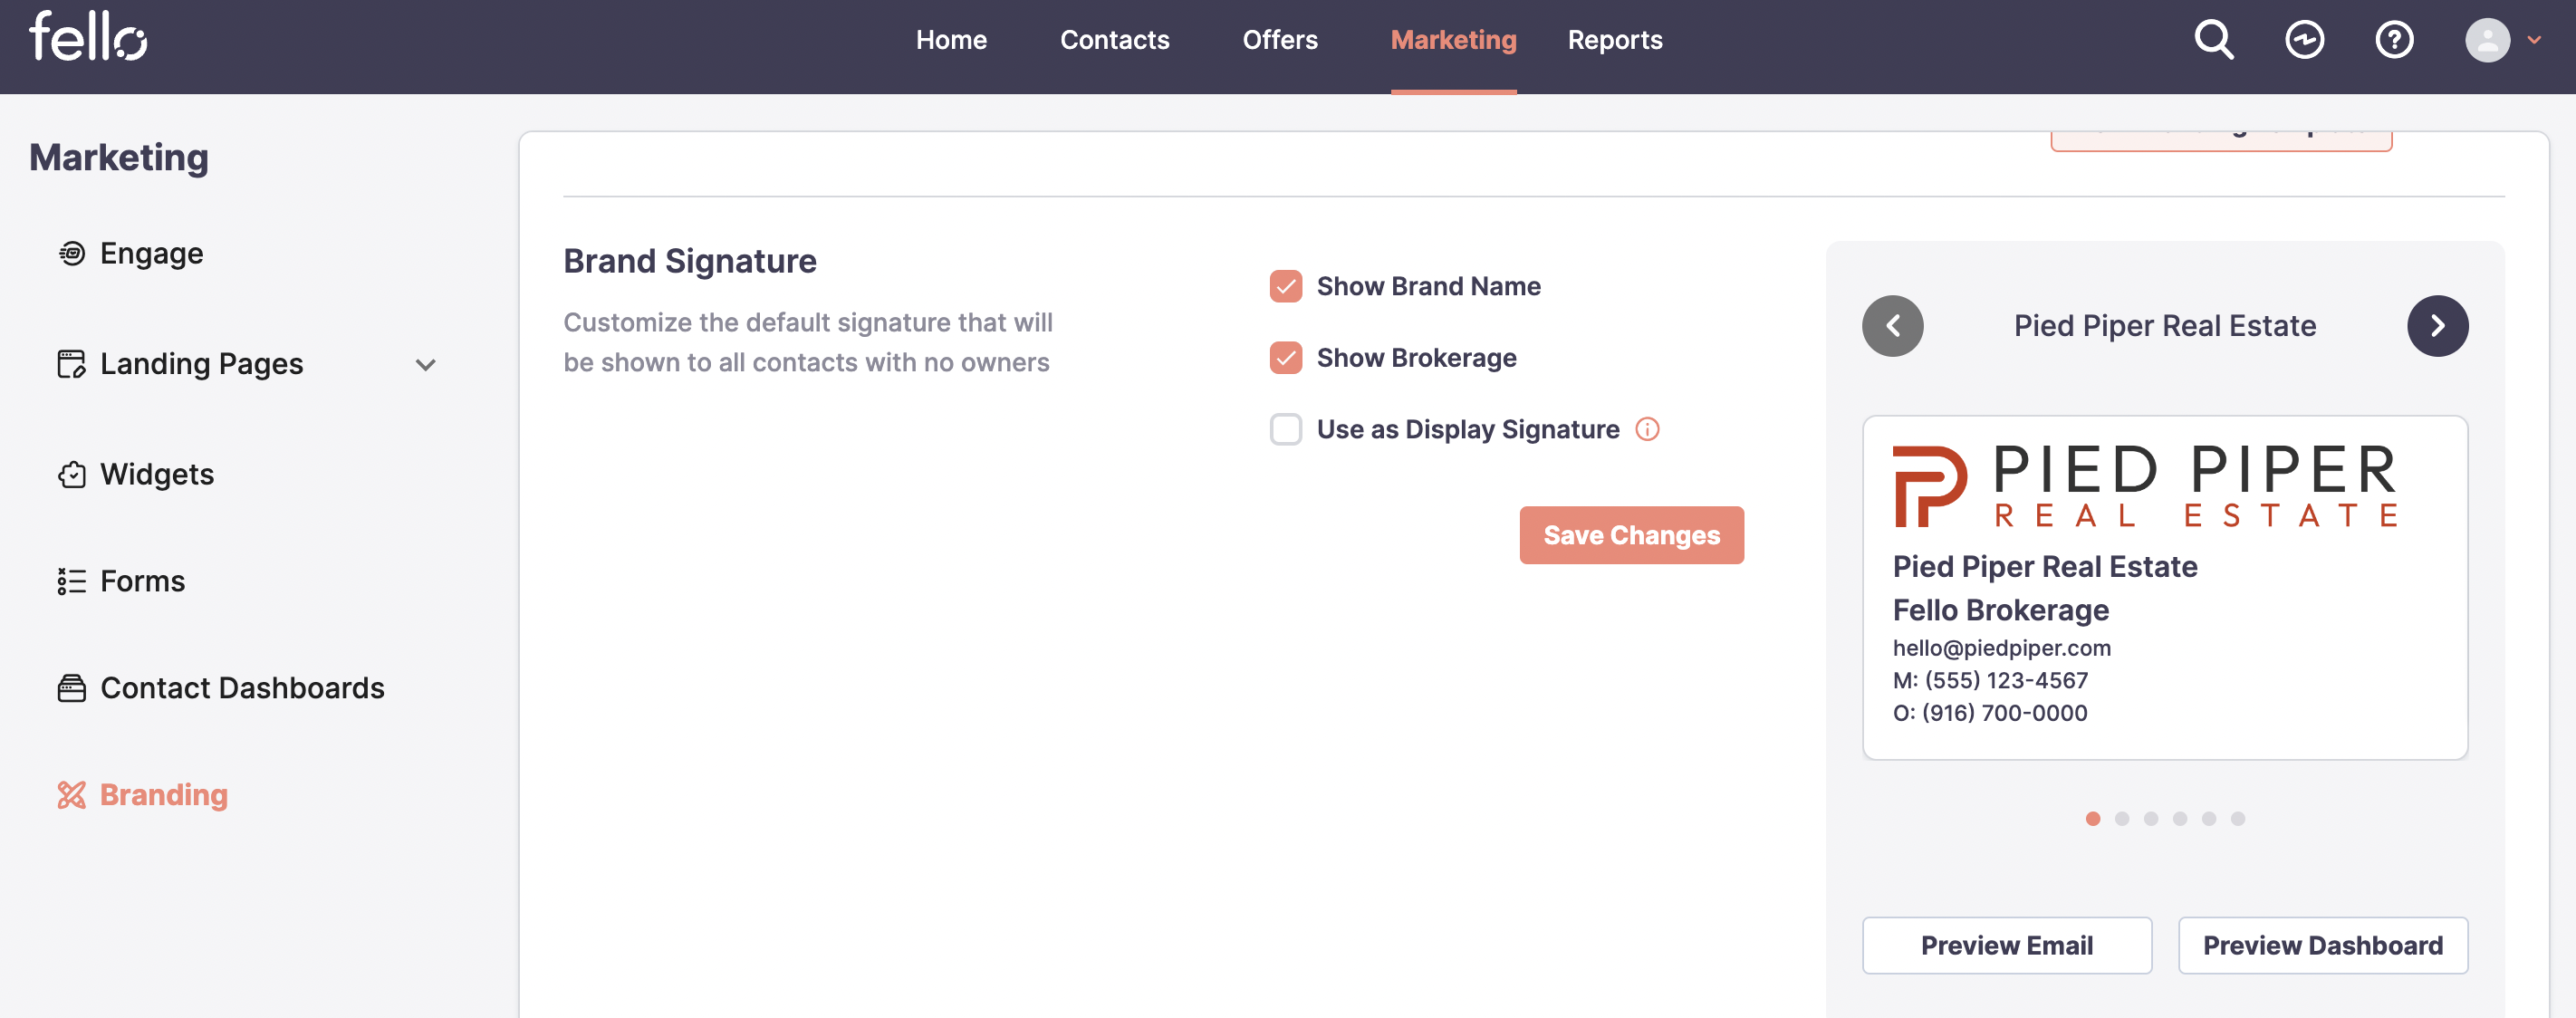
Step 2:
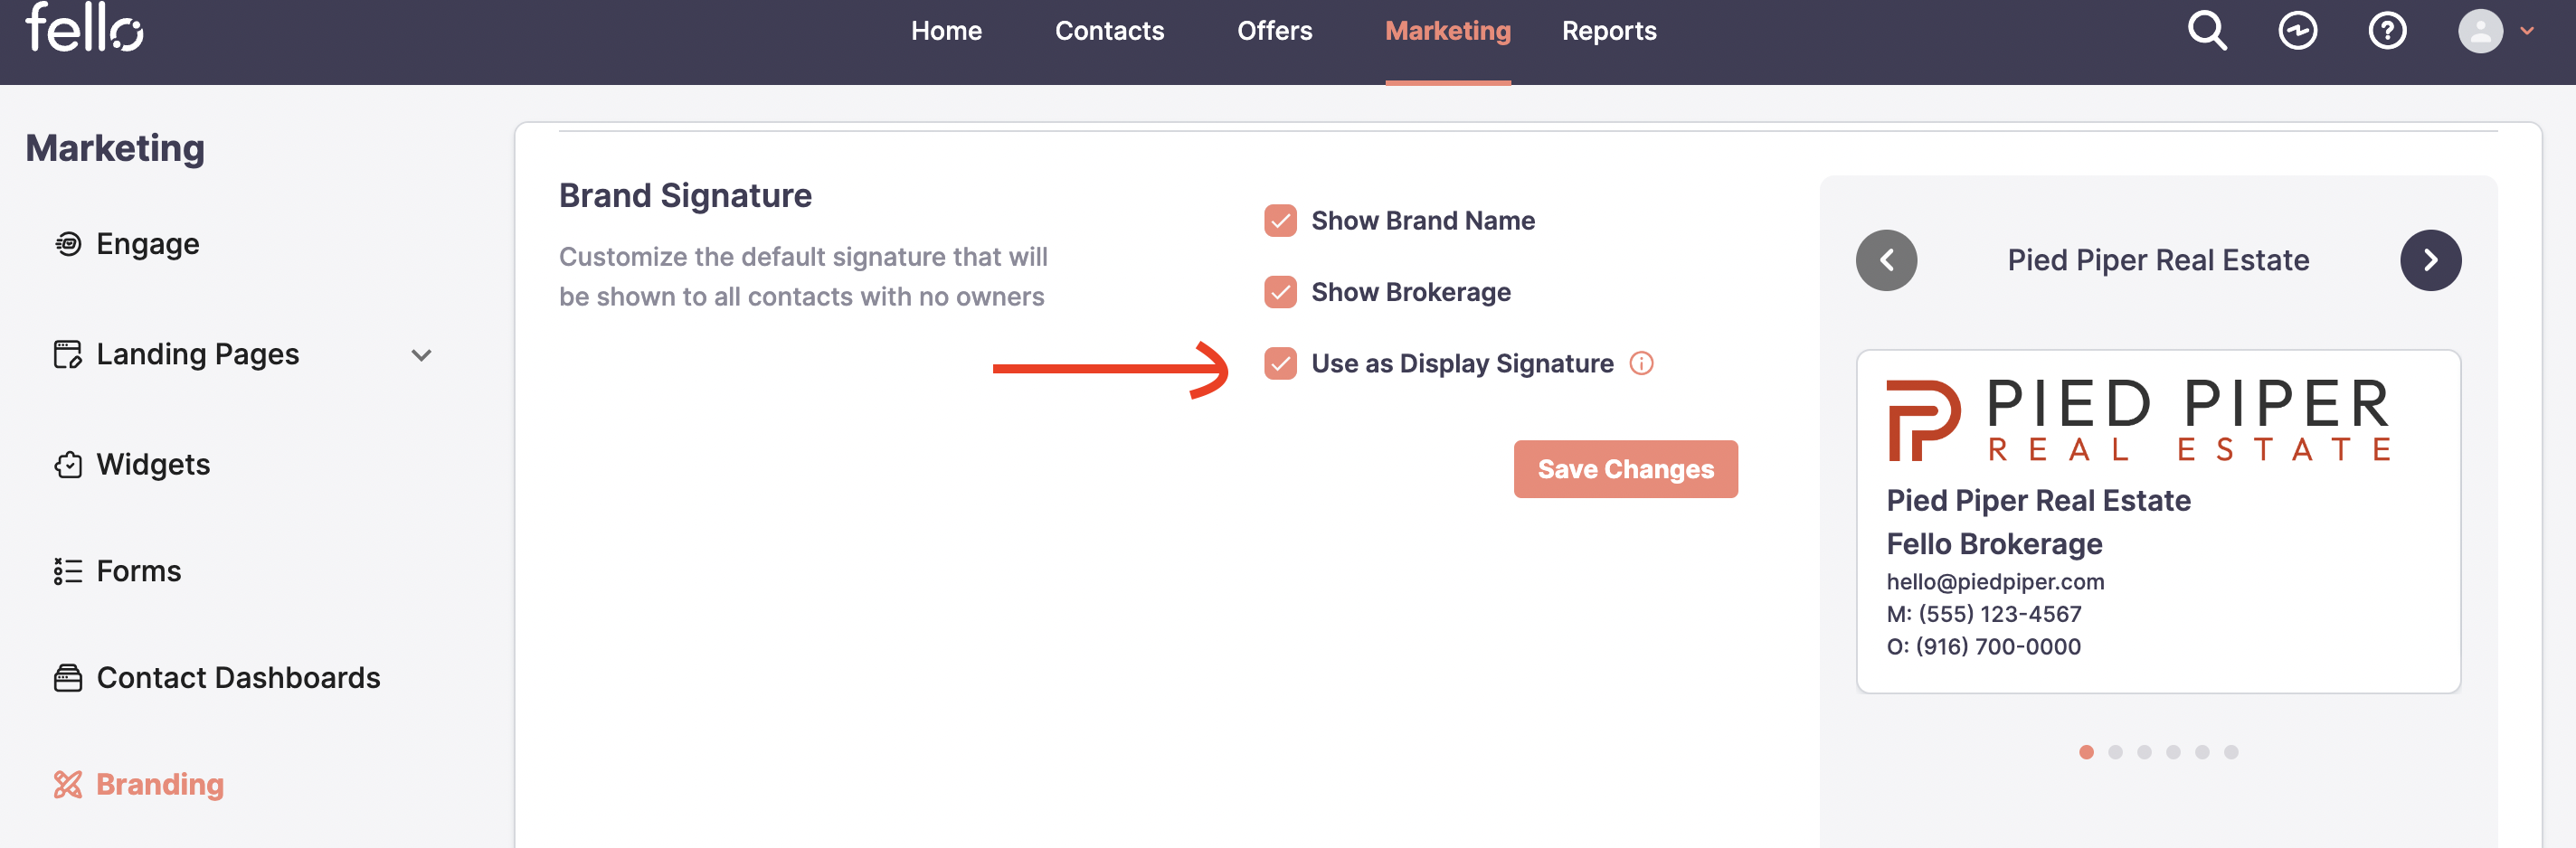
When Use as Display Signature is selected, the account signature shown to the right will be used on all Engage emails for your team, overriding all agent signatures. Leave the check box blank if you want Engage emails to be sent with individual agent signatures.
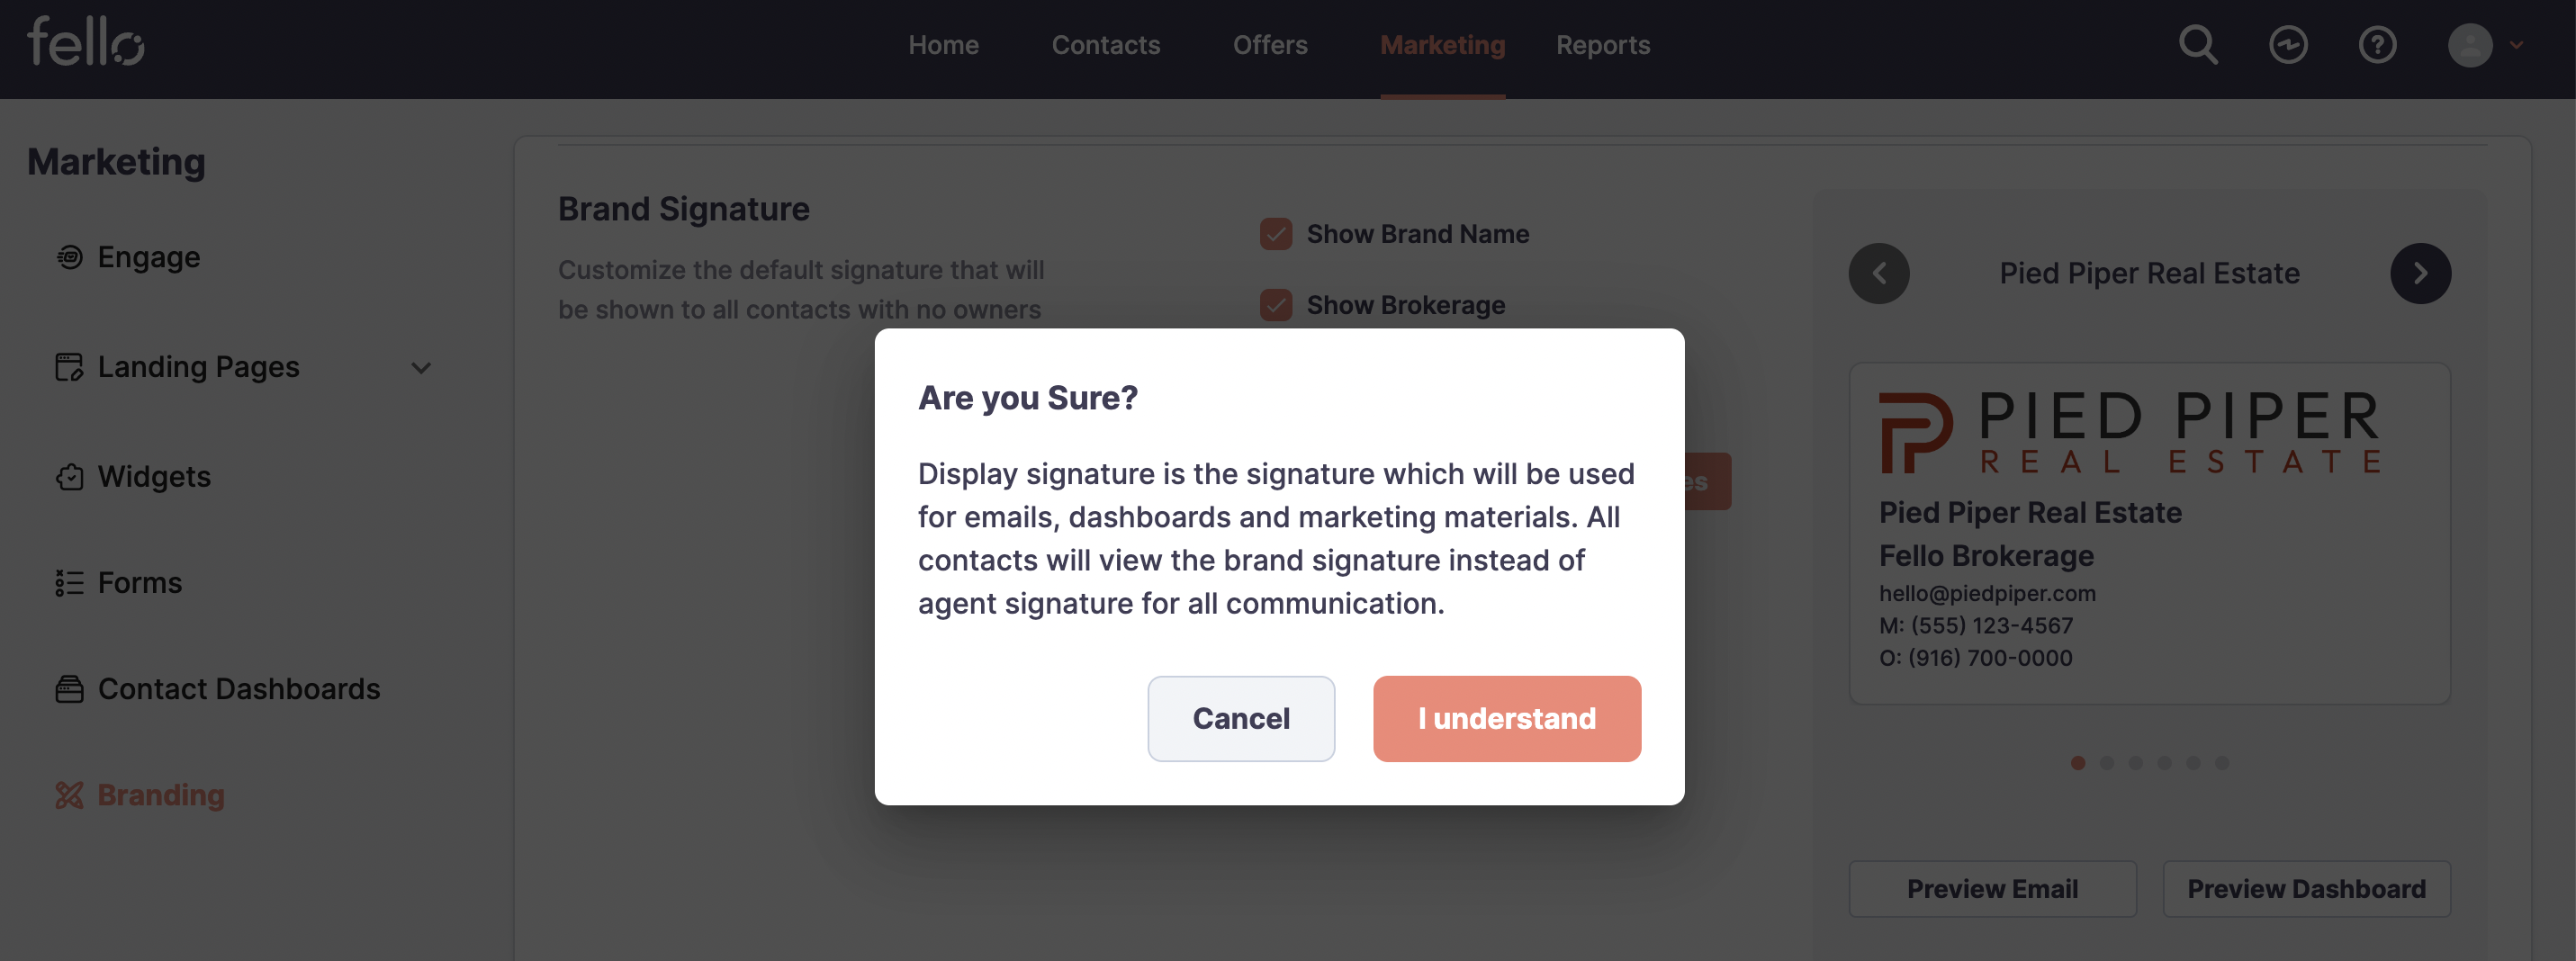
Click I Understand to confirm if Use as Display Signature is selected and select Save Changes.
Step 4:
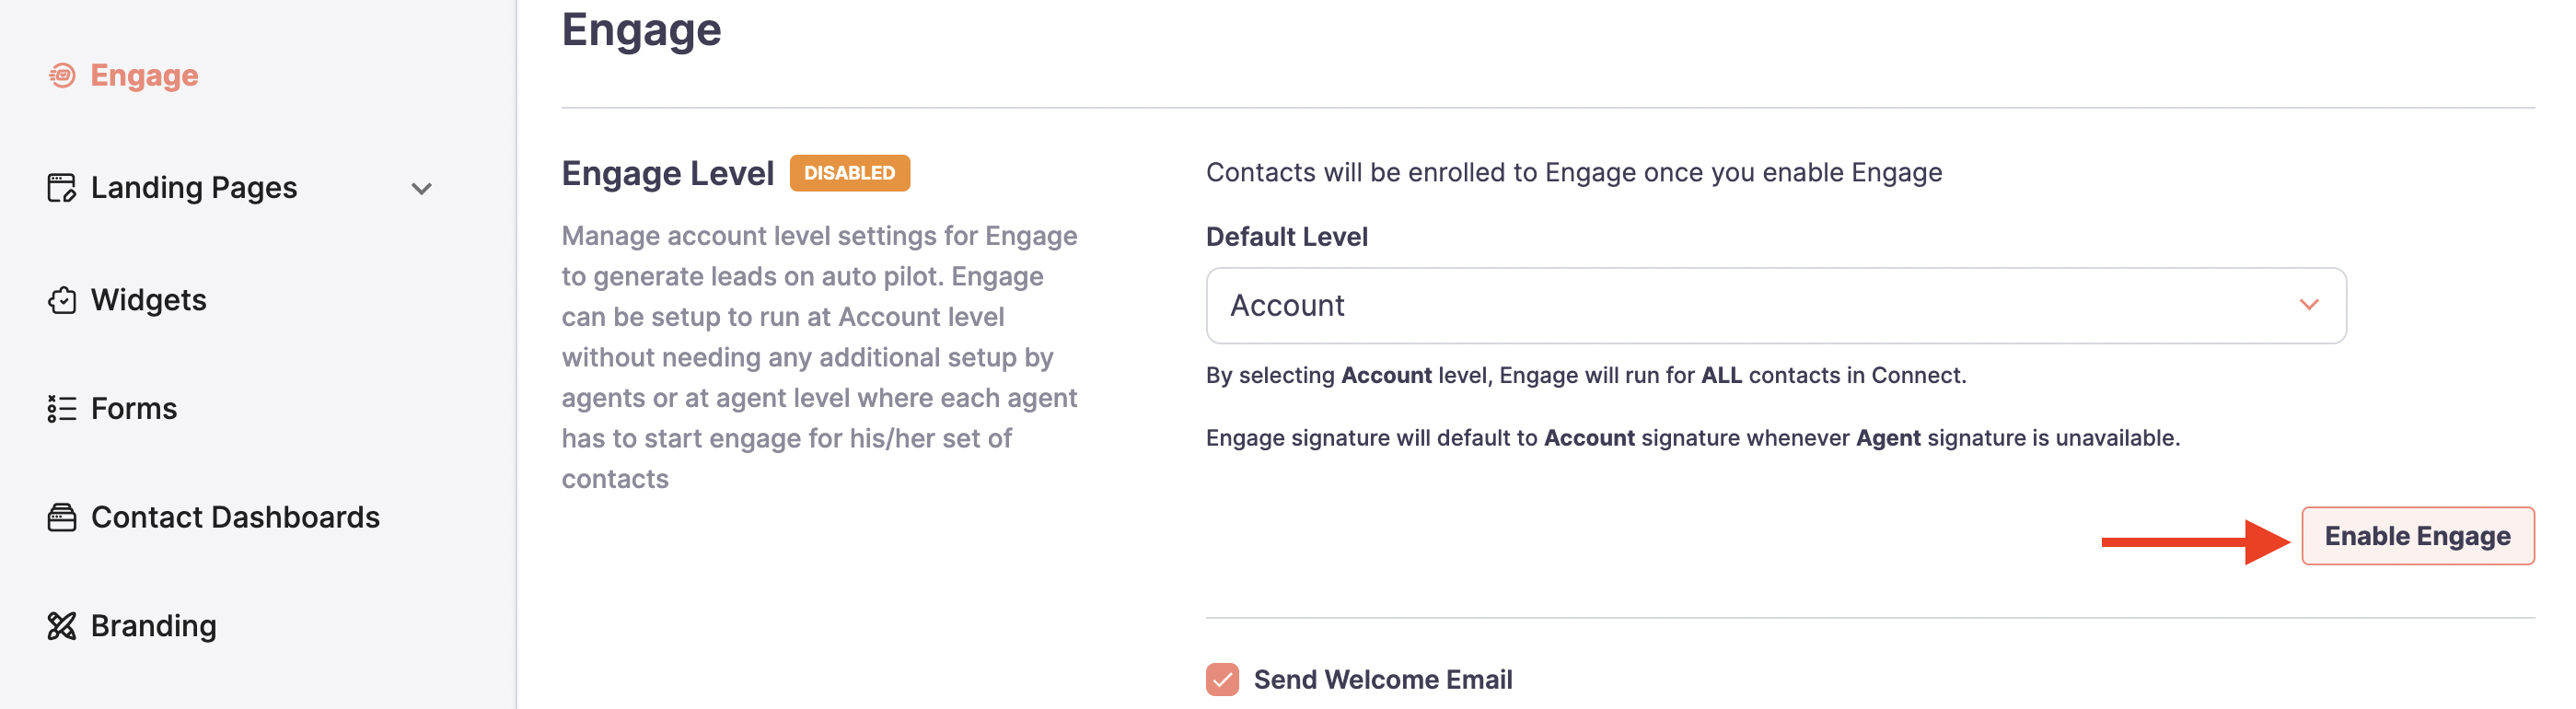
Click on Engage from the left side menu and scroll to Engage Level.
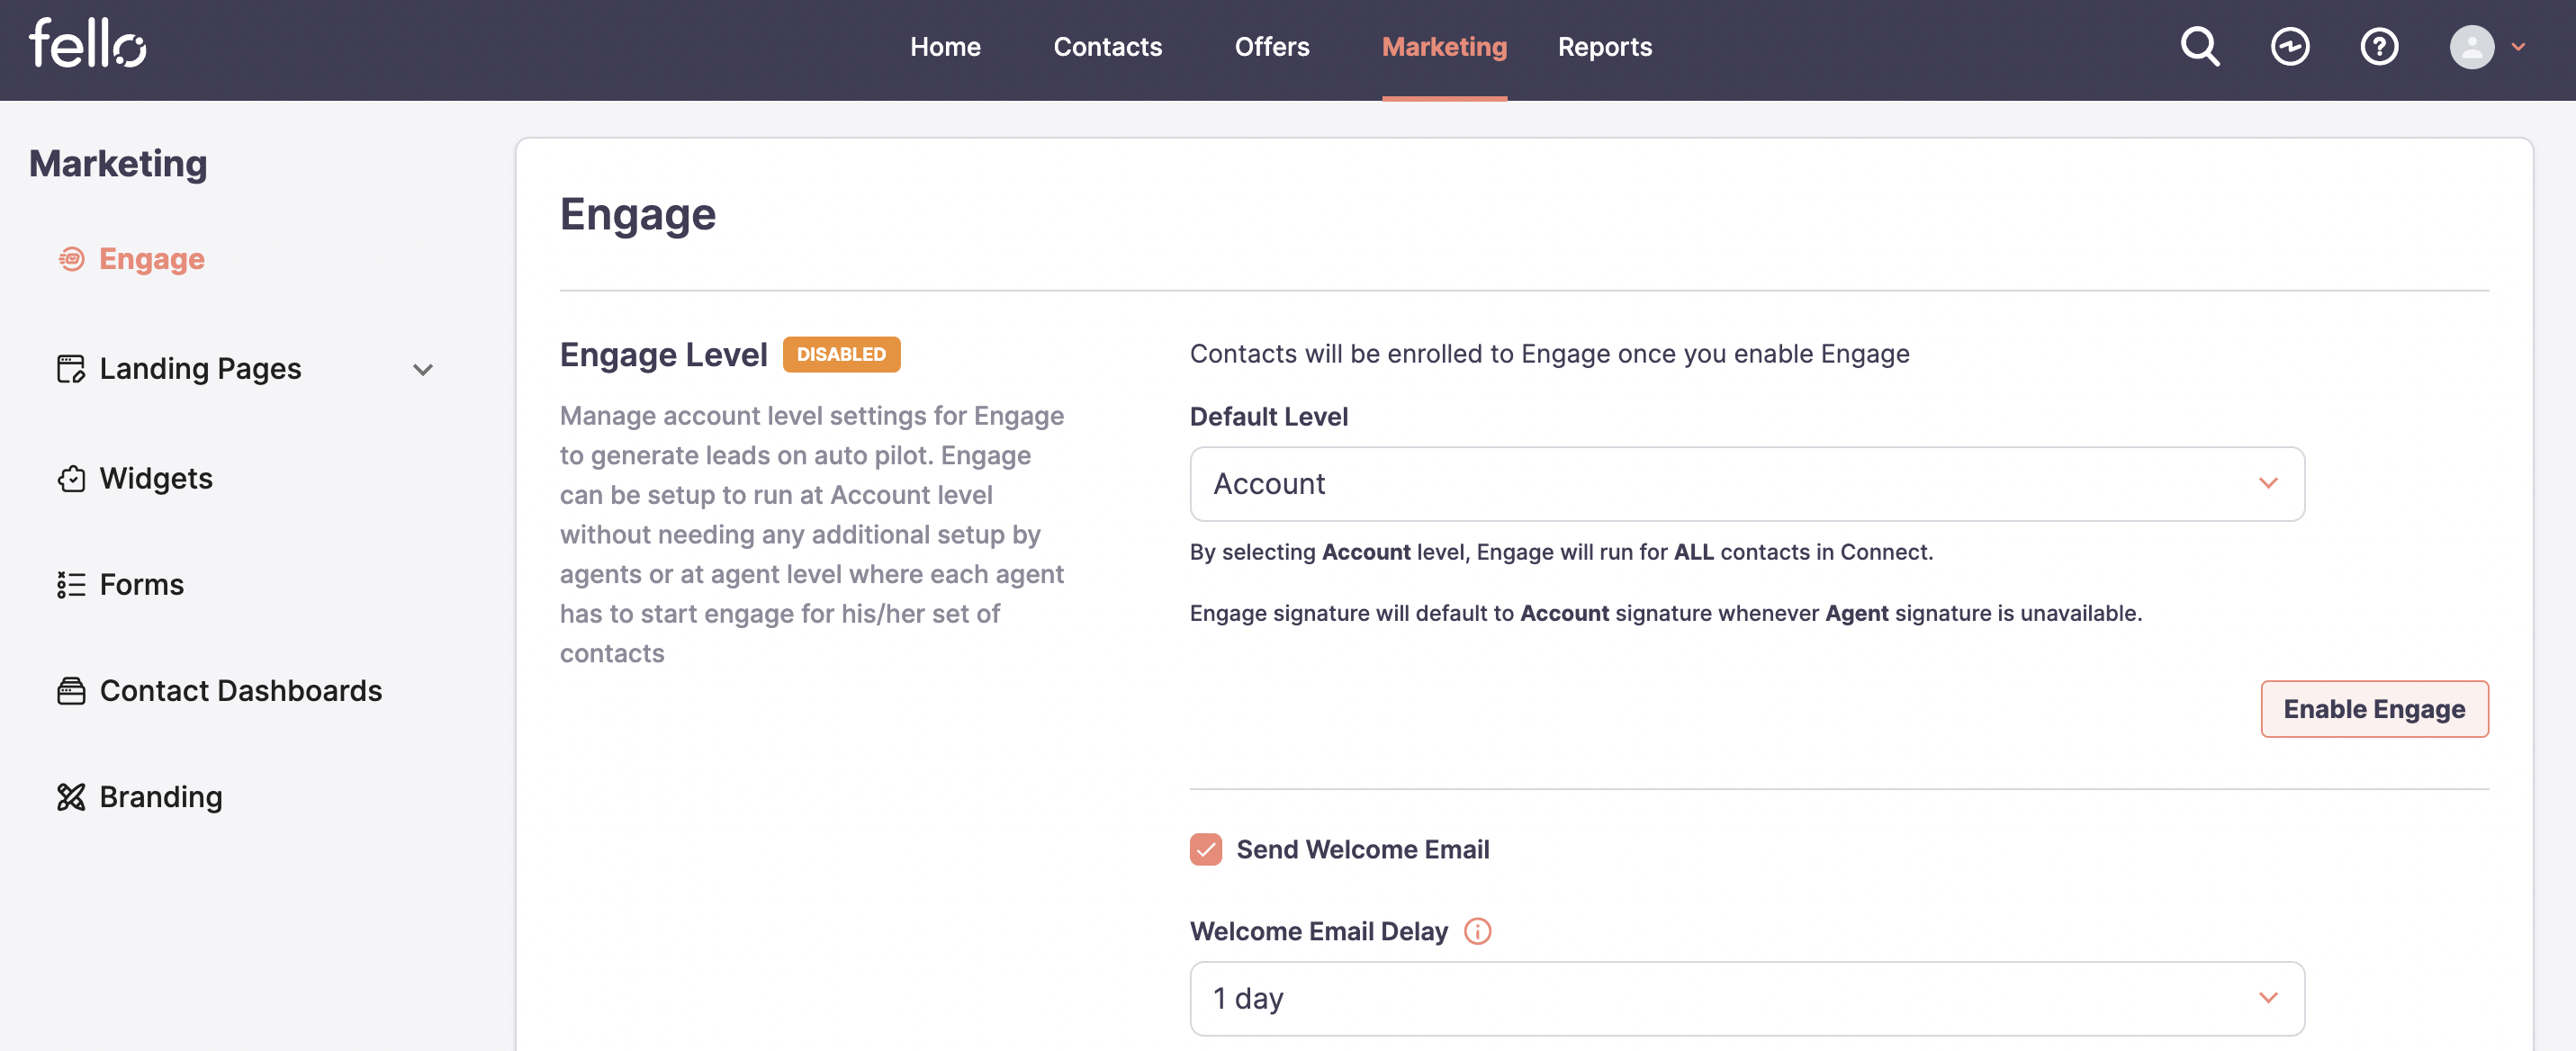
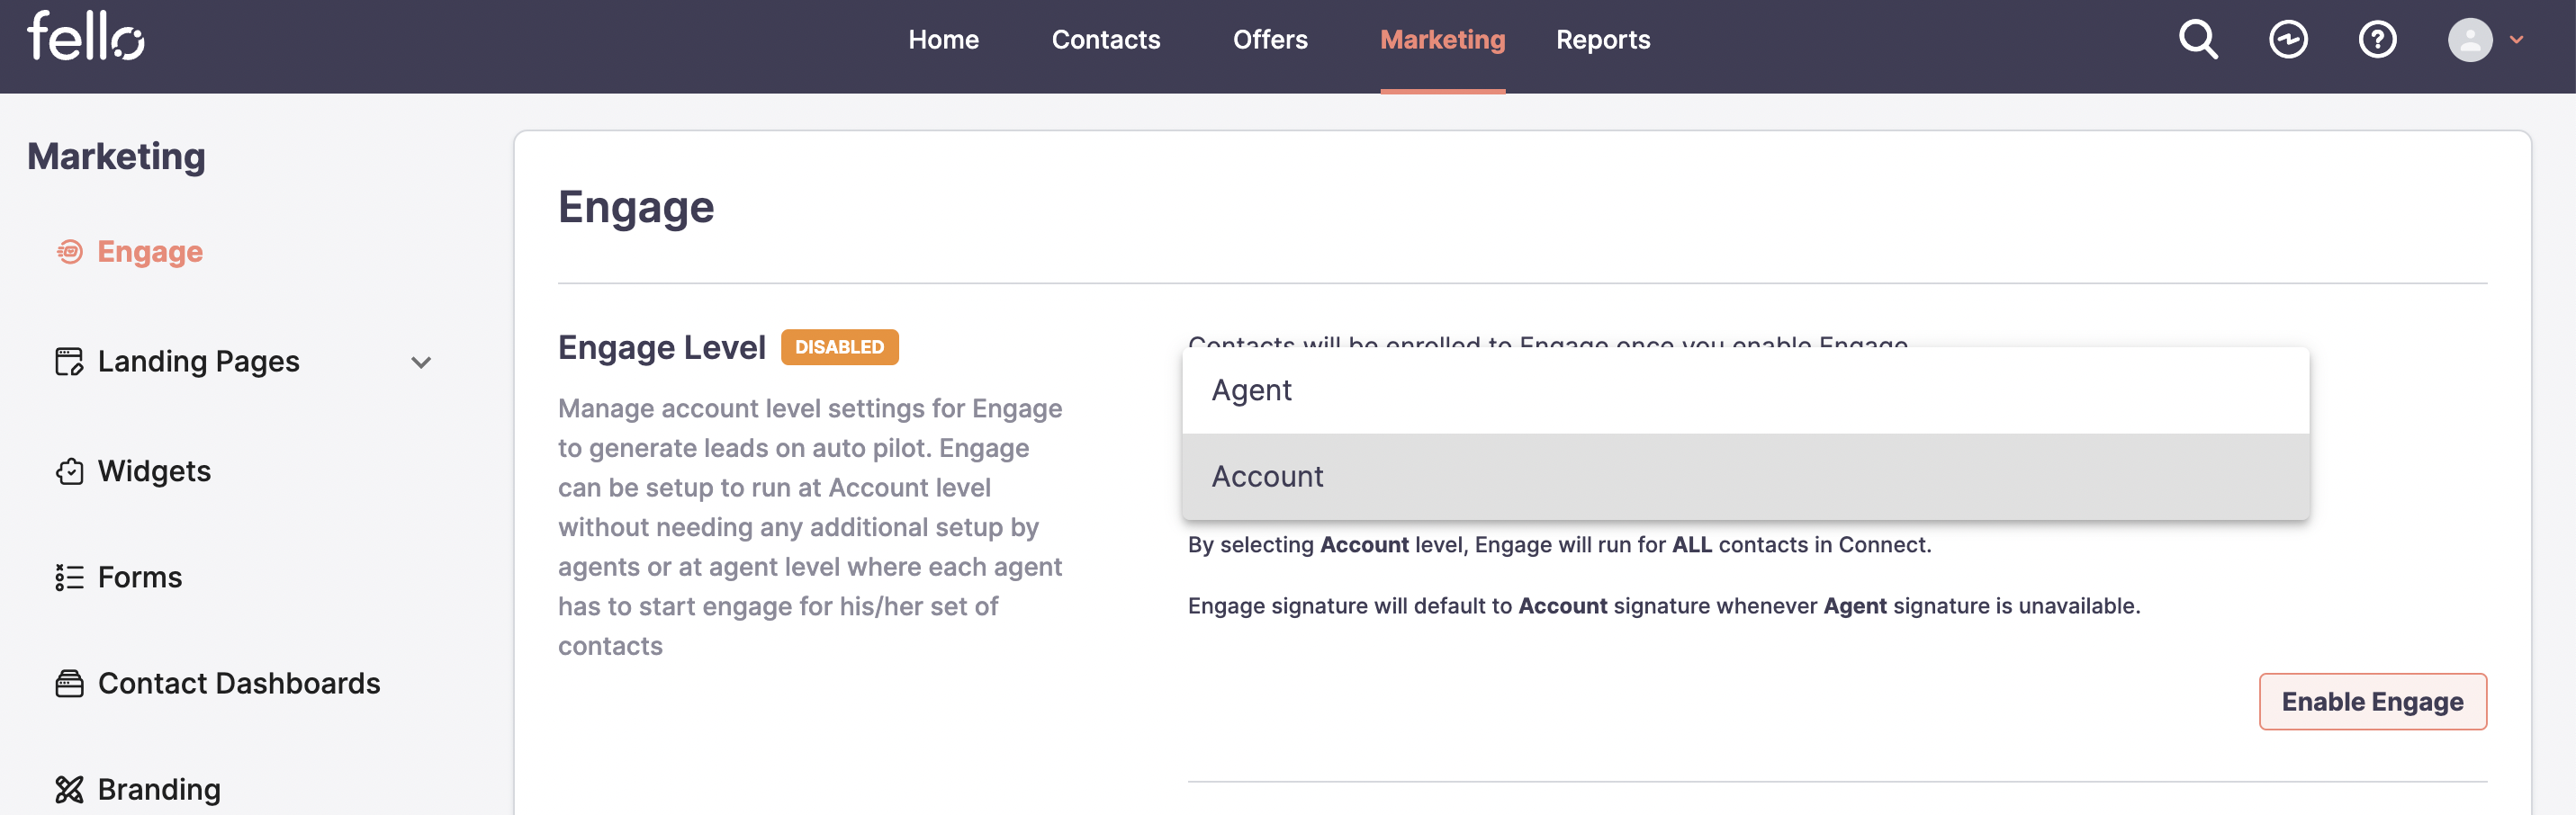
Step 5:
Choose the Default Level you want Engage to run on. If Agent level is chosen, each agent must enable Engage for their account. If Account level is chosen, all contacts will be automatically enrolled as they are added to Fello Connect.
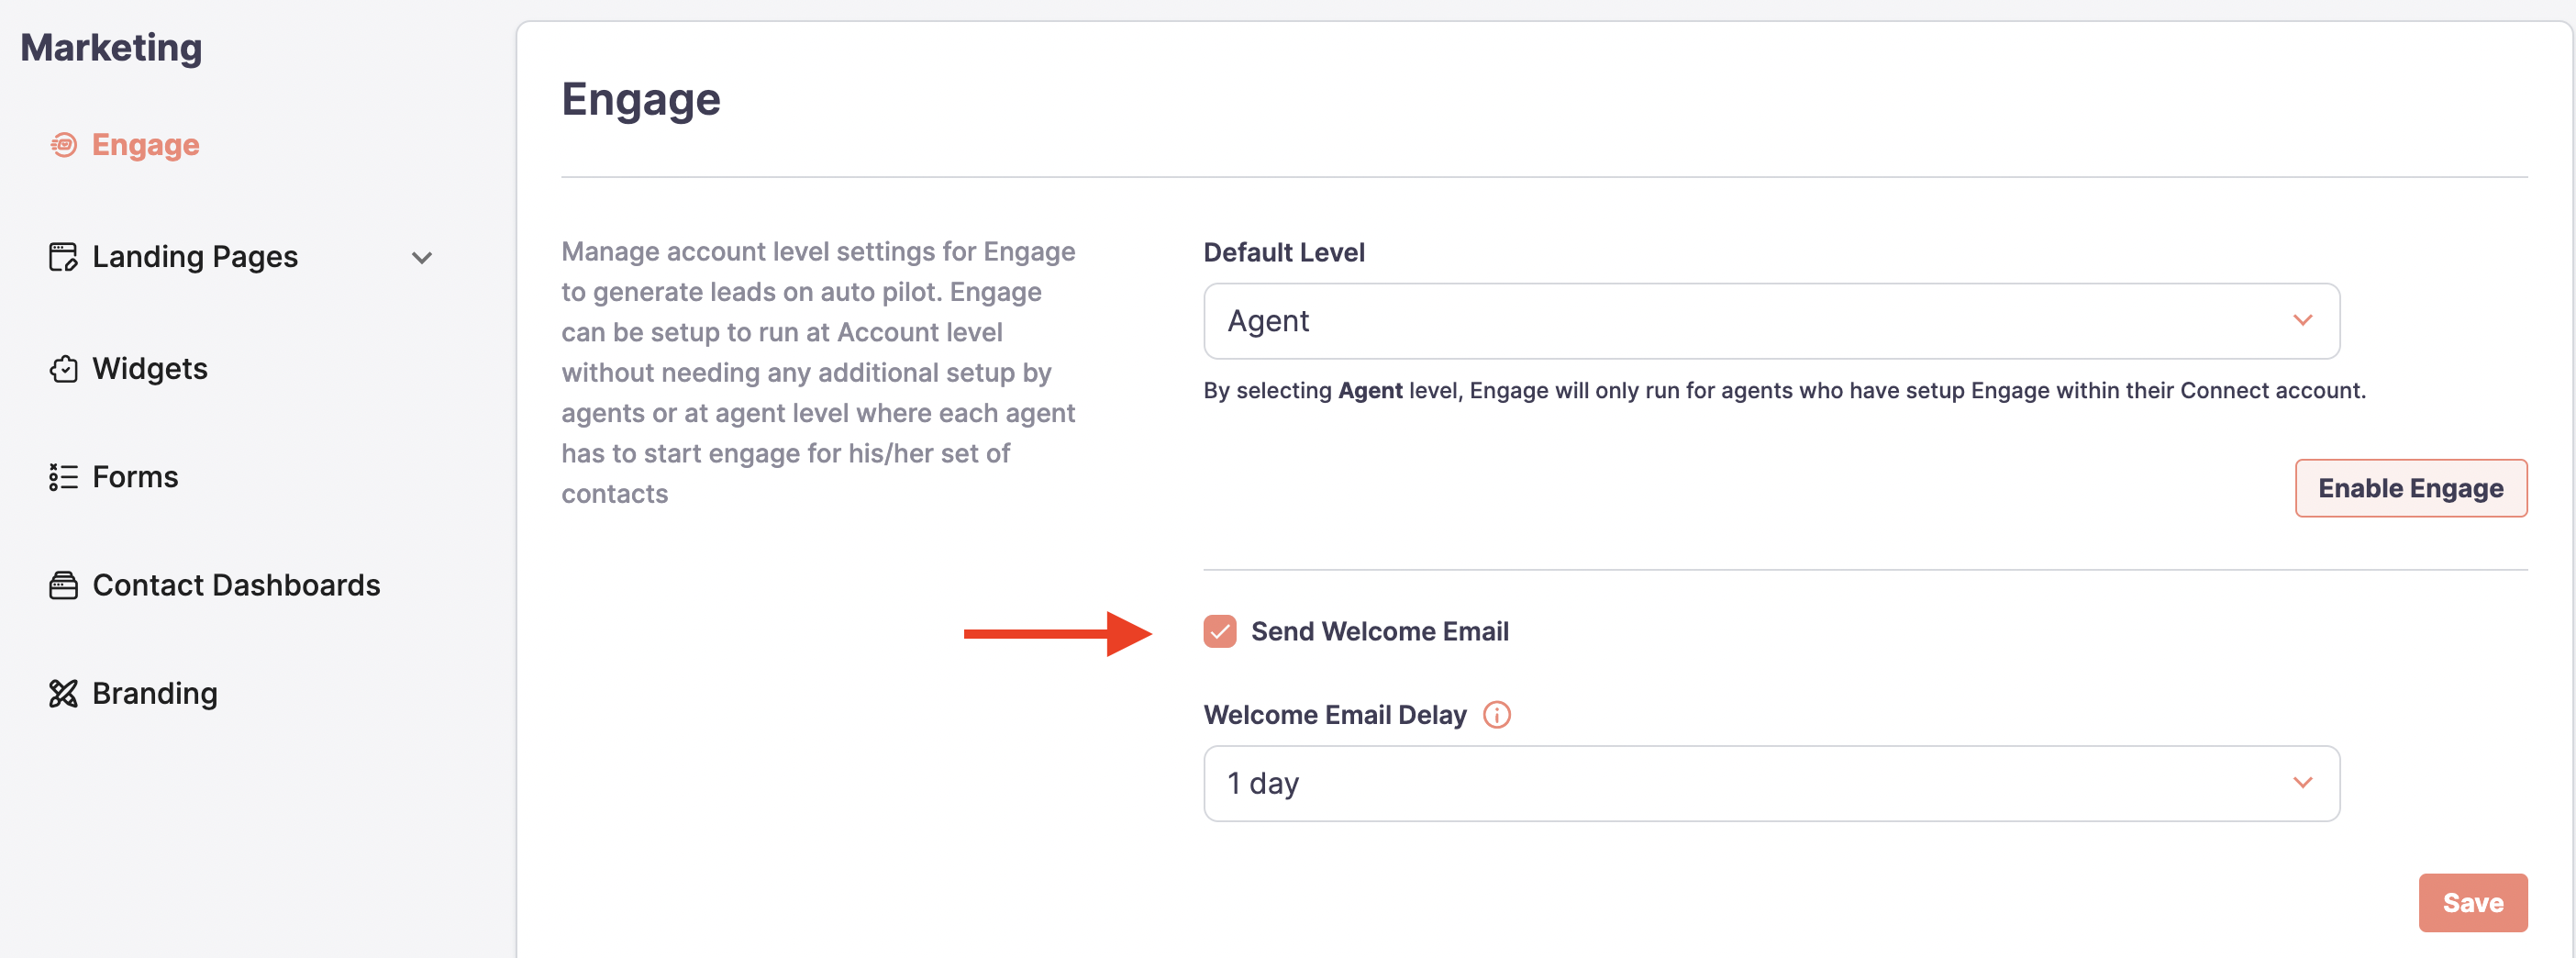
Step 6:
Choose whether you want the initial welcome email to be sent to contacts by checking the box next to Send Welcome Email.
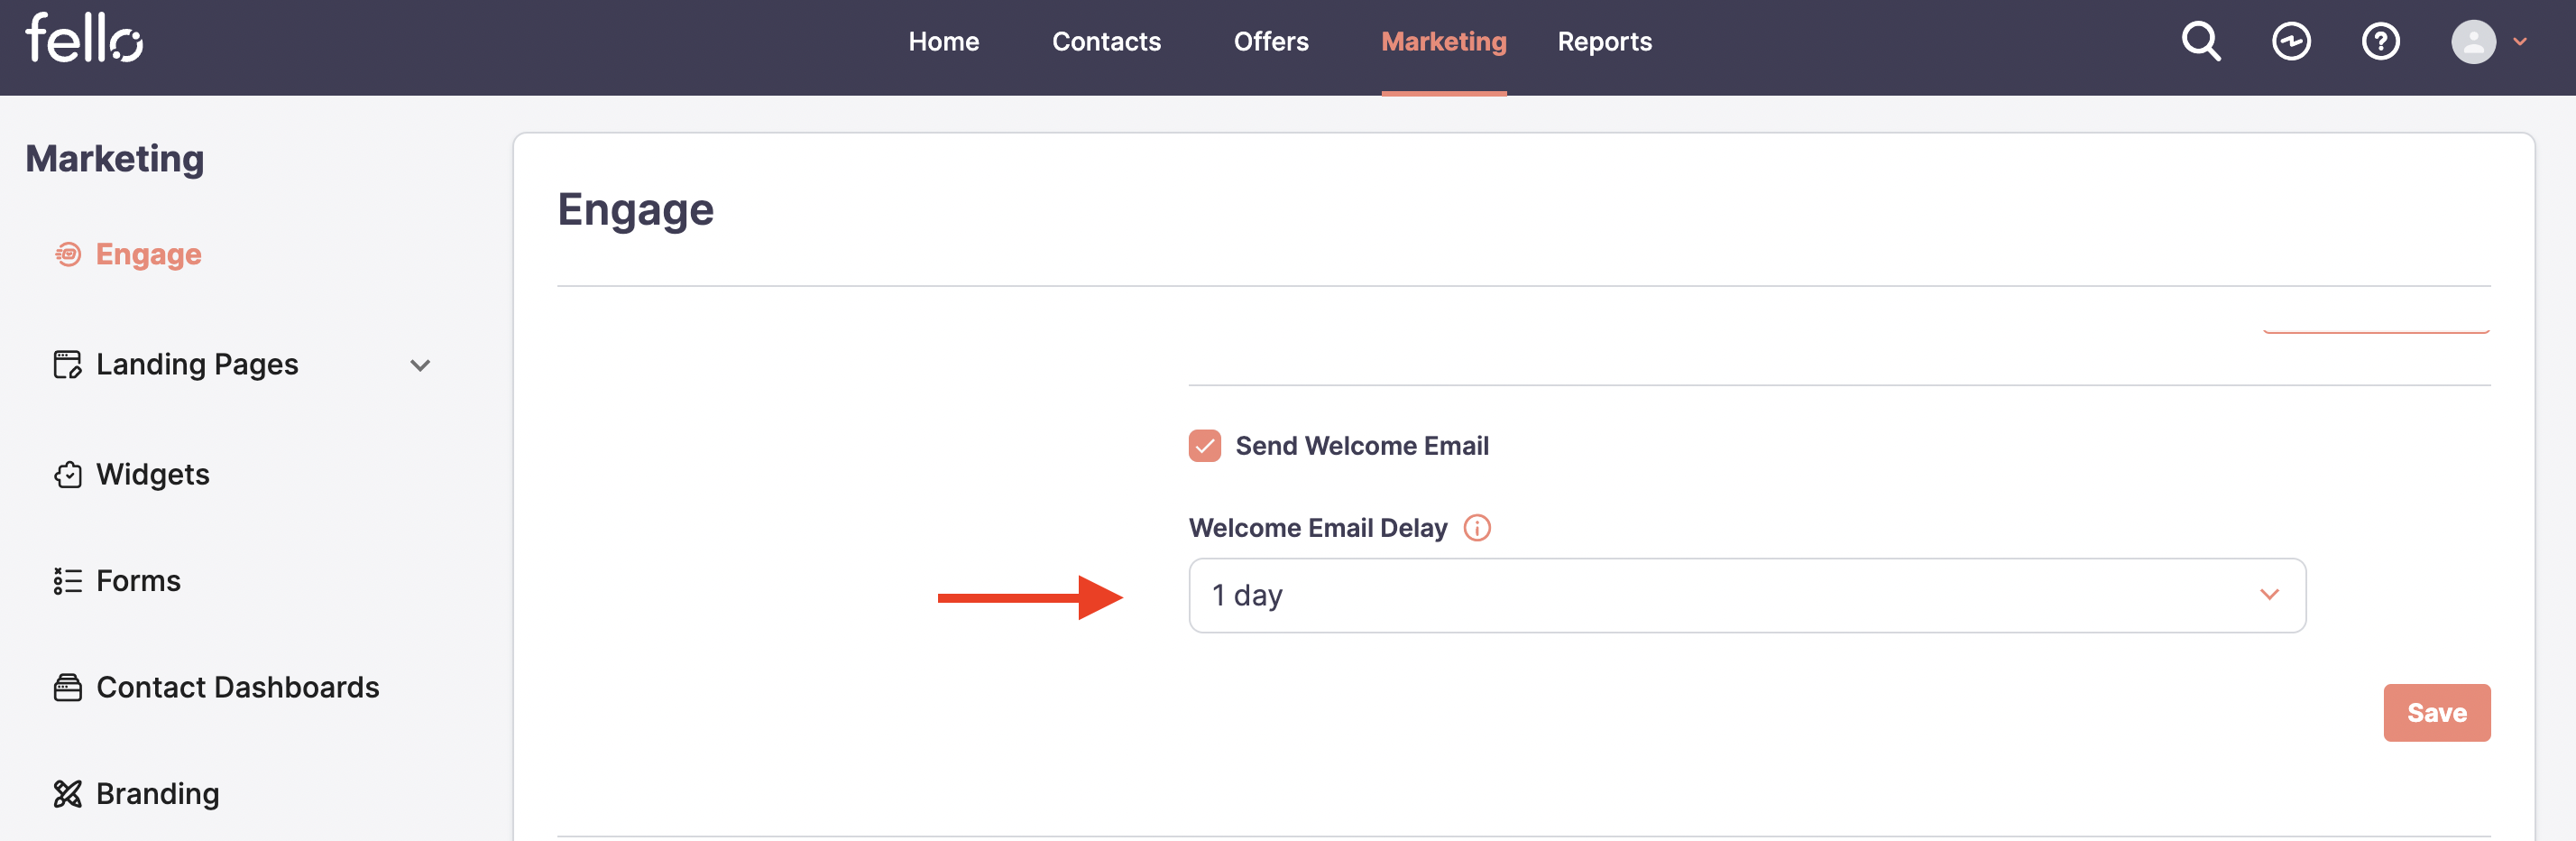
Step 7:
If you want to send the welcome email, you can choose to delay sending it by a certain number of days. This would apply to new contacts added to Fello Connect that might receive a separate initial email as part of an existing campaign unique to your team when they come in as a new lead. Choose the number of days to delay the welcome email in the dropdown under Welcome Email Delay.
Step 8:
Click on Save.
Step 9:
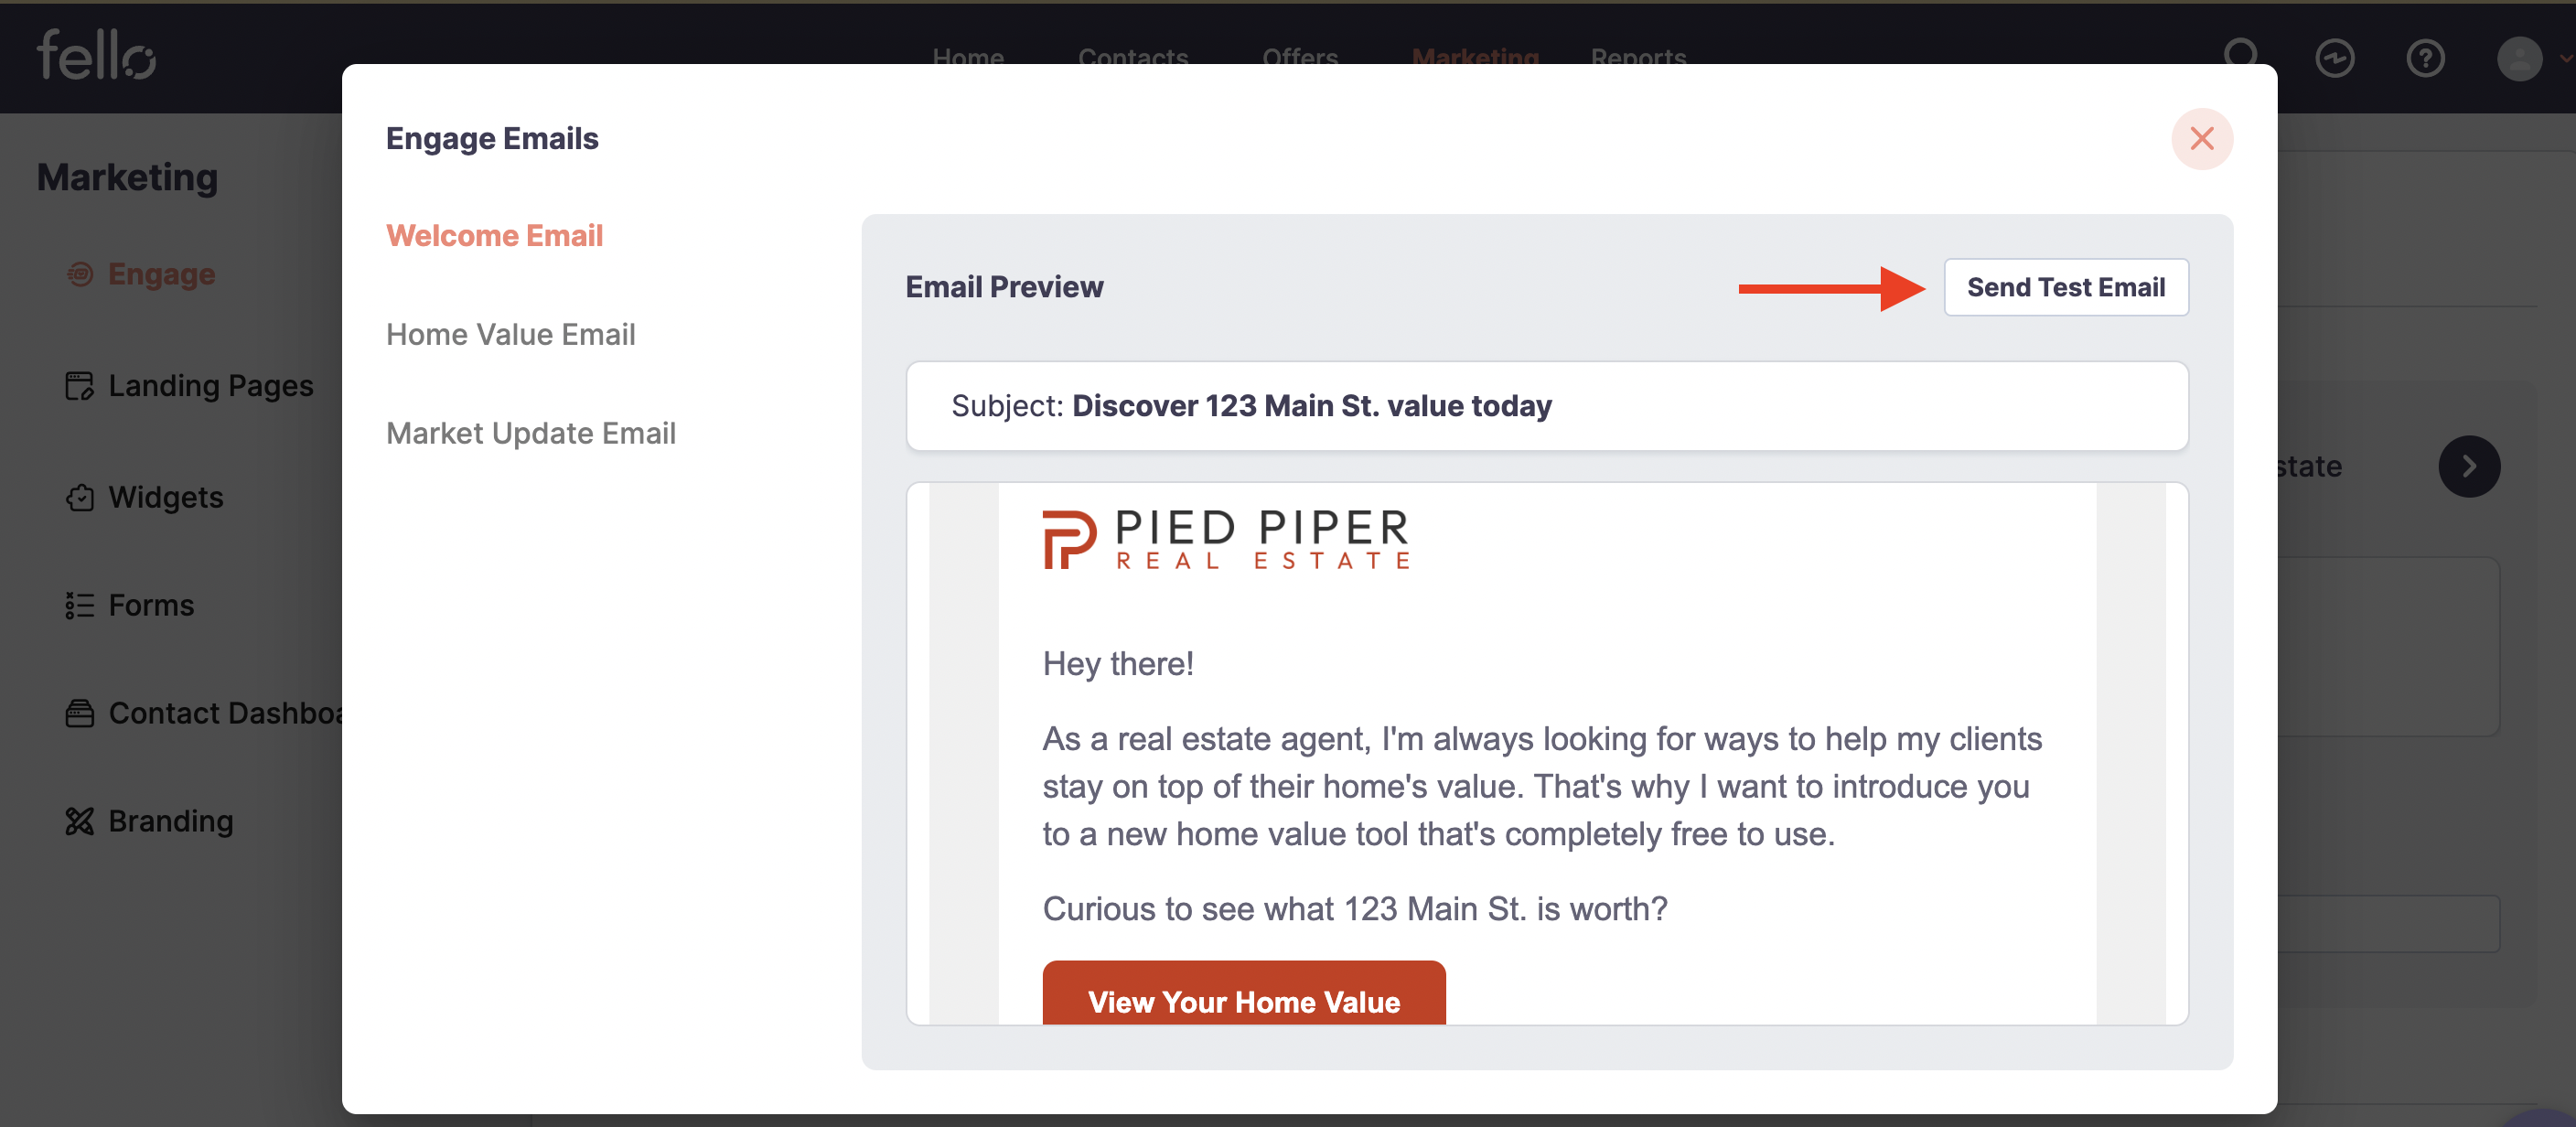
Before turning on Engage, you can preview the email which will be sent out to your customers. Scroll down to Engage Automation section and click on Preview Email

You can also send a test email to yourself to validate how the email would look like to your customers by using this option - Send Test Email
Step 10:
Once the setup is complete, scroll up and click Enable Engage.
Step 11:
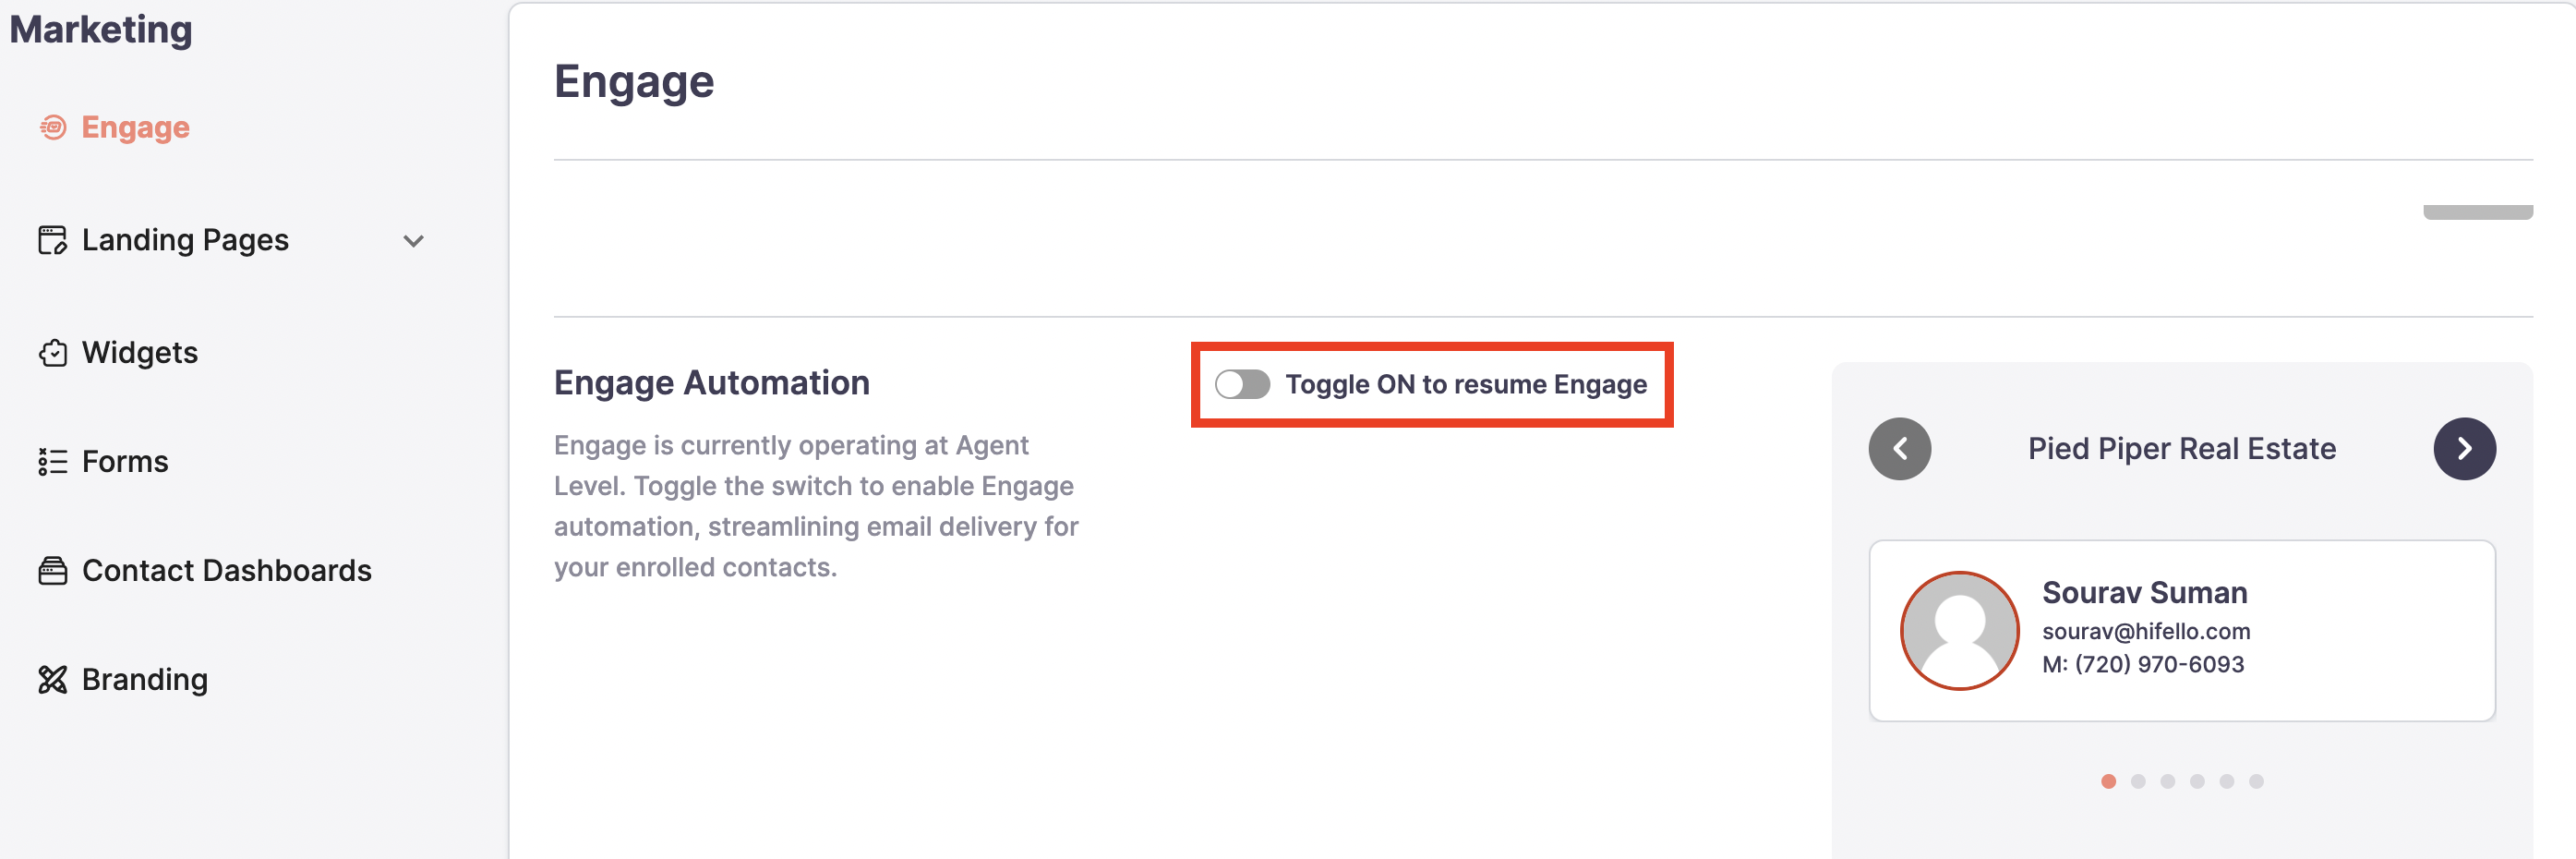
If the Engage is set at Agent level, you can also pause/resume Engage using the below toggle button. For Account level, this is by default turned on.
Additional Steps:
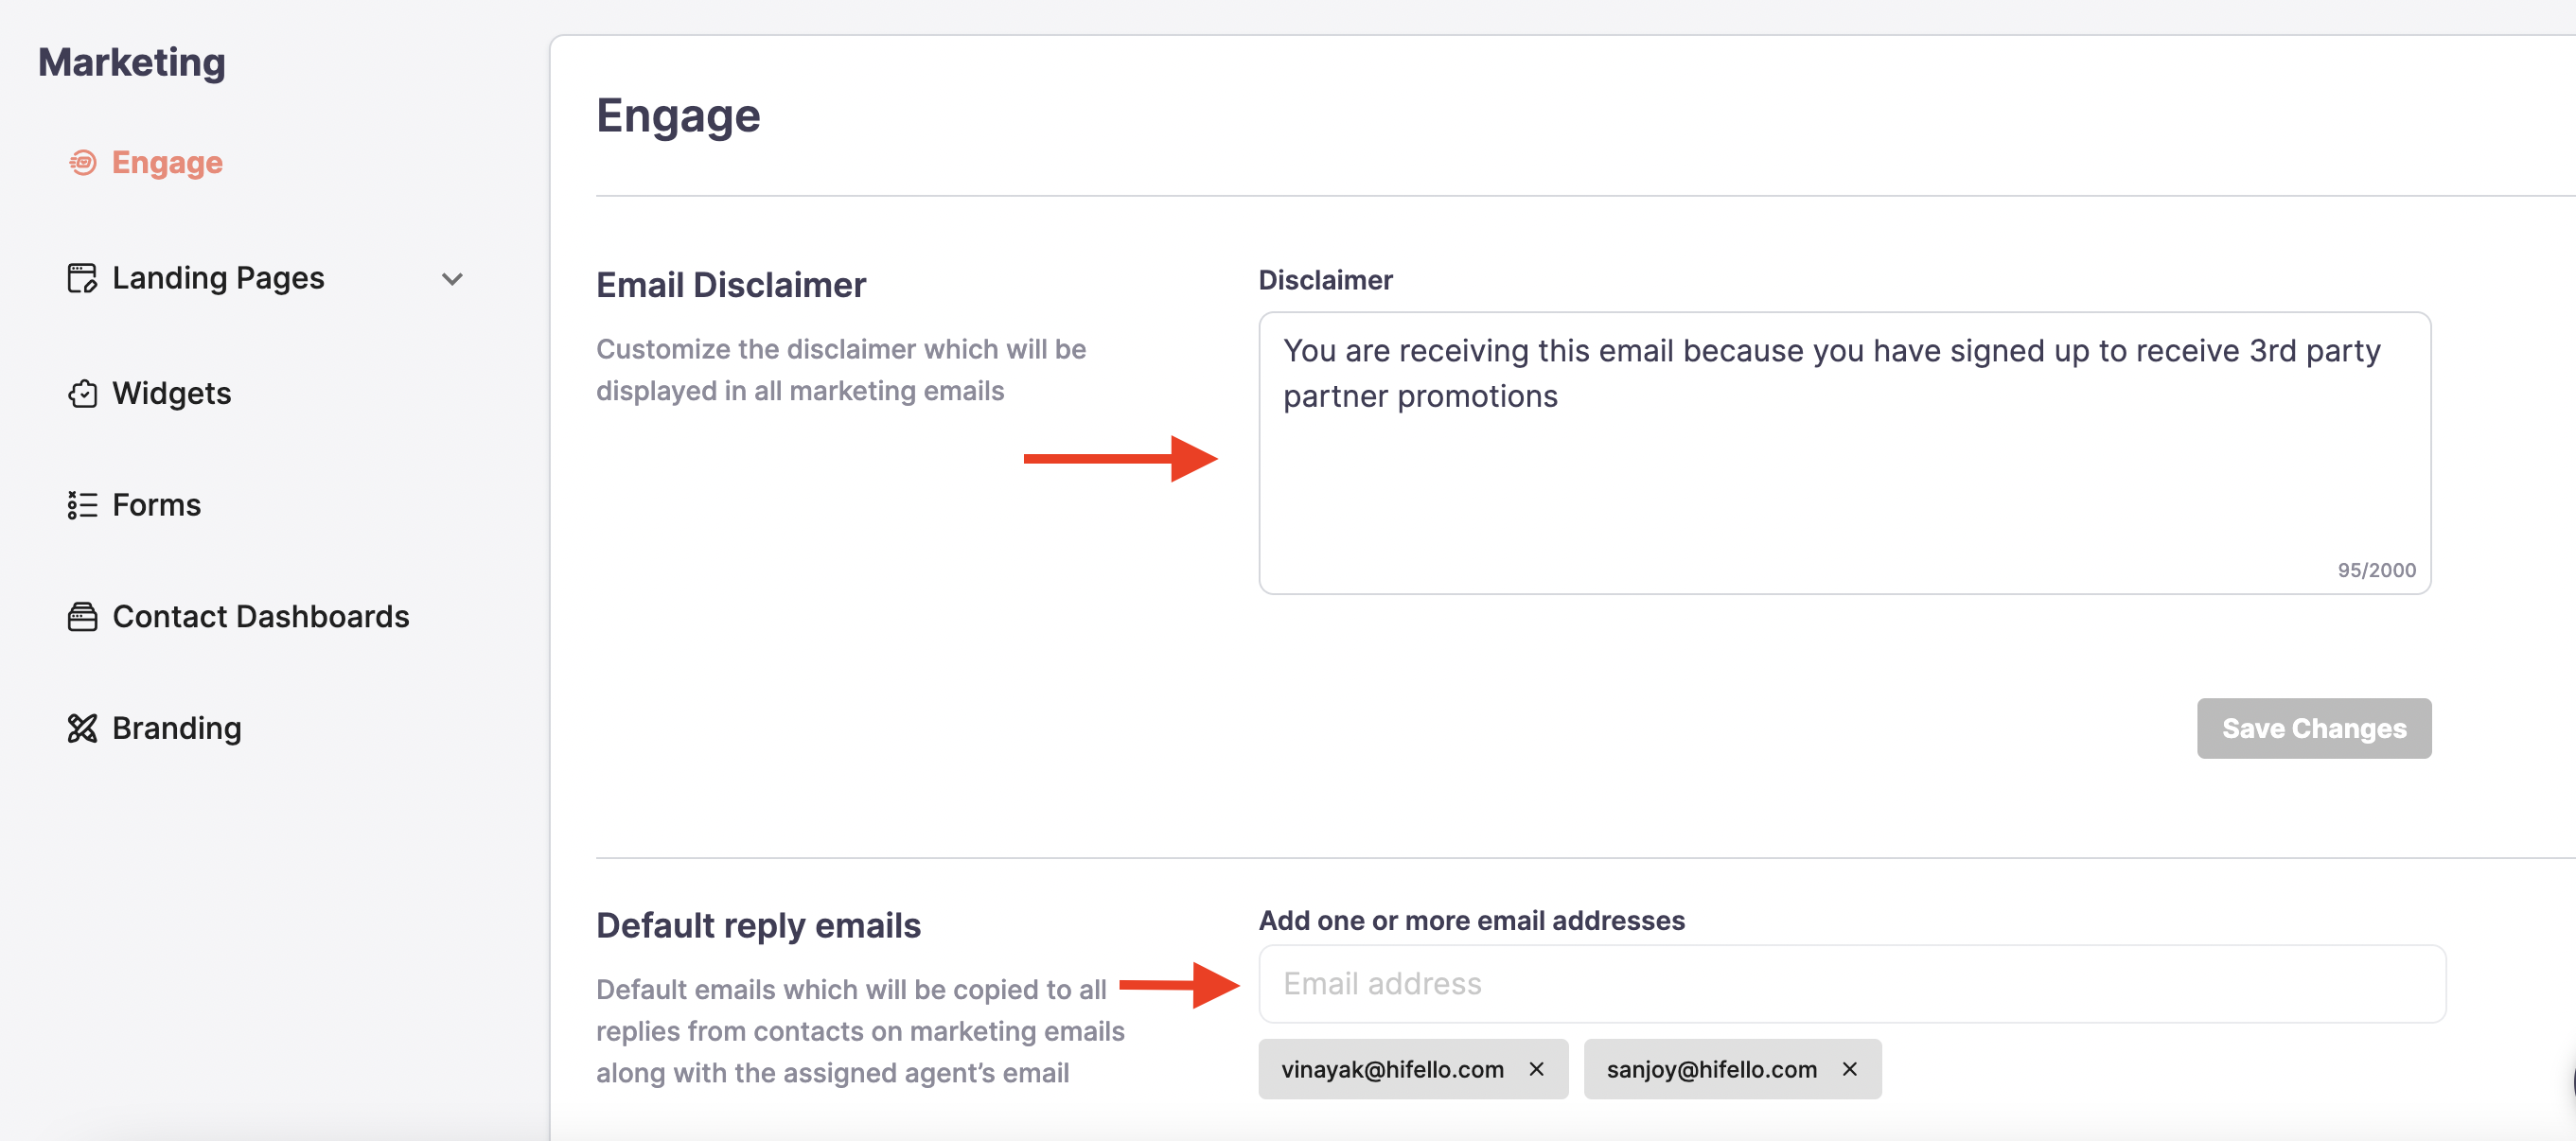
You can also edit or customise the disclaimer which is sent along with the email to your customers and add default email addresses where you would want to receive a copy of the replies from your customer. Scroll down to Email Disclaimer section below and then edit the text, add the email addresses and click on Save Changes.