Step 1:
Click on the Marketing tab in the top header and navigate to Branding.
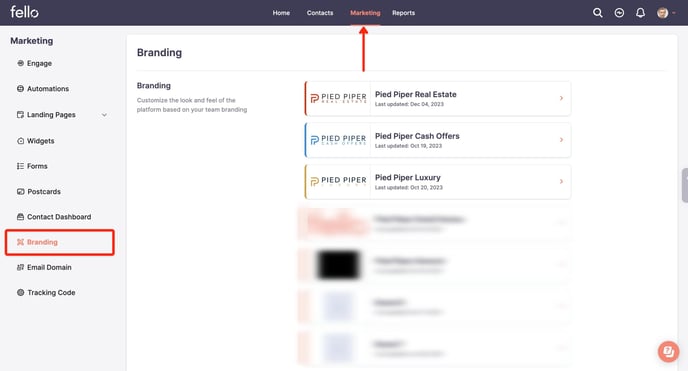
Step 2:
Select the brand for which the signature is to be set up. Name, email address, and phone number for the team are all taken from the information provided under the Information Tab.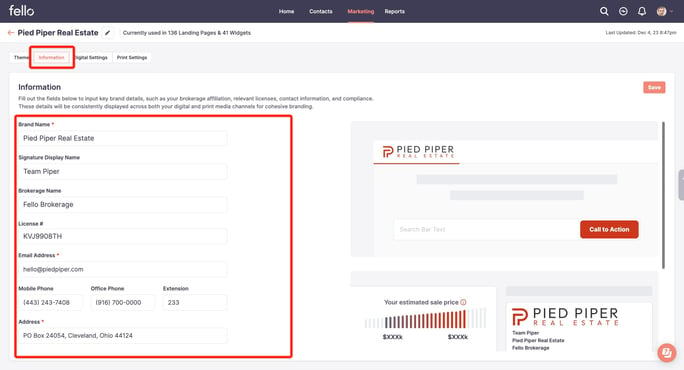
Step 3:
Navigate to the Digital Settings tab to customise what is displayed in your digital signature. You can also drag and drop fields to reorder them in the signature. Digital Signature will be used for Engage emails and Home Value Dashboards
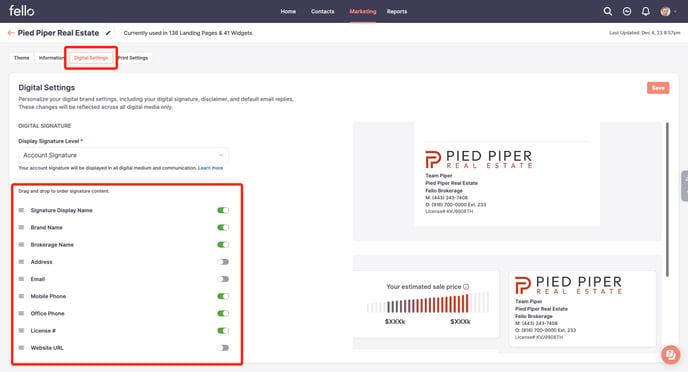
When Account Signature is selected, this account signature will be used on all Engage emails and Home Value Dashboards for your team, overriding all agent signatures.
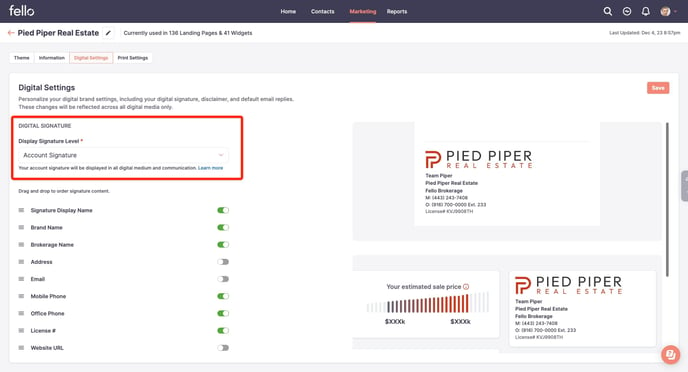
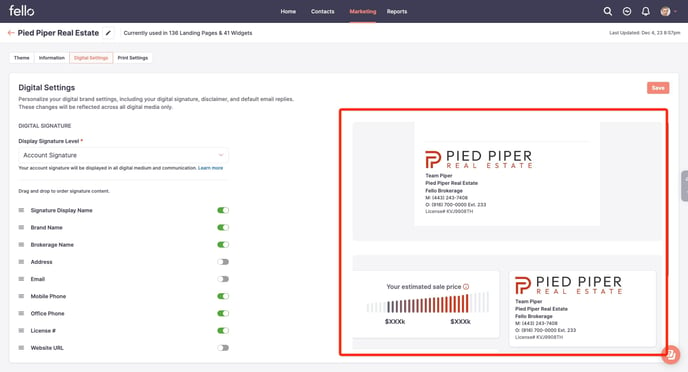
A preview of how the signature will look in Engage emails and Contact Dashboard is shown on the right.
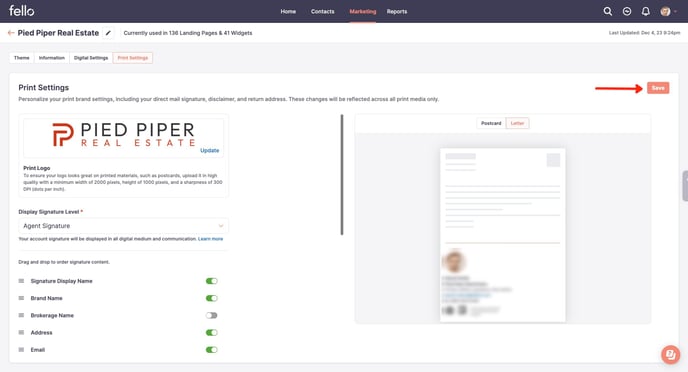
Step 4:
Navigate to the Print Settings tab to customise what is displayed in your print signature. You can also drag and drop fields to reorder them in the signature. Print Signature will be used for physical Postcards.
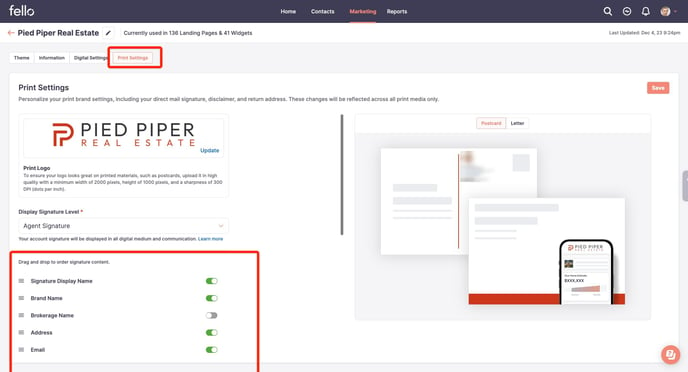
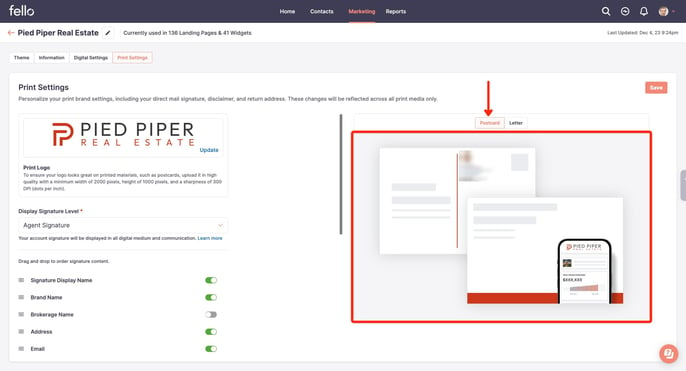
A preview of how the signature will look in Postcards is shown on the right.

Step 5:
Click Save Changes to save your preferences.