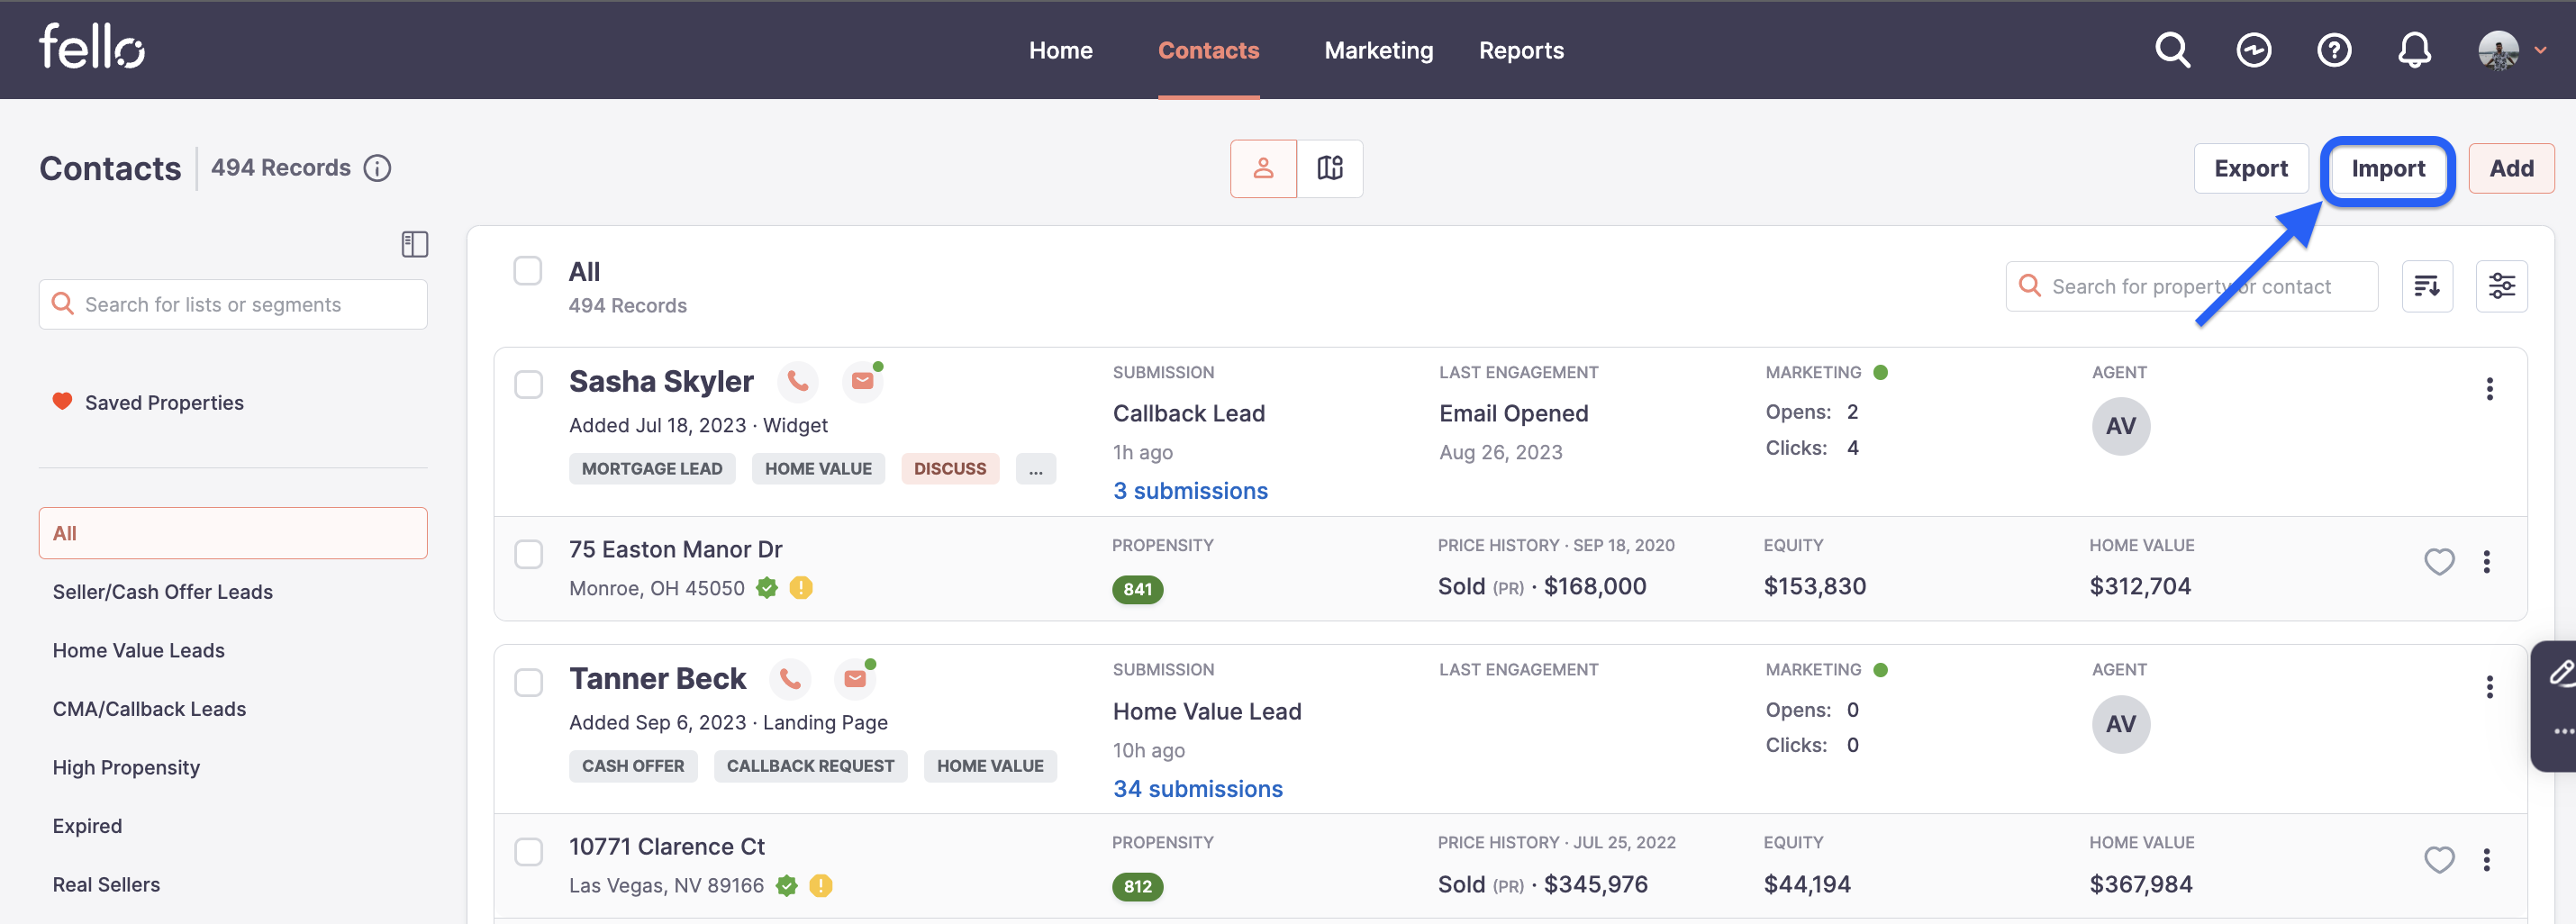
Step 1:
Go to the Contacts tab and click Import on the top right.
Step 2:
Download your contact database into a CSV file. For reference on formatting, please see our Sample CSV. Please keep in mind:
- An email address or physical address is required for contacts to be uploaded toFello.
- If you want contacts to be imported as assigned to their specific agents, add the agent's name in the Agent Email Address column in the CSV file. Once the upload is complete, contacts will automatically be assigned to the agent whose email they were associated with on the CSV.
- If you do not want contacts assigned to specific agents, you can leave the Agent Email Address column empty and they will be uploaded as unassigned.
Step 3:
Drag and drop your CSV file, or choose Click to Browse to upload your file from your computer.

Step 4:
Map the column headers in your uploaded file to the fields in Fello.

Choose a matching Fello field under the Fello Field Mapping column. If there are any unmatched or unnecessary fields, choose Ignore this Column.

Step 5:
Once all fields are mapped, click Begin Upload.

Step 6: (optional step)
You can check the status of your import by clicking your Profile in the top right corner and selecting Import & Export, or simply carry on with other tasks while the system is processing.

Once the import is complete, you will receive a notification in Fello along with an email stating that the import is complete. You can click Download Report in the notification to review details of the imported contacts.
