Leads that are updated in Fello Connect will also be updated in Sierra.
Please note the GOLDEN RULE for this integration is that it is totally dependent on having the same set of users with the same exact email addresses in both Sierra and Fello Connect platforms (so everything is synced between the two systems, such as the lead create and updates). If the users do not match between both platforms, you will run into errors and missing lead updates.
Another important thing to note is that for leads to sync from Fello Connect to Sierra, they must have an email in place for the contact in Fello Connect.
How to connect Fello Connect to Sierra Interactive using Zapier for lead updates:
Step 1:
Log in to your Zapier account using your user id and password.
Step 2:
Click on the Zap template Update lead - Fello Connect to Sierra to setup a Zap.
Step 3:
Now connect Fello Connect account to Zapier. For that, you need to generate an API Key in Fello Connect.How to generate your API key:
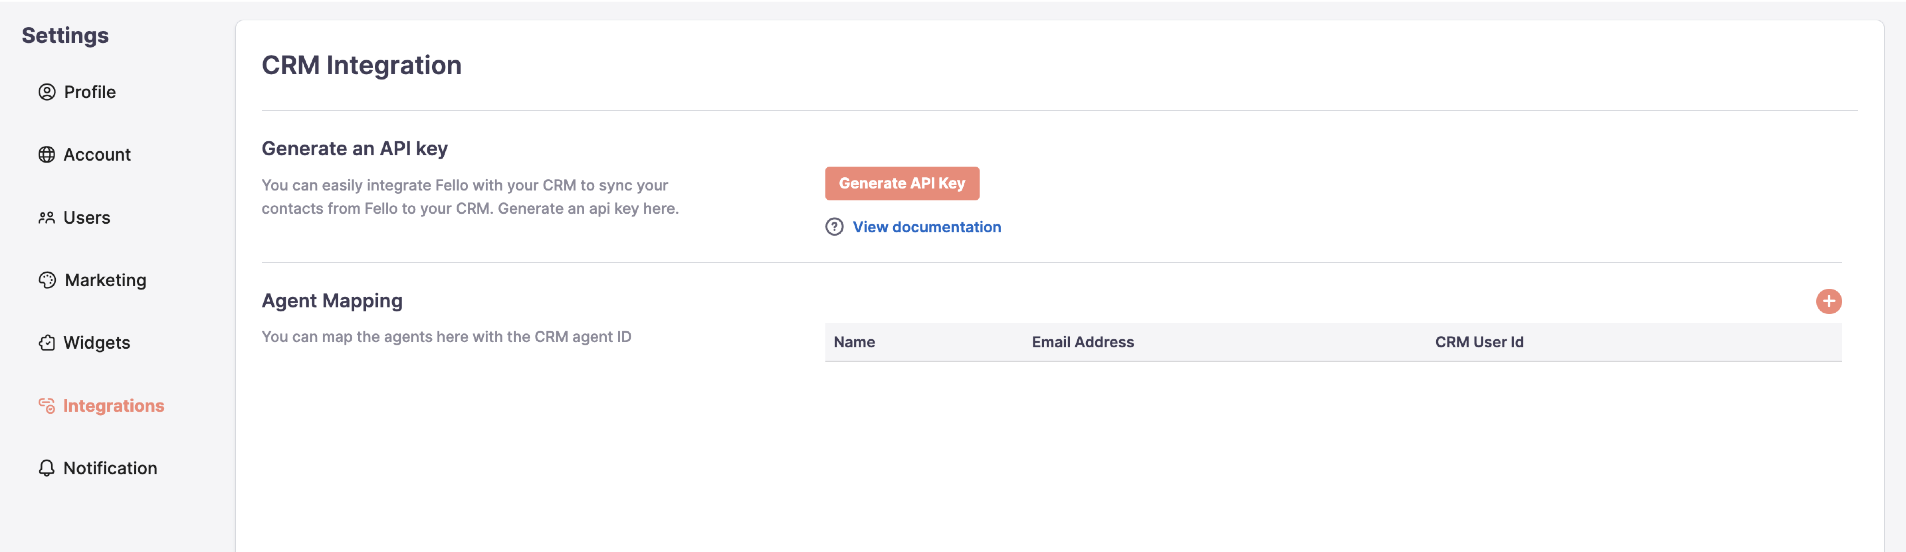
- Sign in to Fello Connect and click Settings from the profile icon on the top right.
- Under the Settings section, click Integrations.
- Click the Generate API Key button.
Step 4:
Copy the API Key created. 
Step 5:
In Zapier, click Connect New Account under Choose Account which will open a new window where you can enter the API key.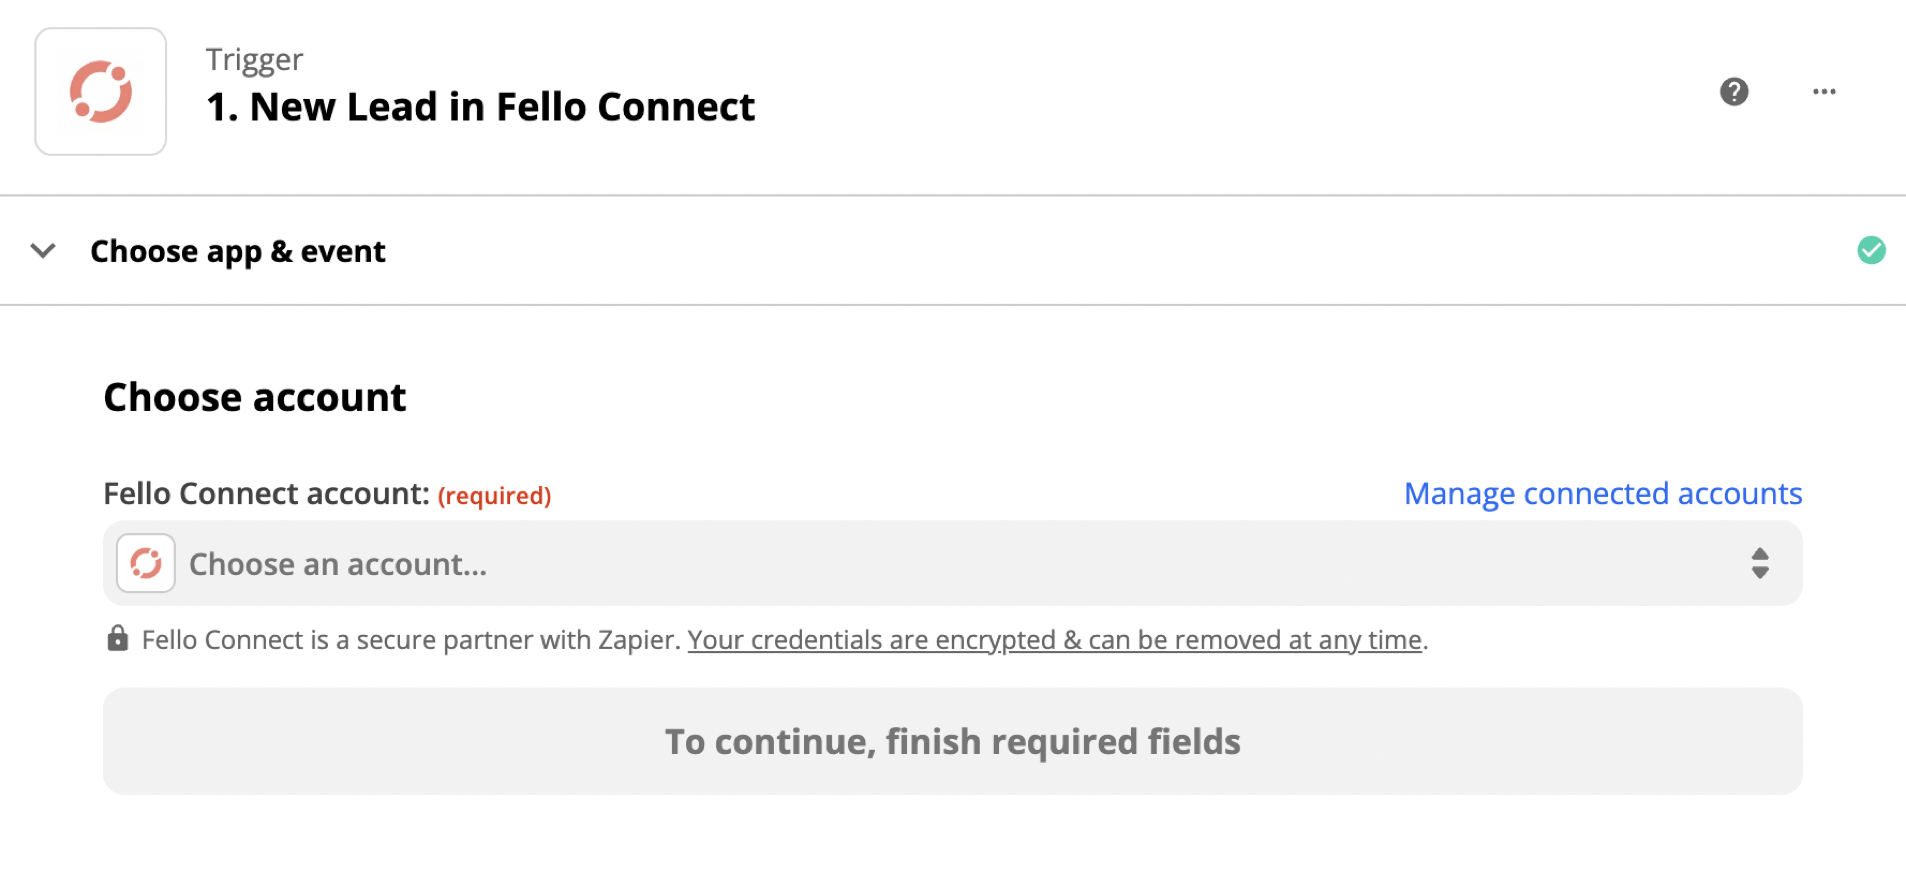
Step 6:
Once you enter the copied APi key, click Continue and the click Test Trigger to check the connection and trigger between Fello Connect and Zapier.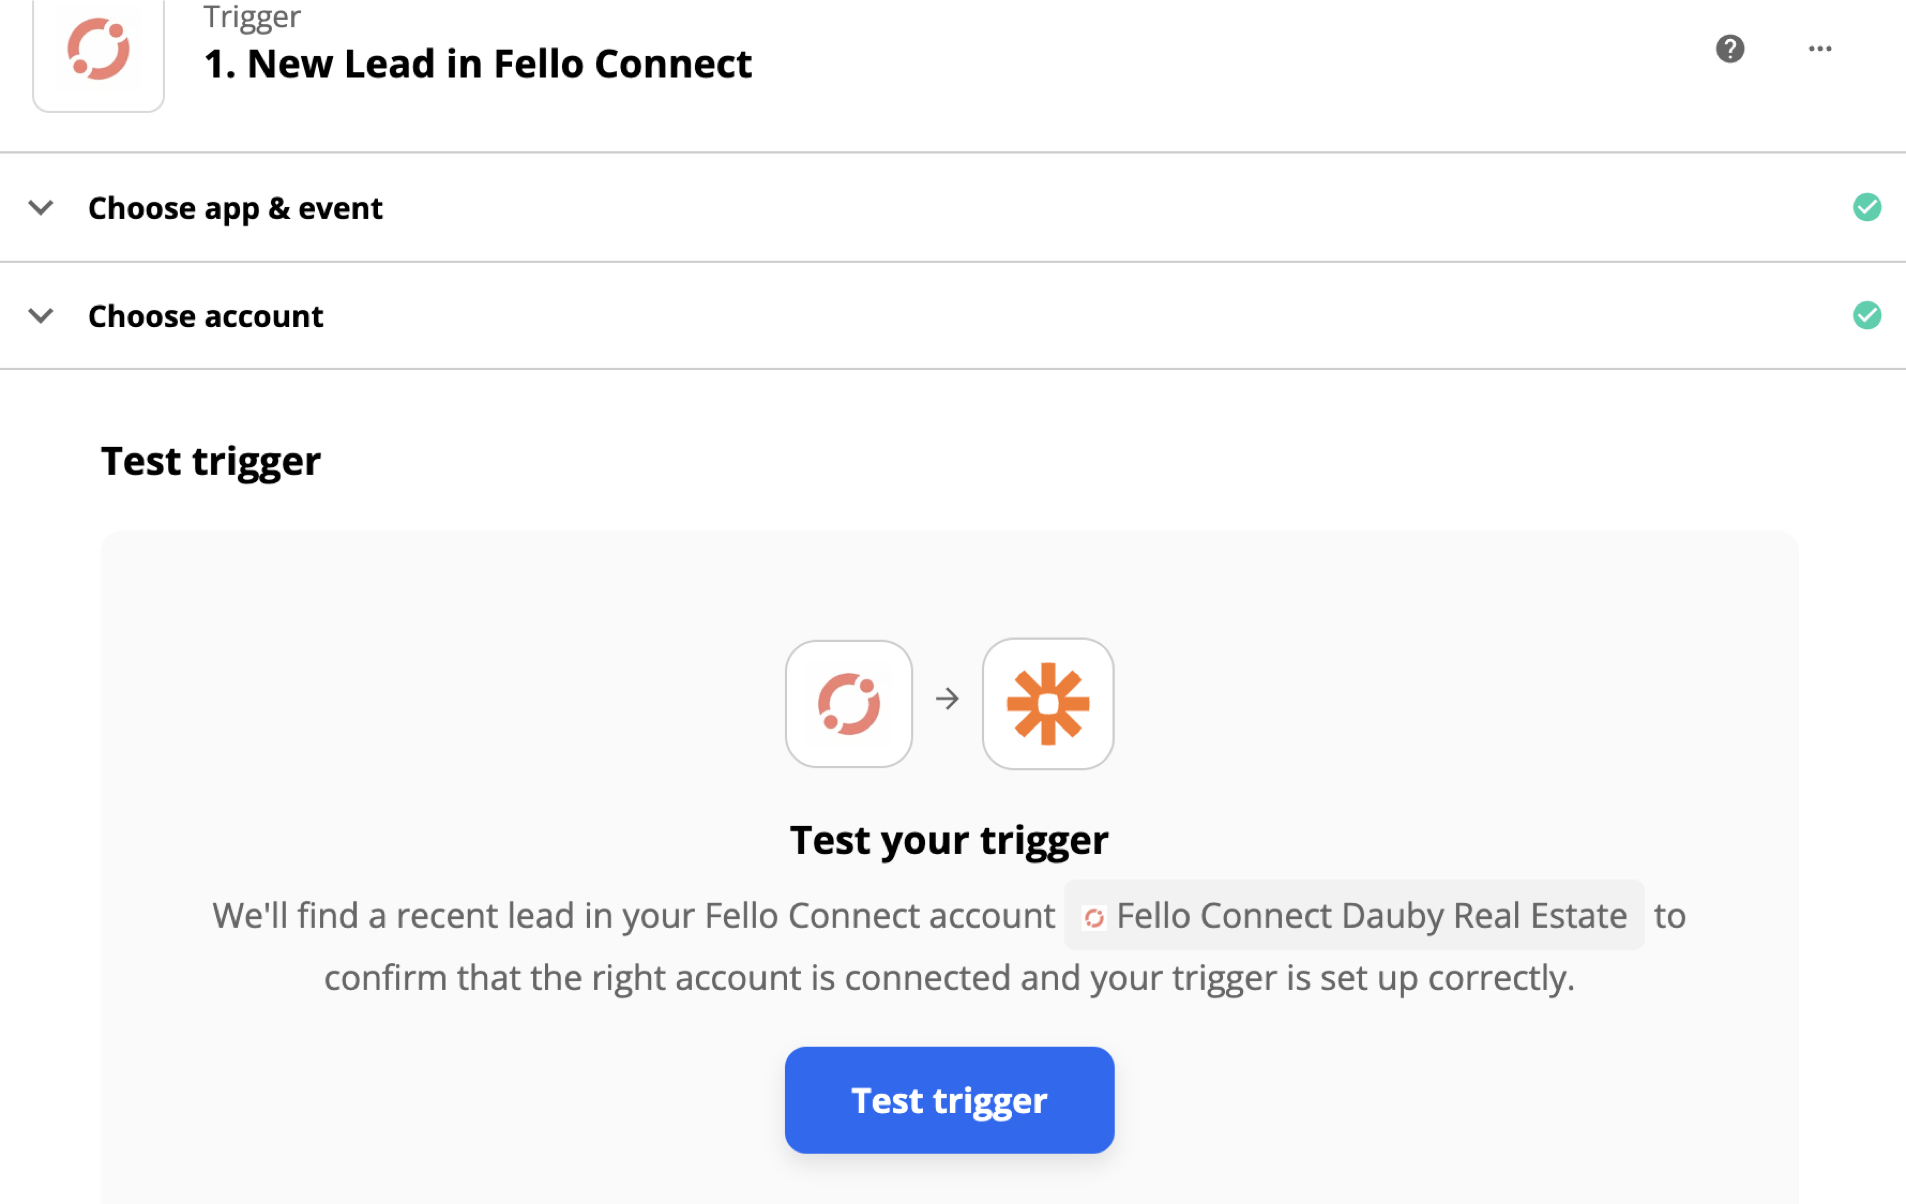
Step 7:
For lead updates, we need to first find the lead in Sierra. If the lead is found in Sierra, then we should update the lead in Sierra.
Step 8:
Click on Find Lead in Sierra to set up the connection between Zapier and Sierra account. Choose Connect a new account from the dropdown to complete the setup.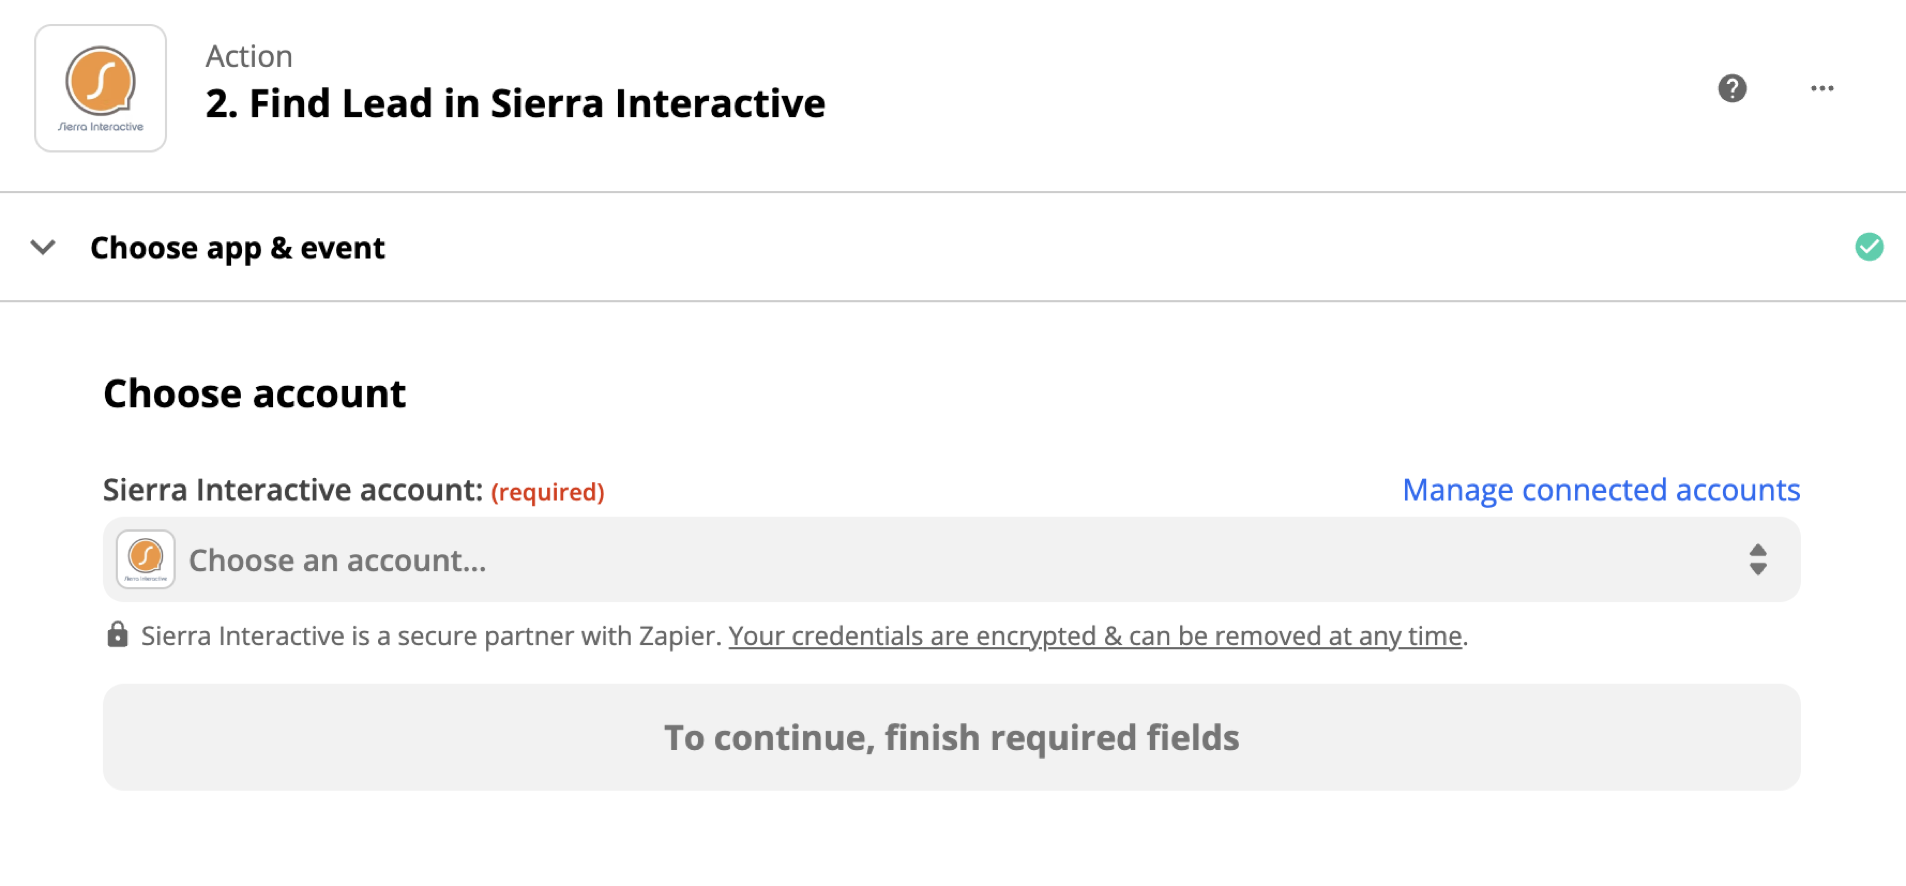
Step 9:
Login to Sierra and find the API key for your Sierra account from Integrations page. Copy the API key and paste the API key in the popup, then click Continue.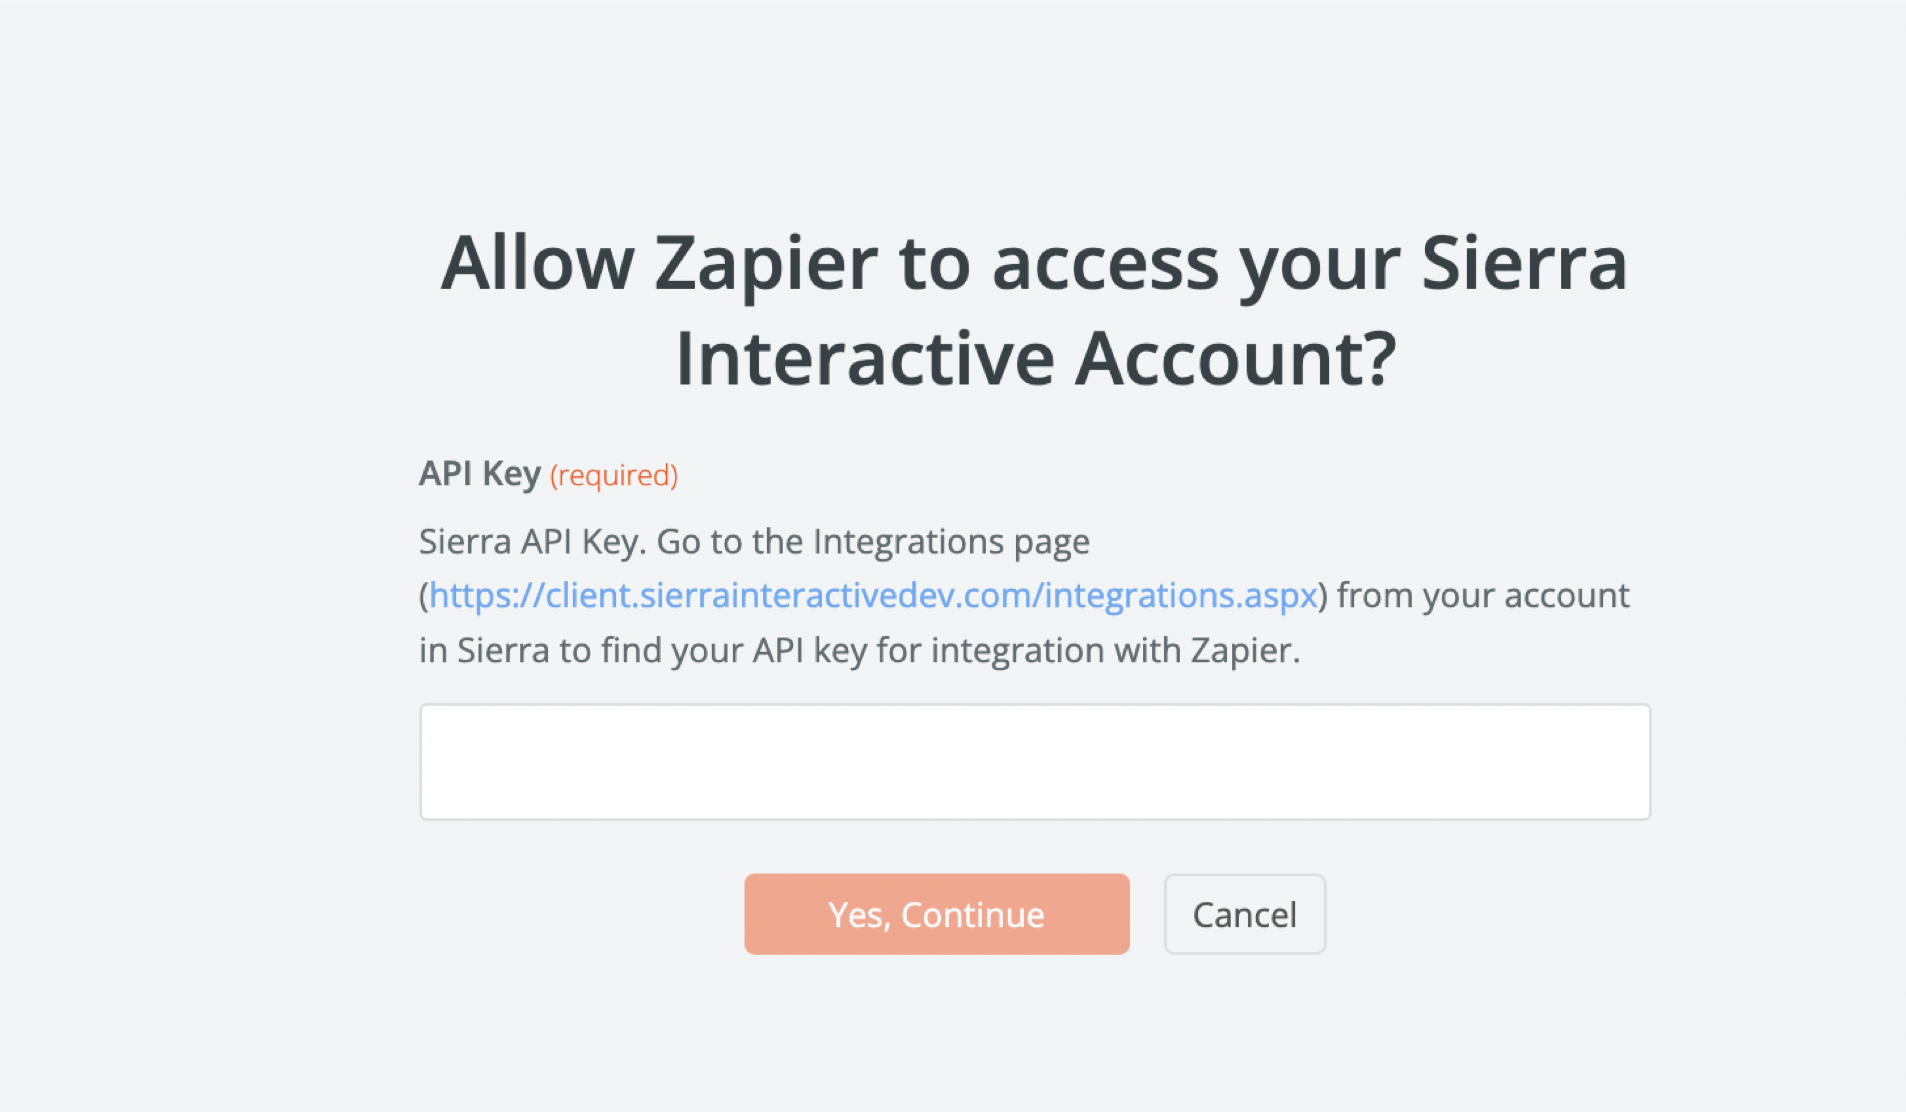
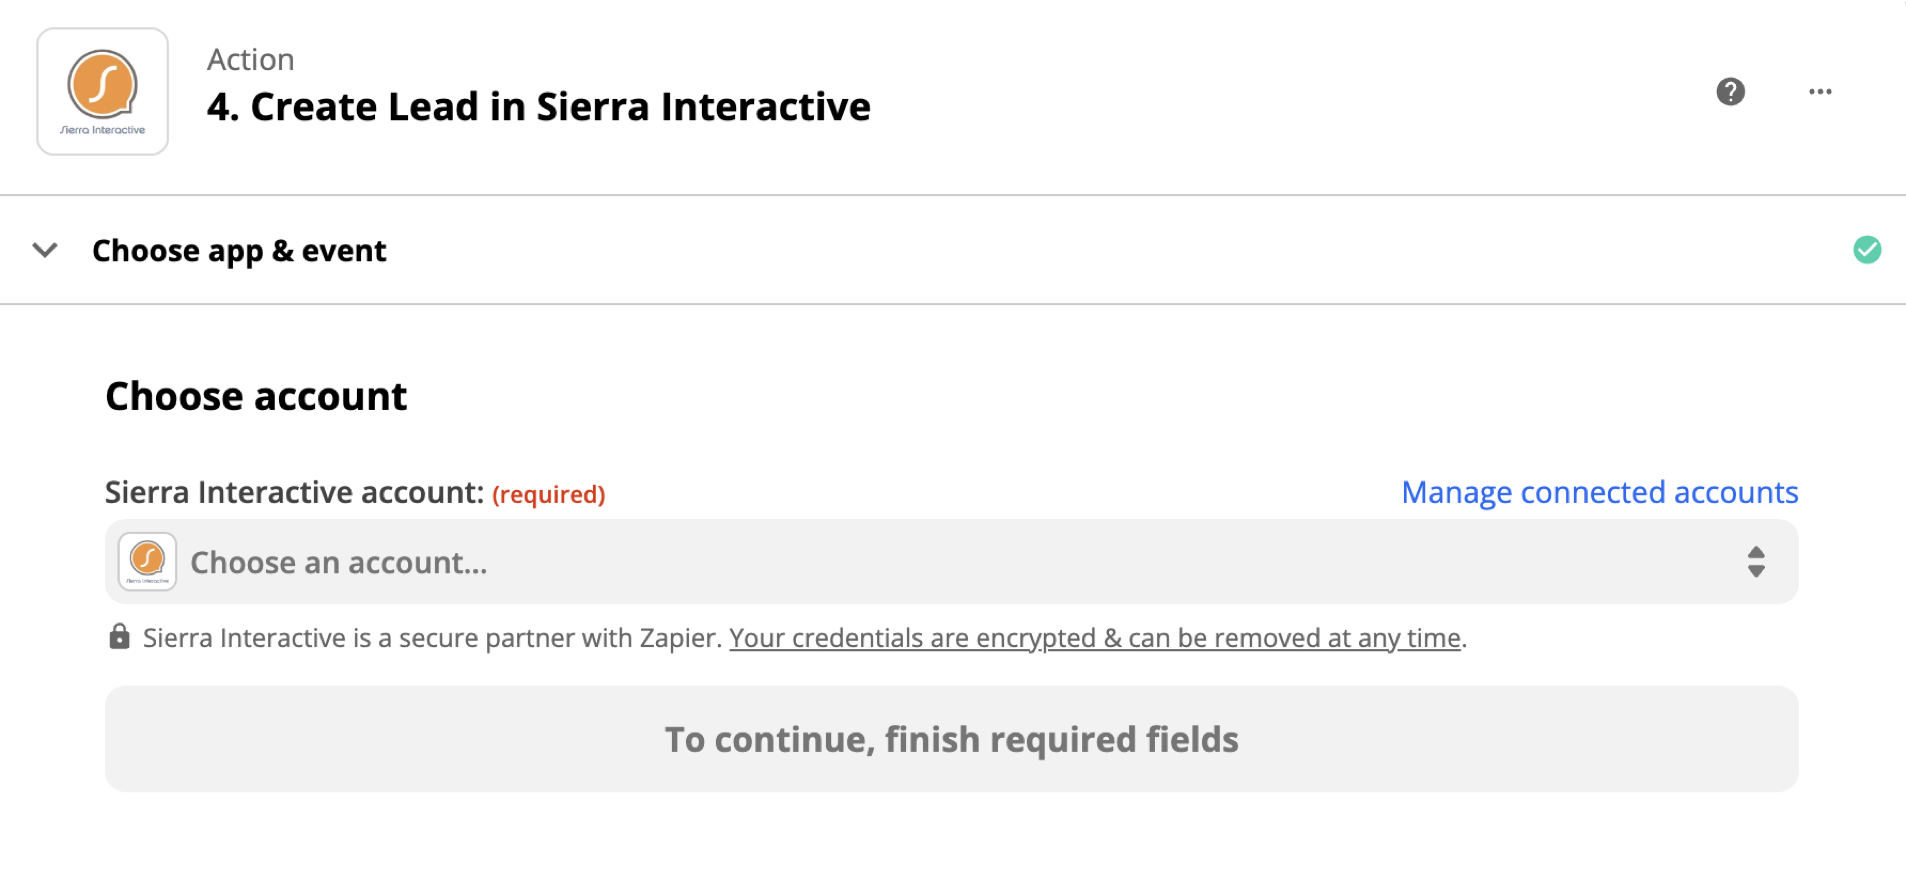
Step 10:
Ignore Action 3 and continue to Action 4 in Sierra. In Step 4, under Choose your account, select the previously connected account and press Continue.
Step 11:
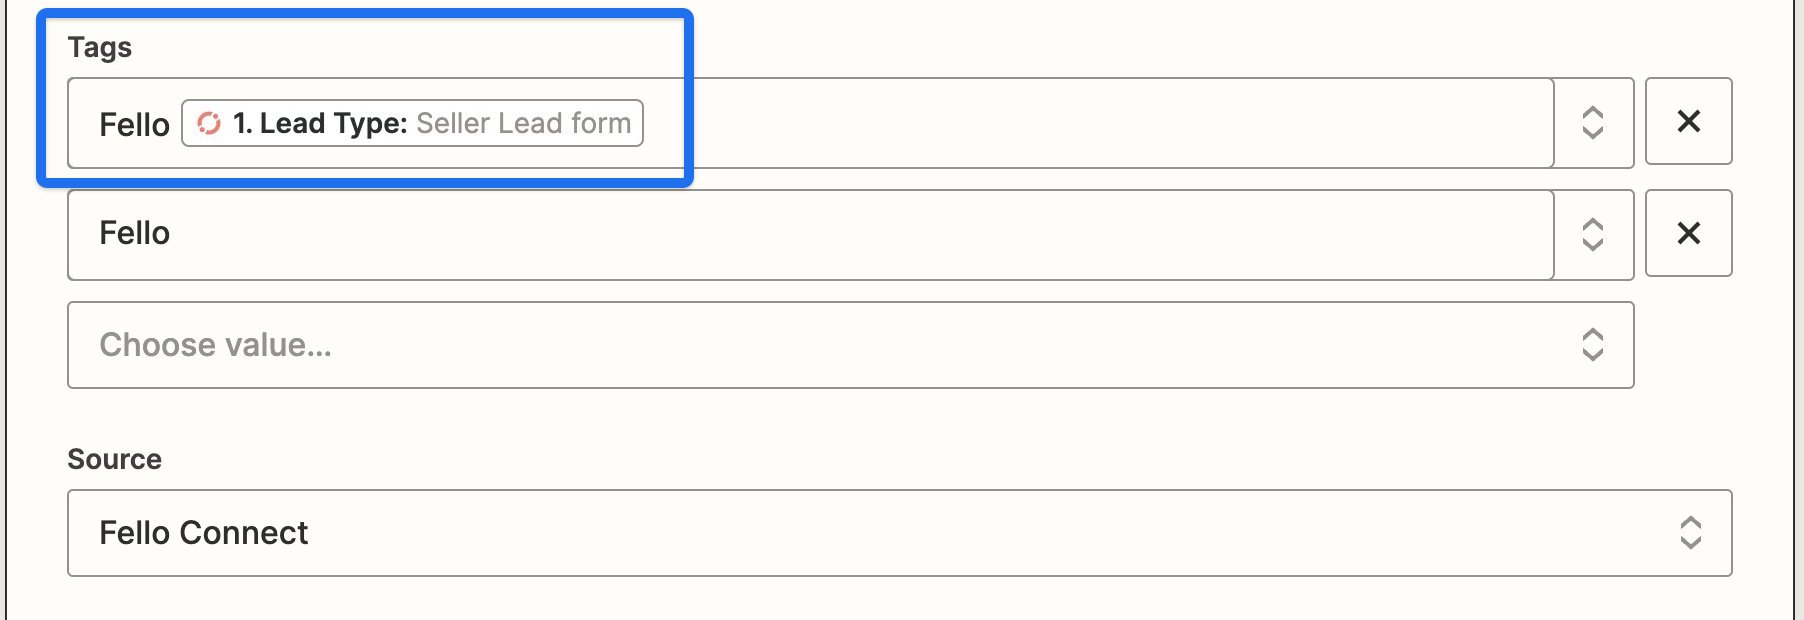
Review the mapped fields as part of the template and add/remove mappings as you feel necessary. The default mappings are already provided as part of the template.
All new leads will be mapped with below tags and you can setup different lead routing rules in Sierra based on the tags:
- Fello Seller Lead
- Fello Home Value Lead
- Fello CMA Request
- Fello Callback Request
Step 12:
Once all mappings are reviewed, press Continue and test the action.
Step 13:
Once the test action is complete, click Publish Zap.
Quick tips for this connection:
- In cases where a lead registers on your Sierra site and a lead with the same email address already exists in Fello Connect, the lead will assign to the same agent in Sierra as who they are assigned to in Fello Connect.
Related Documents
Set up Fello to Sierra Integration for New Leads using Zapier