1. Creating your Custom URL
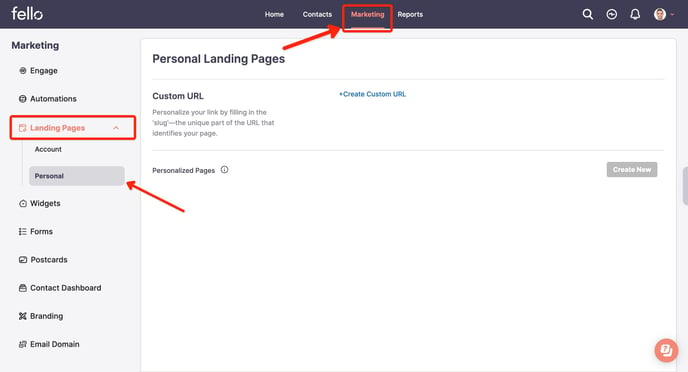
- Sign in to your account and access the Marketing tab. Click on 'Landing Page' in the left-side menu to expand the inner menu. Then, select 'Personal' from the expanded options
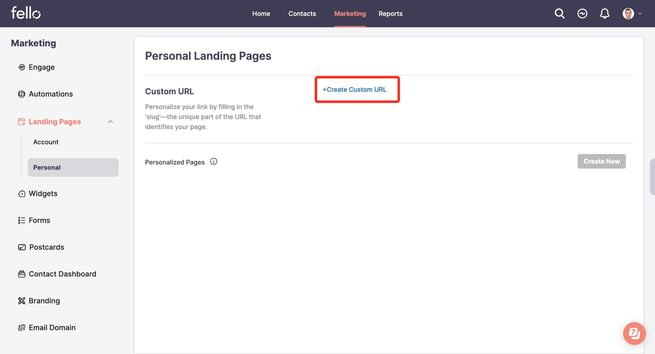
- Select '+Create Custom URL' to generate a custom URL unique to you.
- Personalize your link by entering the 'slug,' which is the unique identifier for your page in the URL. Click on 'Continue' to proceed. Review your Custom URL and click 'Confirm' to create the link.
Note: Once created, this URL cannot be changed or edited, and the 'slug' can have a maximum length of 25 characters.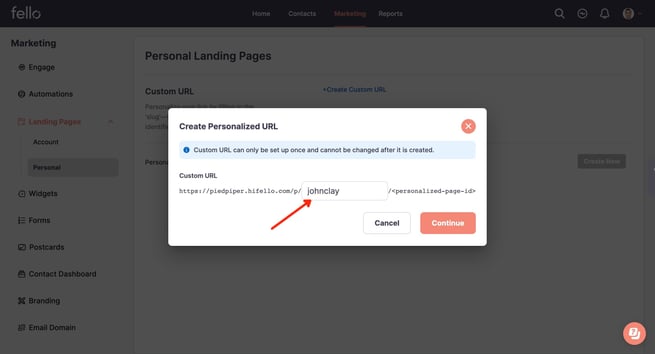

- After creating your Custom URL, it will be available under the 'Custom URL' section within the Personal page. This URL serves as a permanent base for all your future personalized landing pages.
Note: Sharing this URL may lead to an inactive page. Please copy and share URLs from the 'Personalized Pages' section below for active links."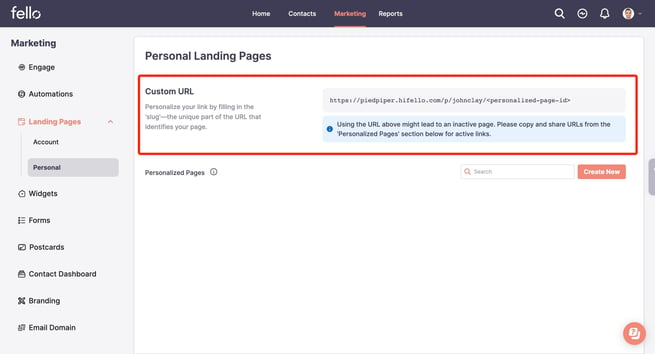
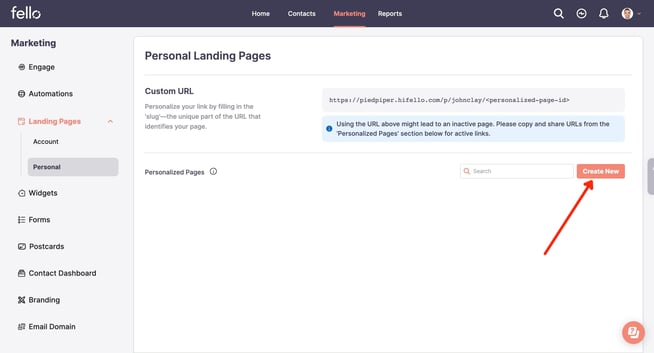
2. Creating Personalized Pages
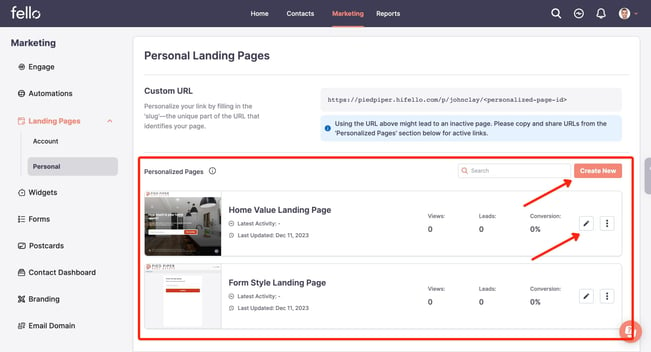
- In the Personalized Pages section, Click on 'Create New' to generate a new landing page.
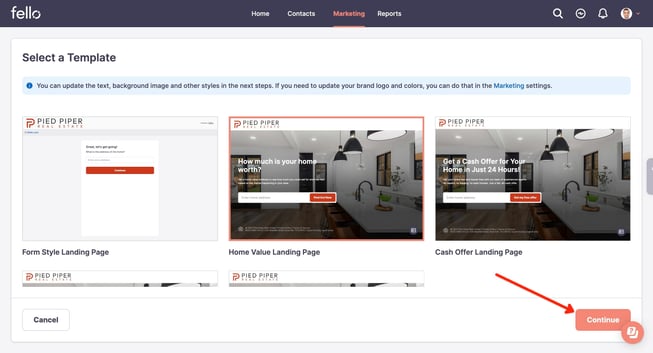
- Choose a template that suits your preferences for the page and click 'Continue.' These templates come pre-loaded with logos and colors configured for the account in the Digital settings under Branding.
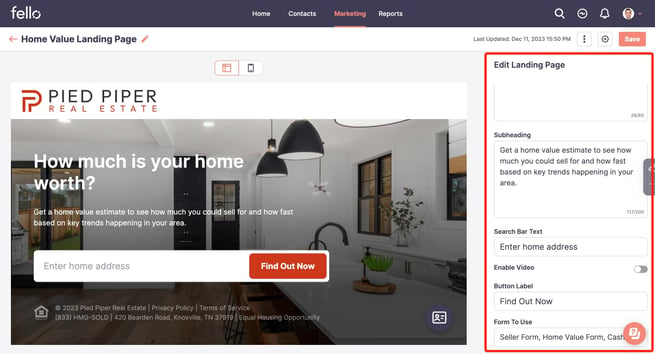
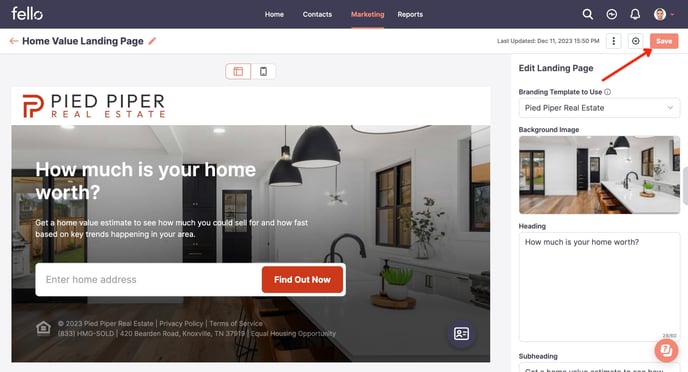
- At this stage, you have the ability to edit the text, background image, select the preferred branding for the page (if multiple brandings are configured for your account), and choose the form to connect with your personalized page.
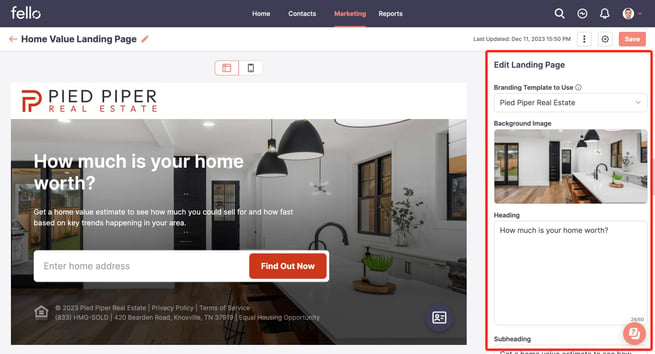
- Click 'Save' to preserve your selected preferences.
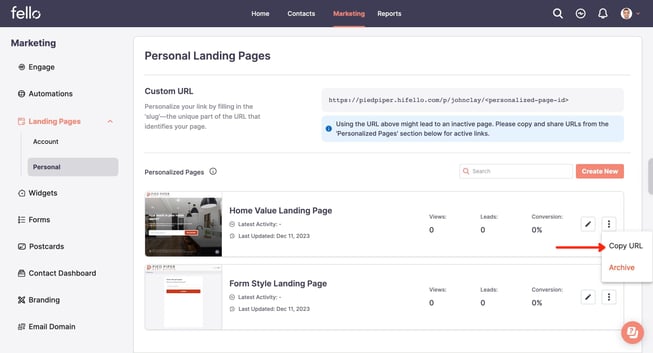
3. View/edit existing pages or add new pages.
- To view, edit, or add a new landing page, access the 'Personalized Pages' section within your personal page. Click on 'Create New' to generate a new page, or use the edit icon to modify an existing page.
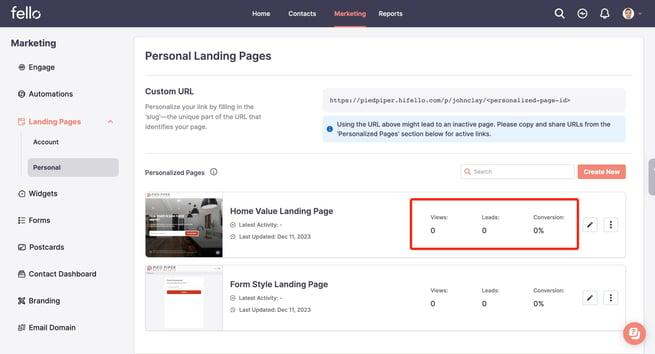
- You can track performance metrics such as views and leads for each page.
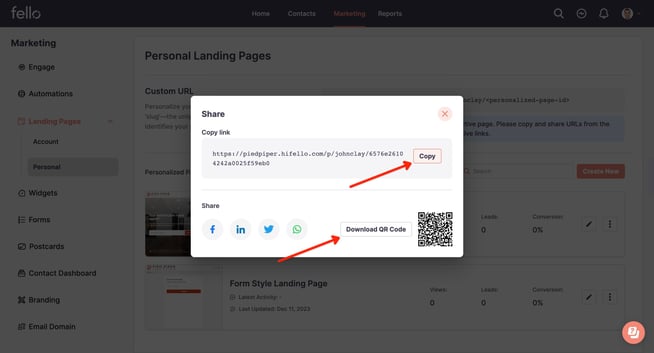
- To access the unique PURL and QR code for each page, click on the three dots icon next to the page and select 'Copy URL'.

- To copy the unique URL of the page to your clipboard, Click on 'Copy.' To download the image of your QR code, click on 'Download QR Code'.
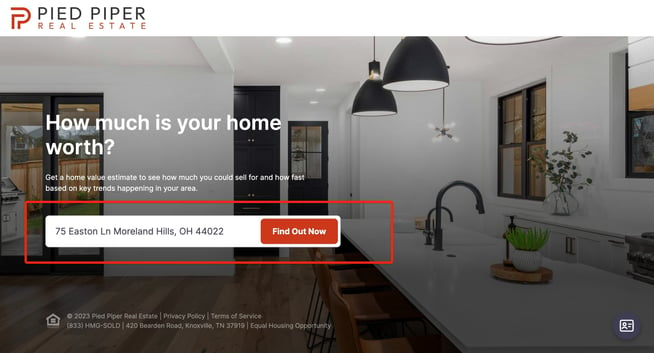
4. Lead generation from personalized page URL.
- Contacts can access your personal landing page by either clicking on the link or scanning the QR code. To proceed, they need to input their address and click on 'Find Out Now'.
- To complete the form, contacts must select their preference and fill in all the required details.
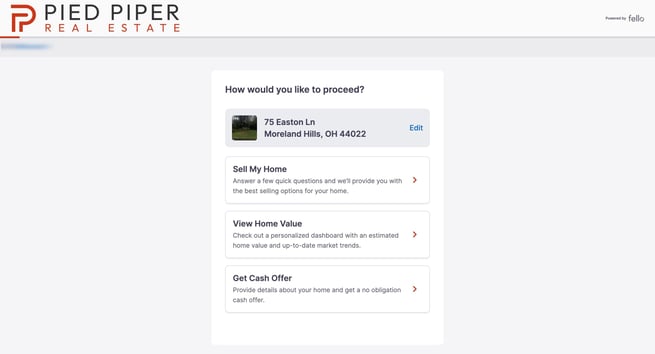
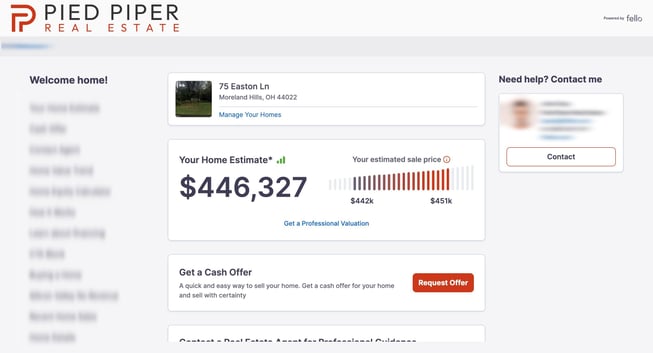
- Upon form completion, a lead is generated in Fello Connect. Simultaneously, the contact is redirected to their contact dashboard, granting them access to view their home value.
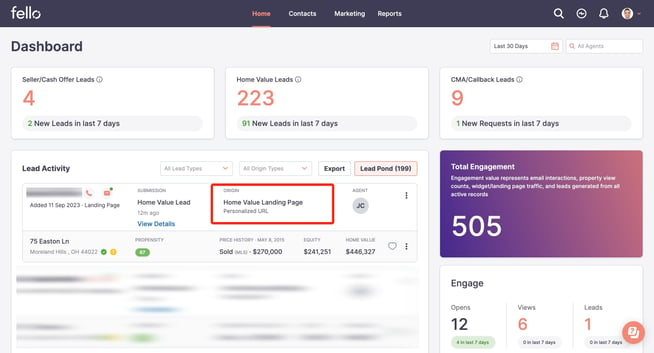
- This lead can be viewed in Fello Connect with its origin listed as 'Personalized Landing Page' and the origin type as 'Personalized URL'.