You can create and customize Landing Pages where leads can enter the Fello journey.
Step 1:
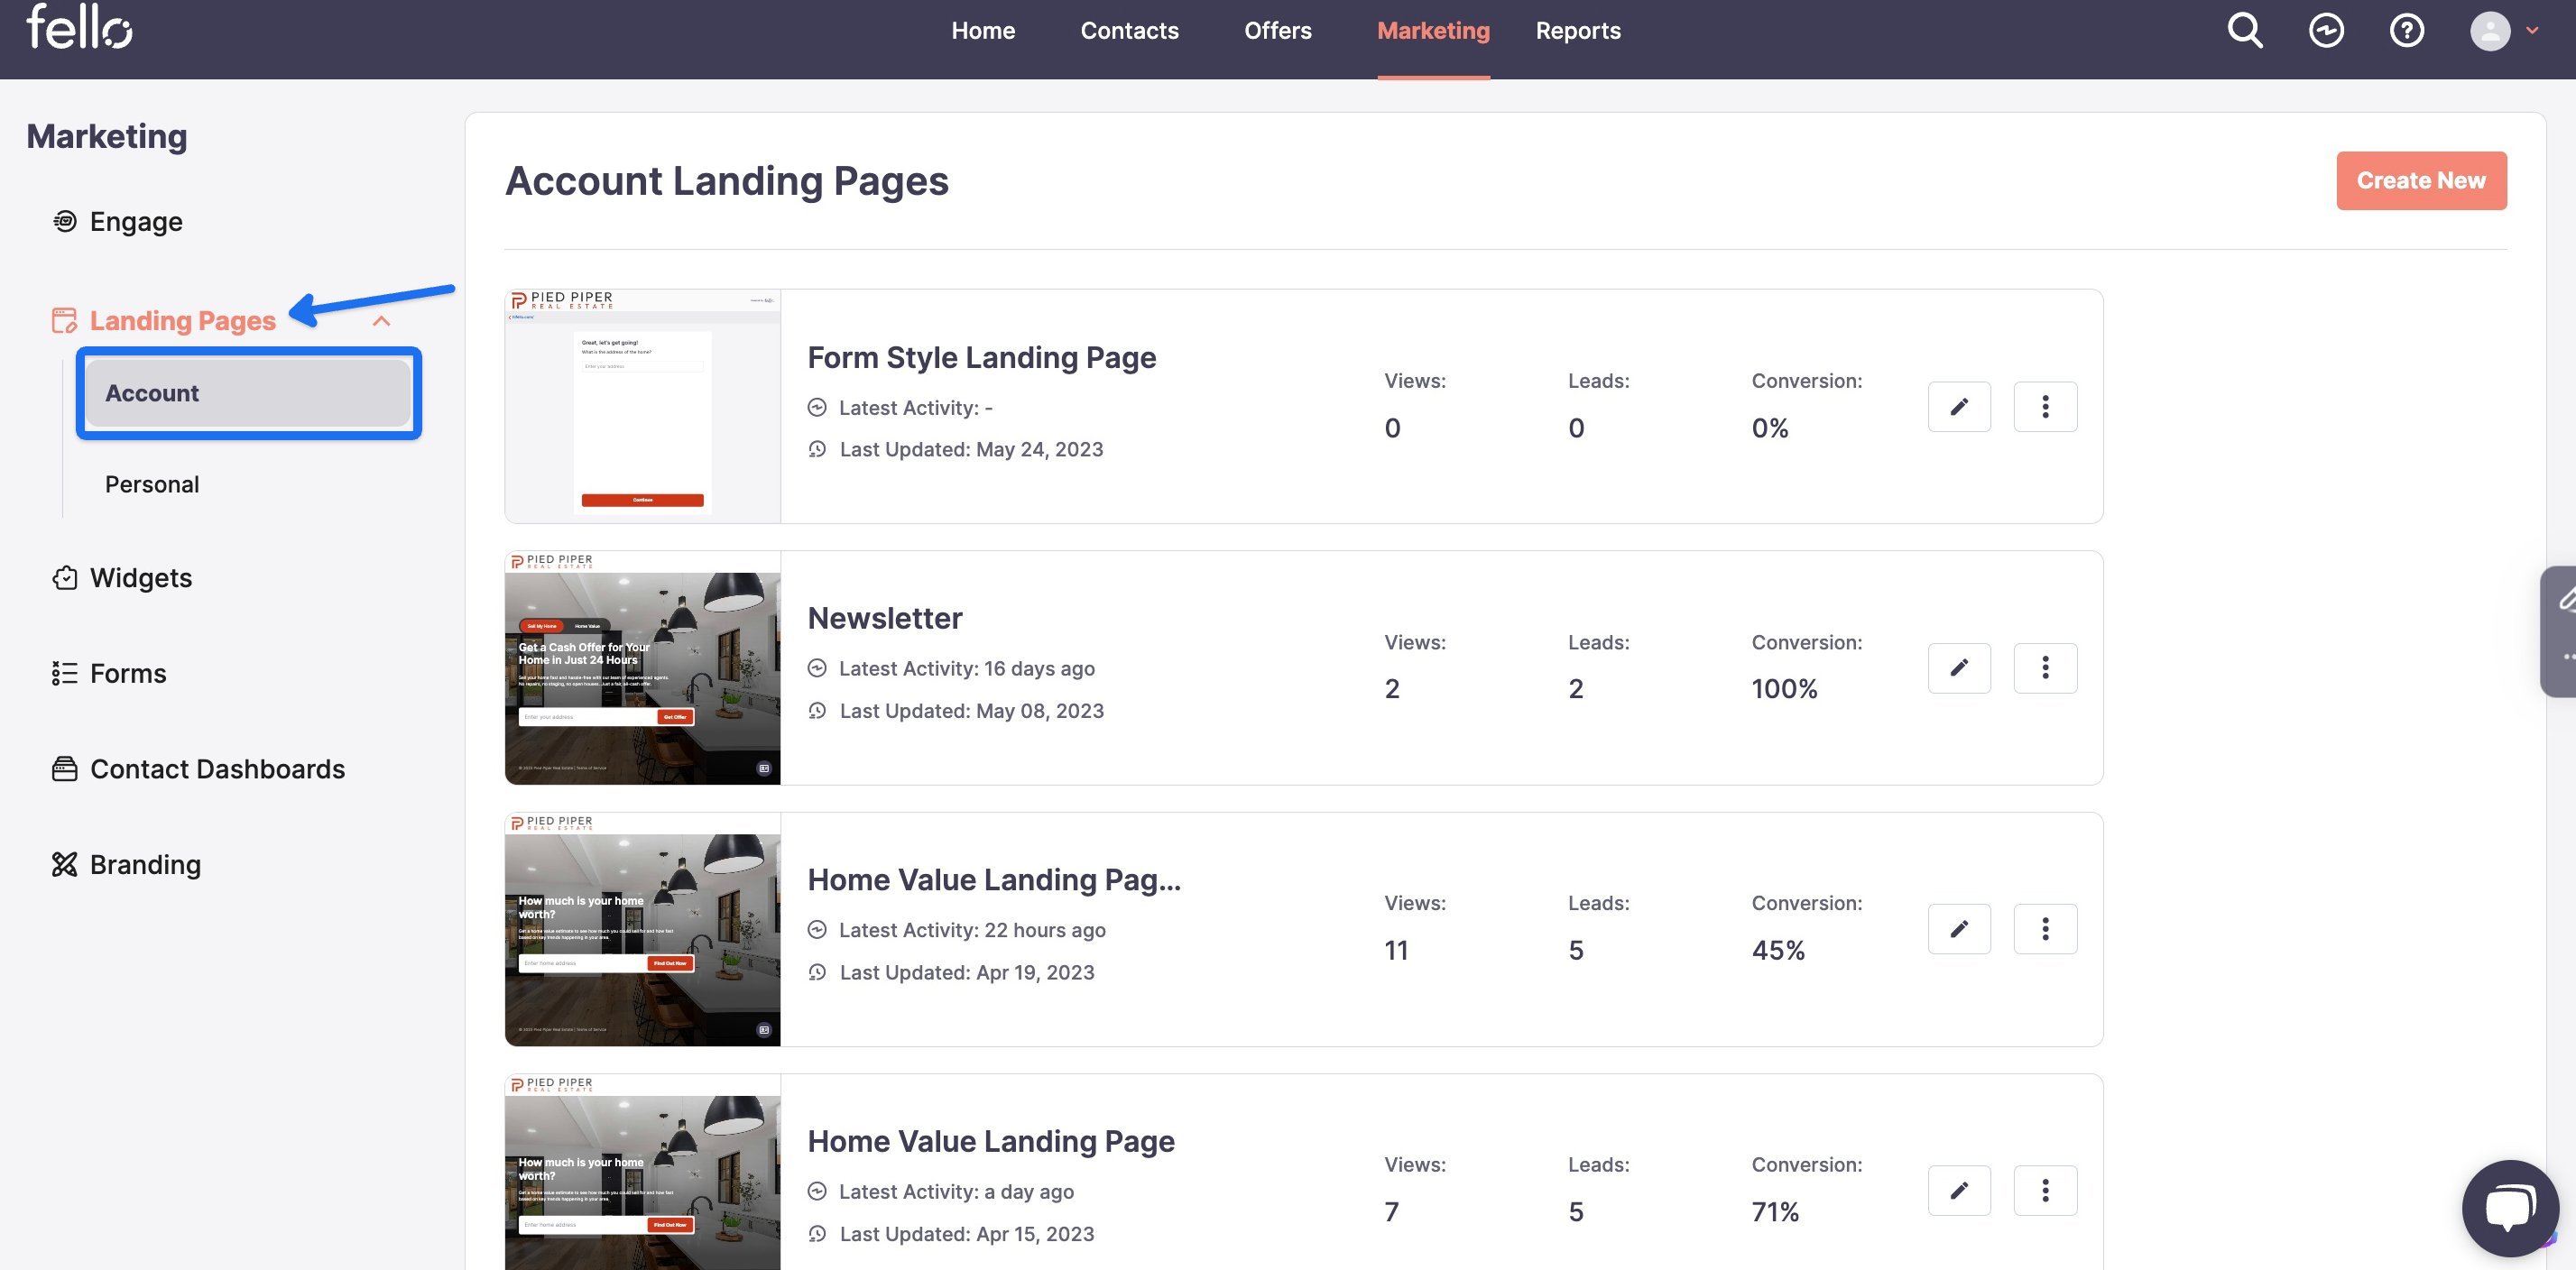
Click on the Marketing tab in the top header.

Step 2:
Click on Landing Pages from the left side menu and click on the Account from the Landing Pages dropdown.
Step 3:
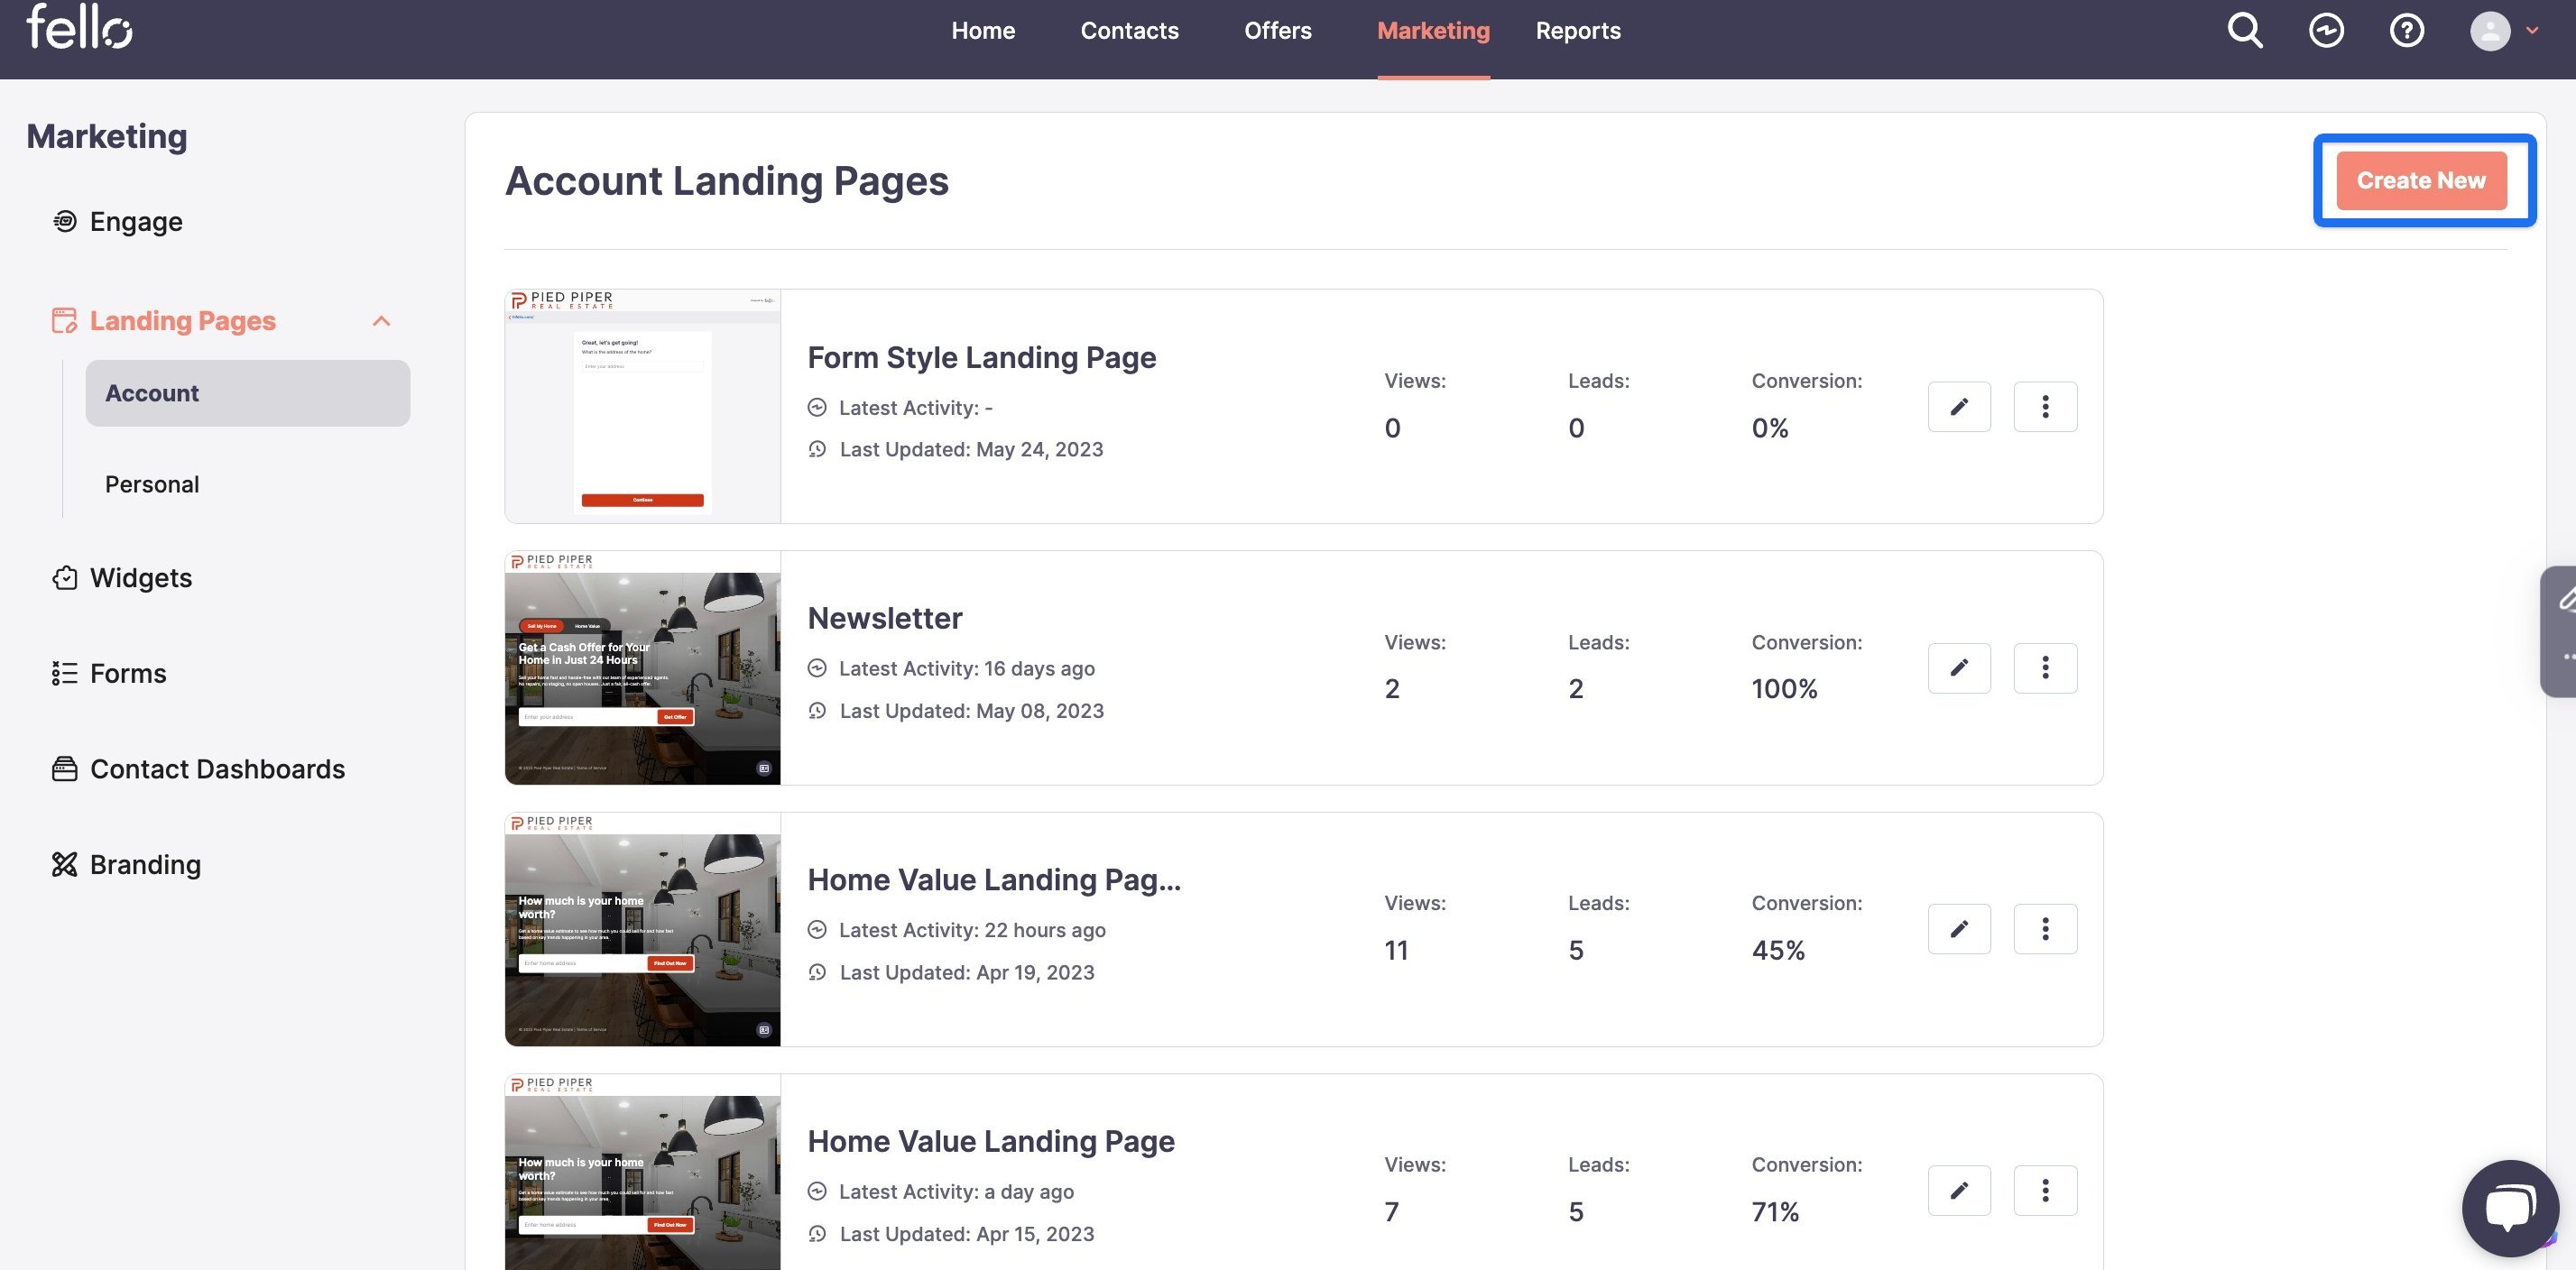
Click on Create New.
Step 4:
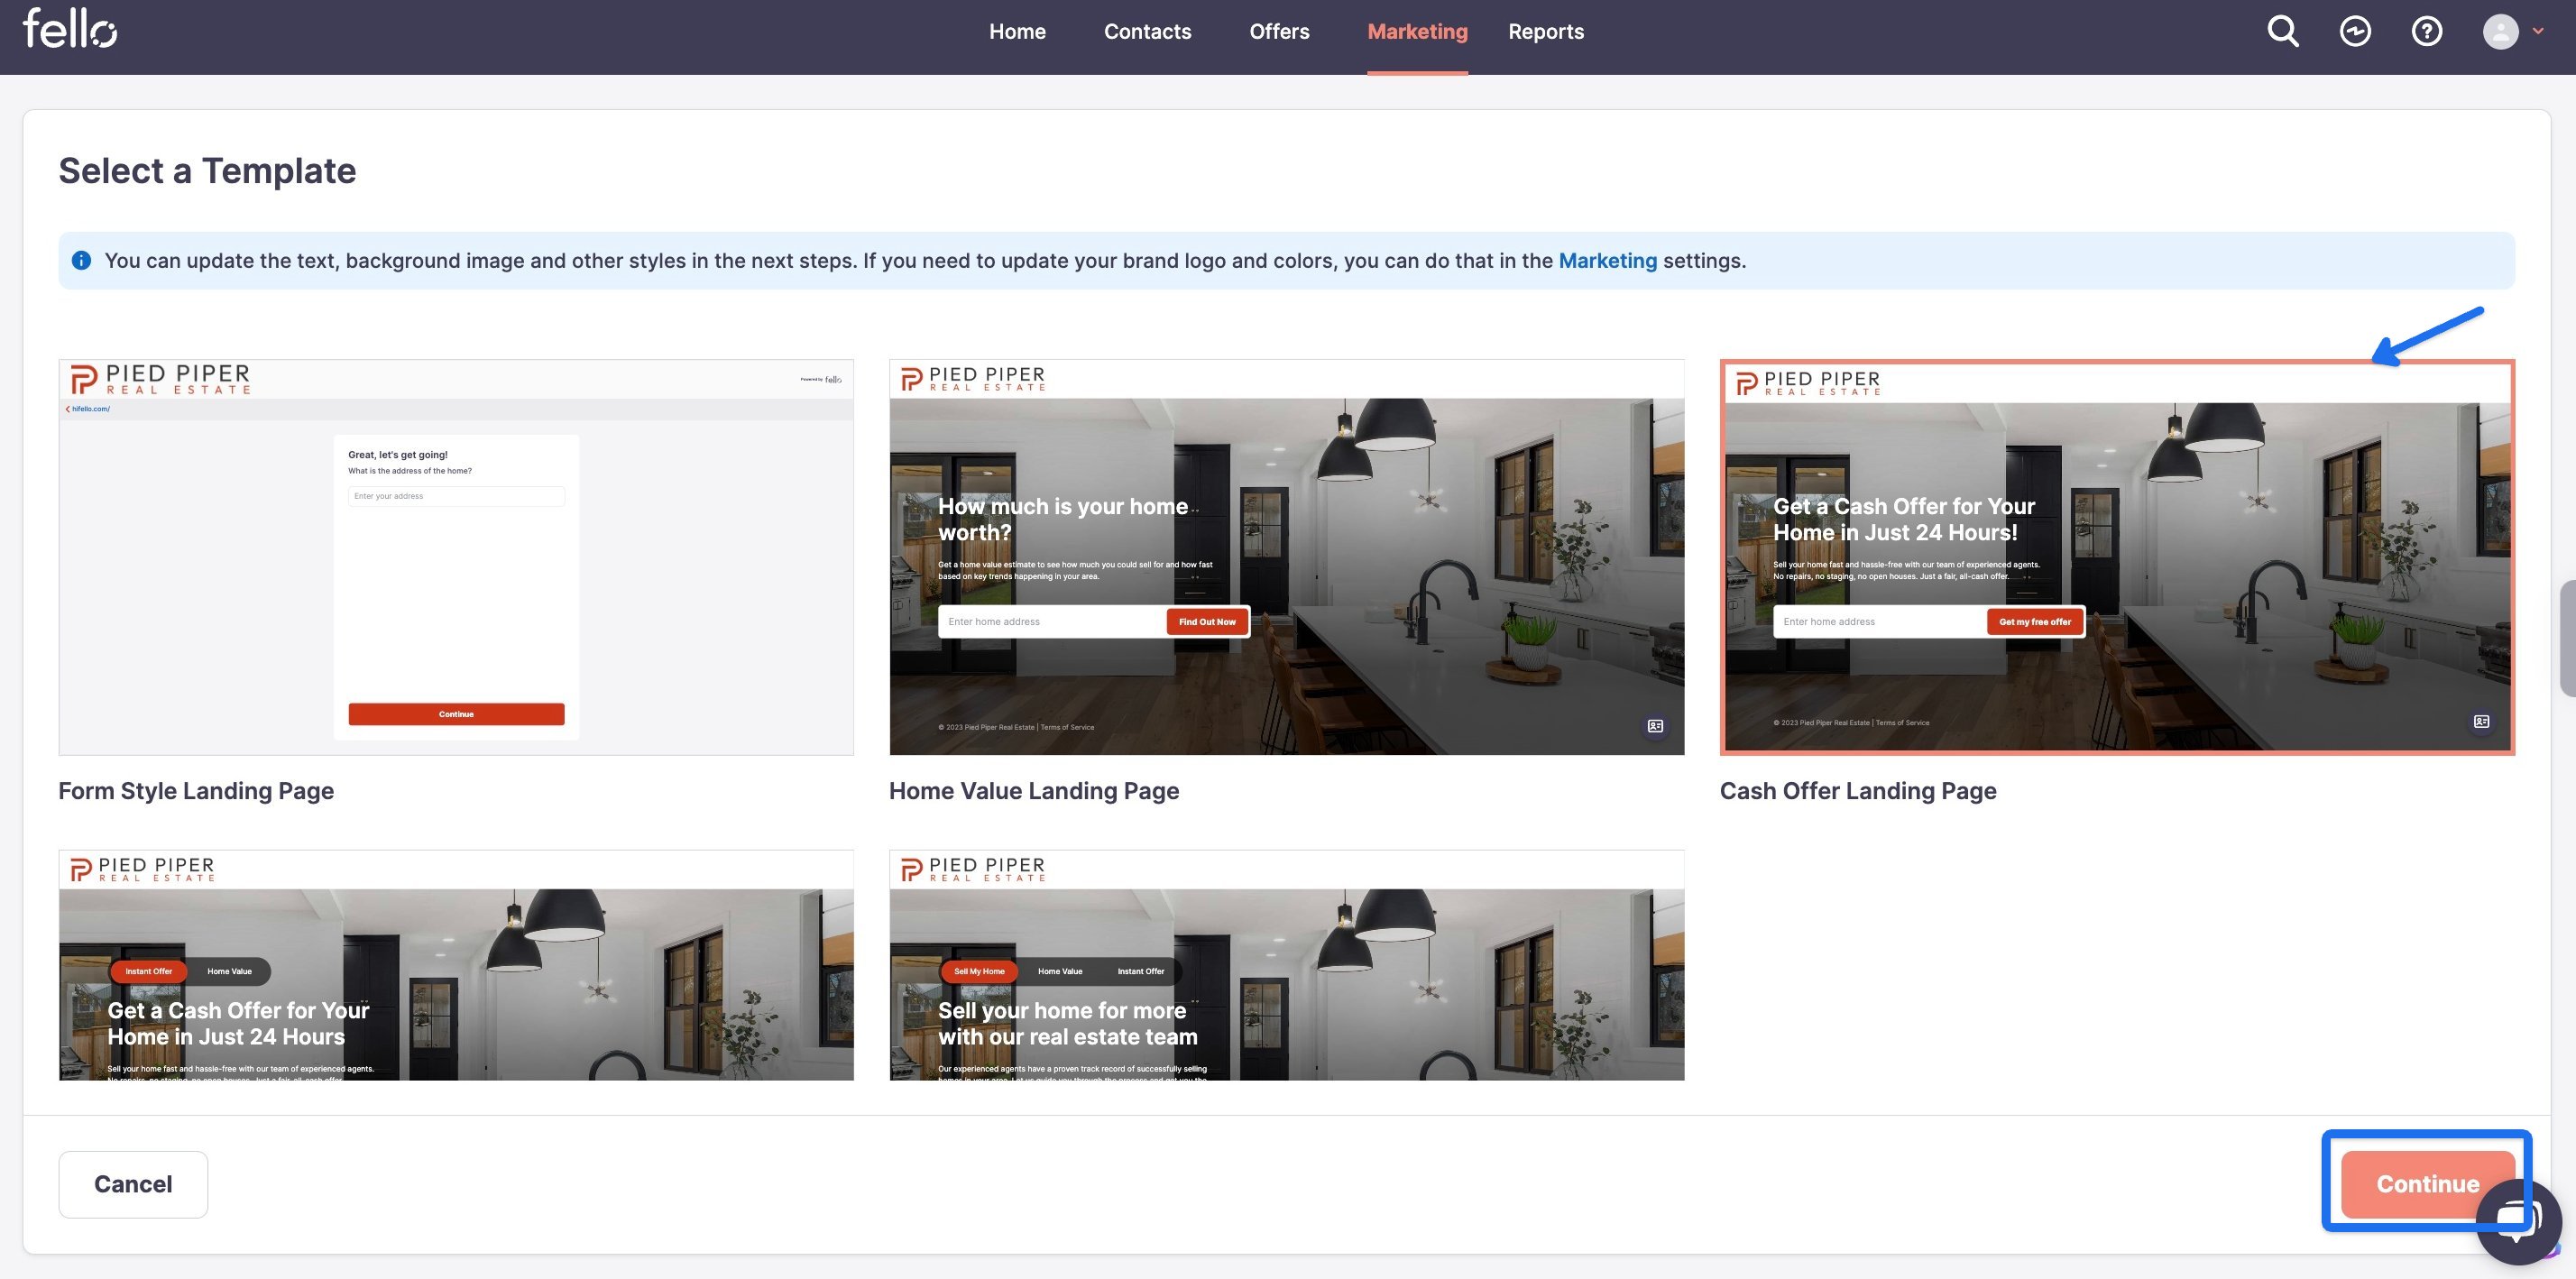
Select the Landing Page template that you want to customize. Be sure to scroll down to see all of our options. Click Continue.
Step 5:
Customize your Landing Page on the right side of the screen. Edit the Background Image by clicking on the preset image.
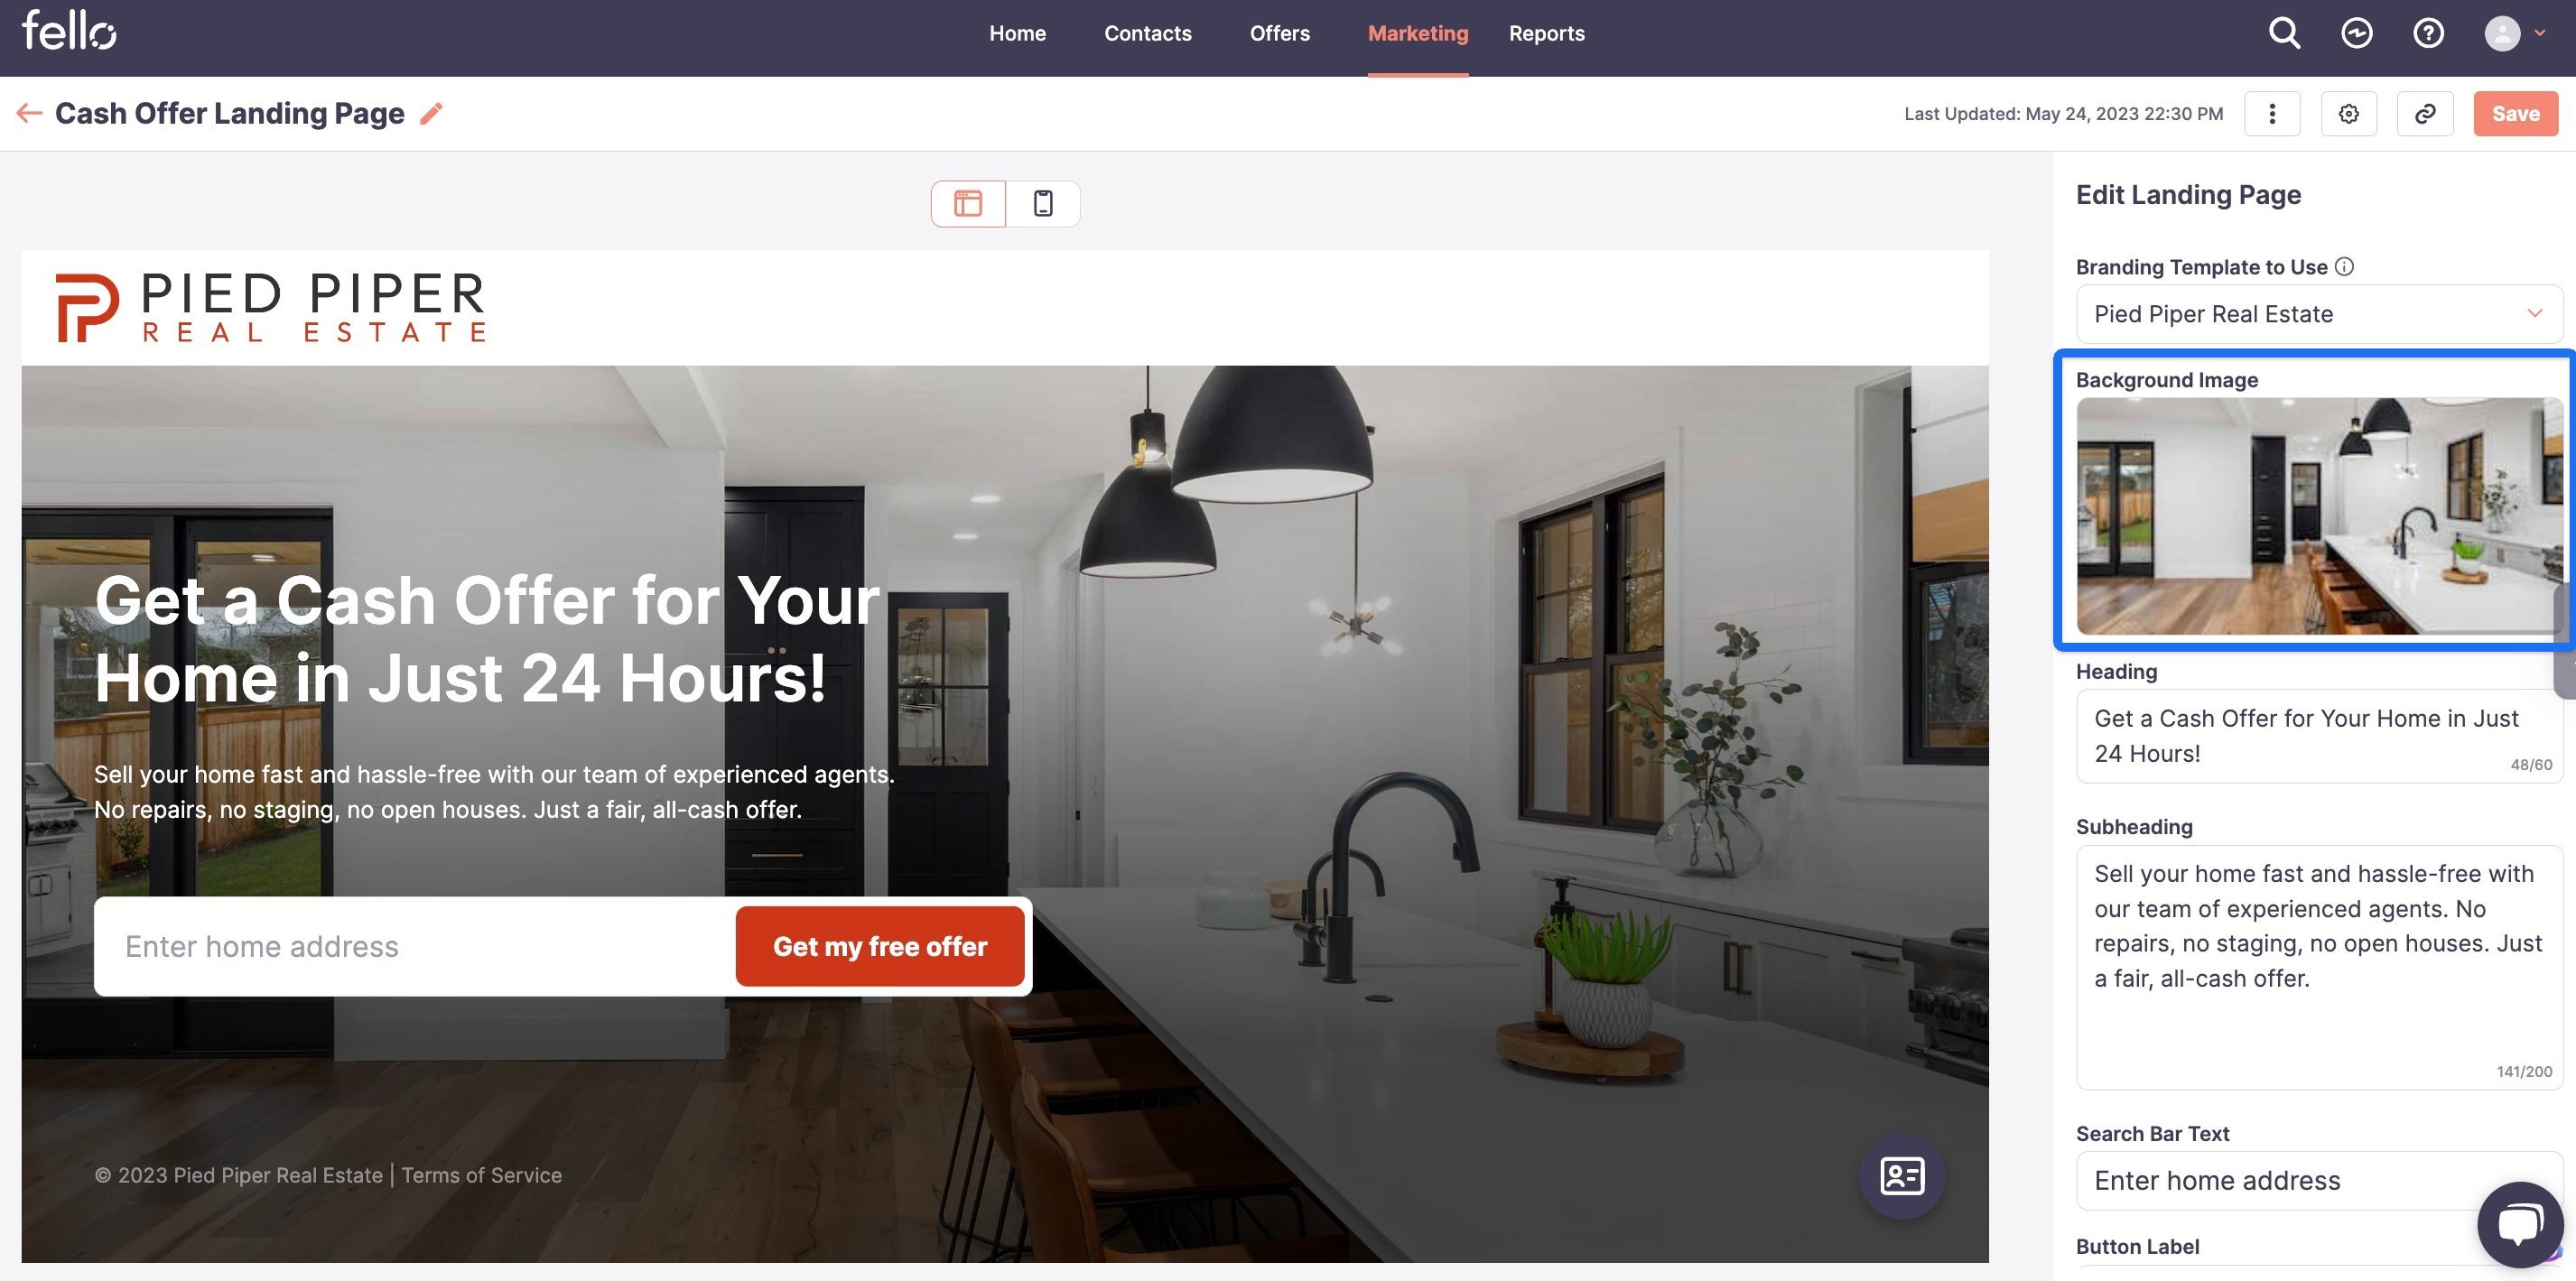
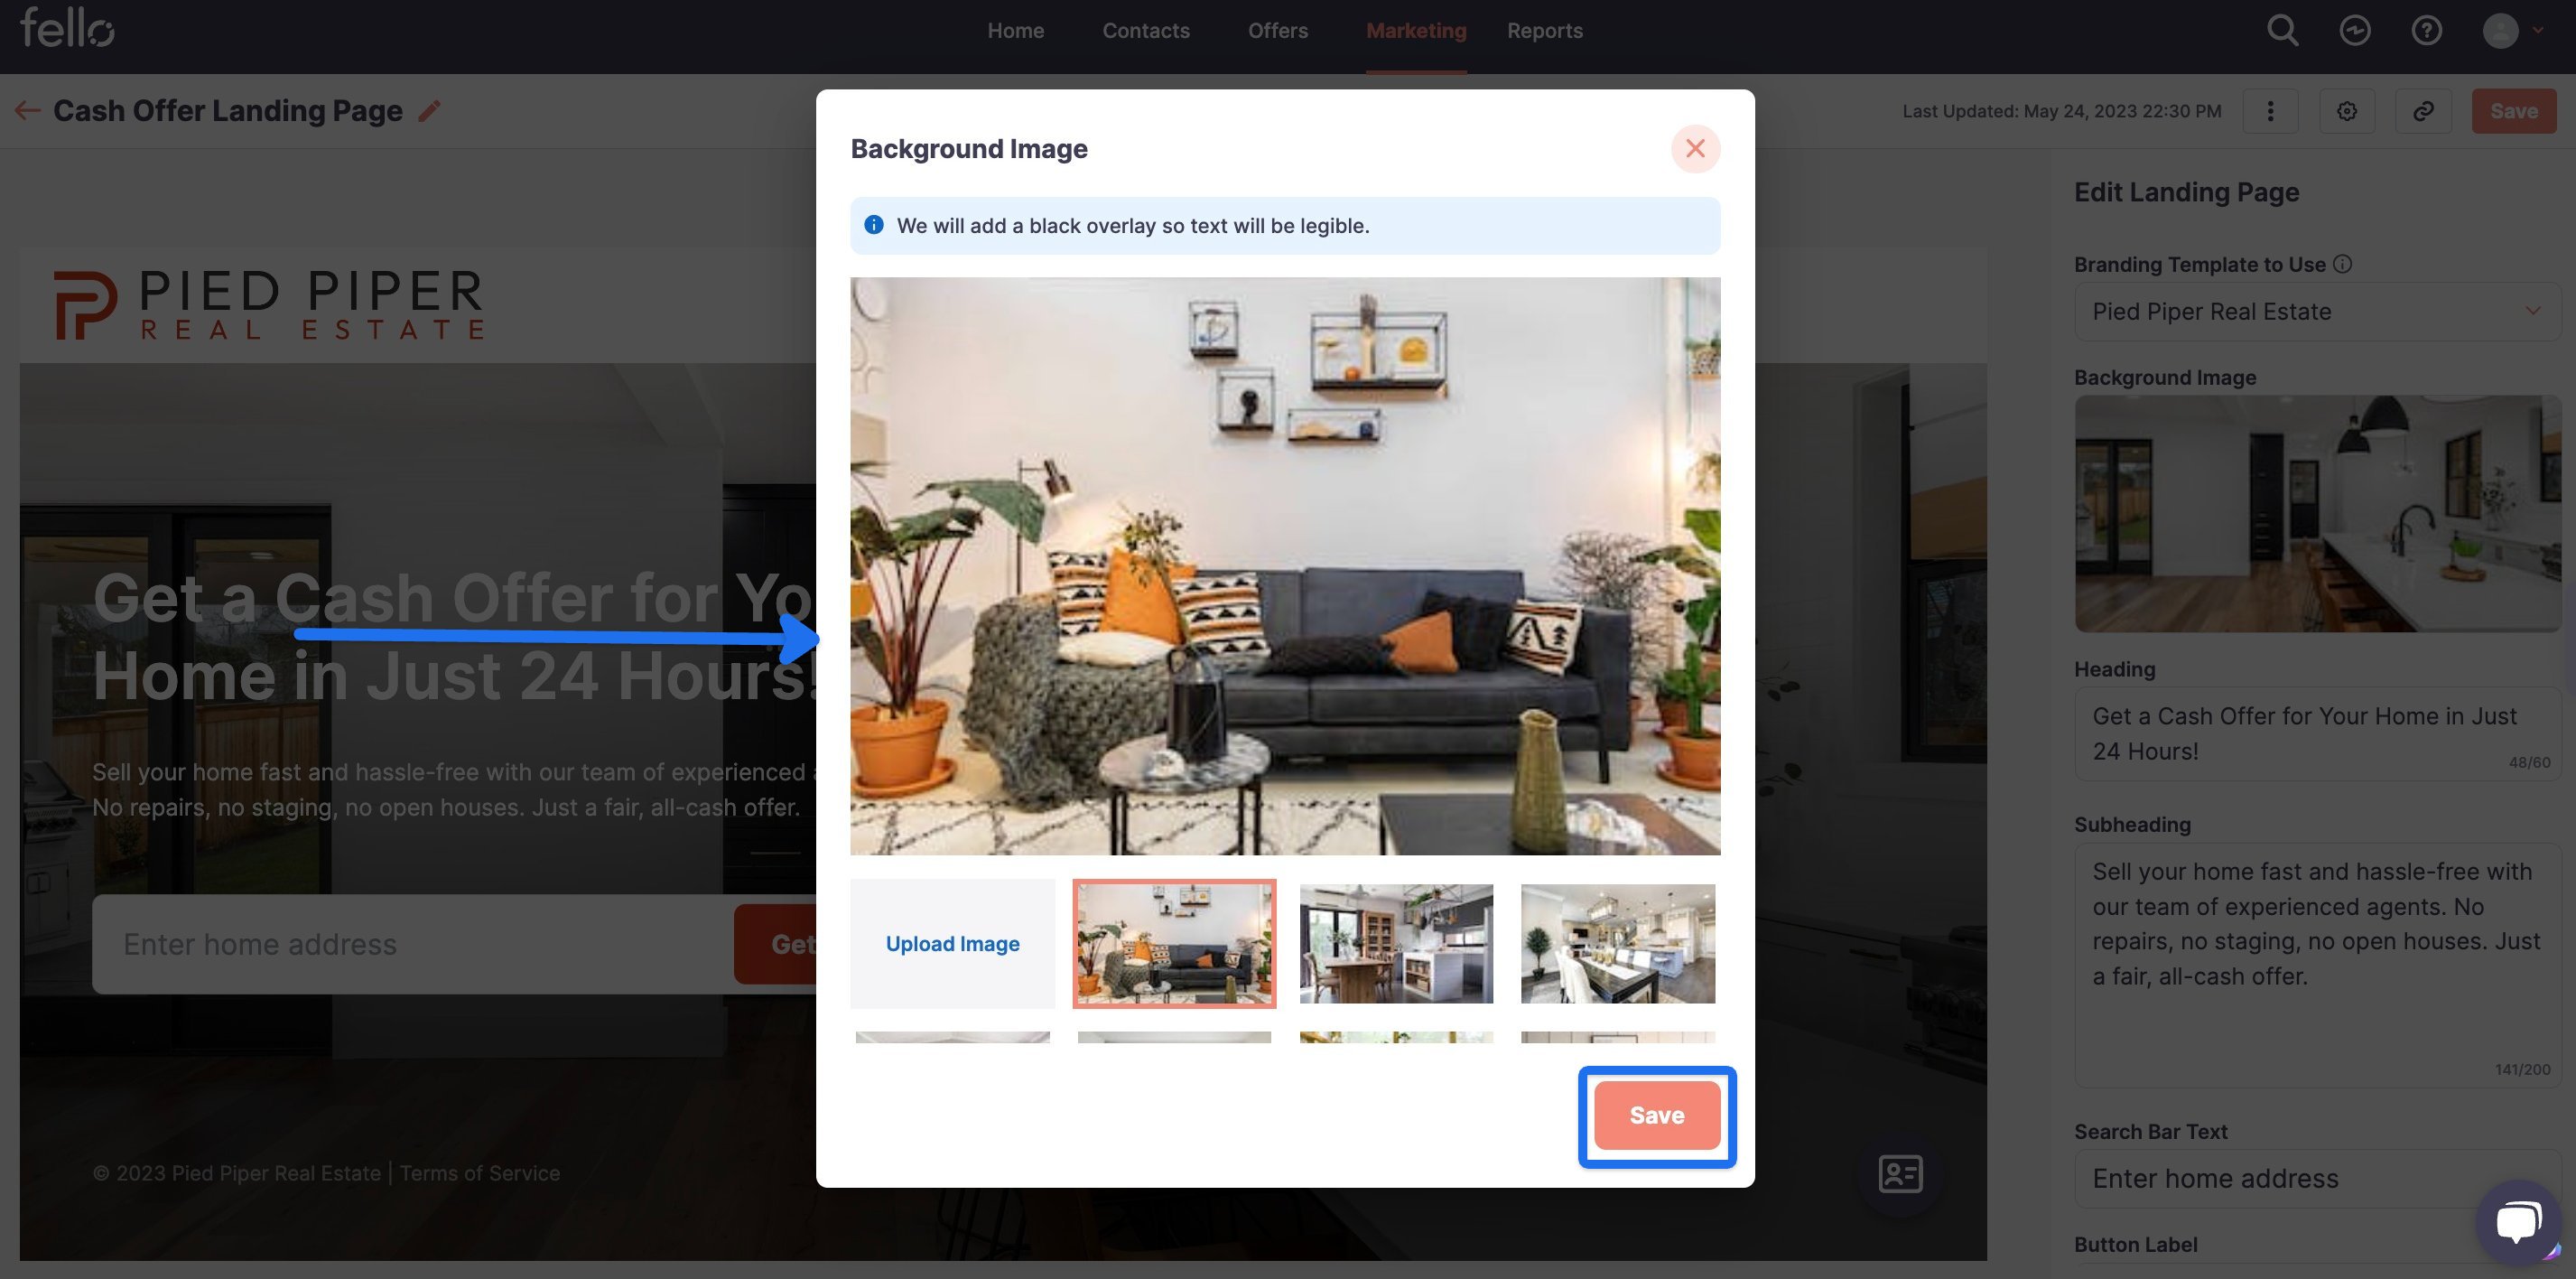
Select the image that you want to use for your Landing Page or upload your own image, then click Save.
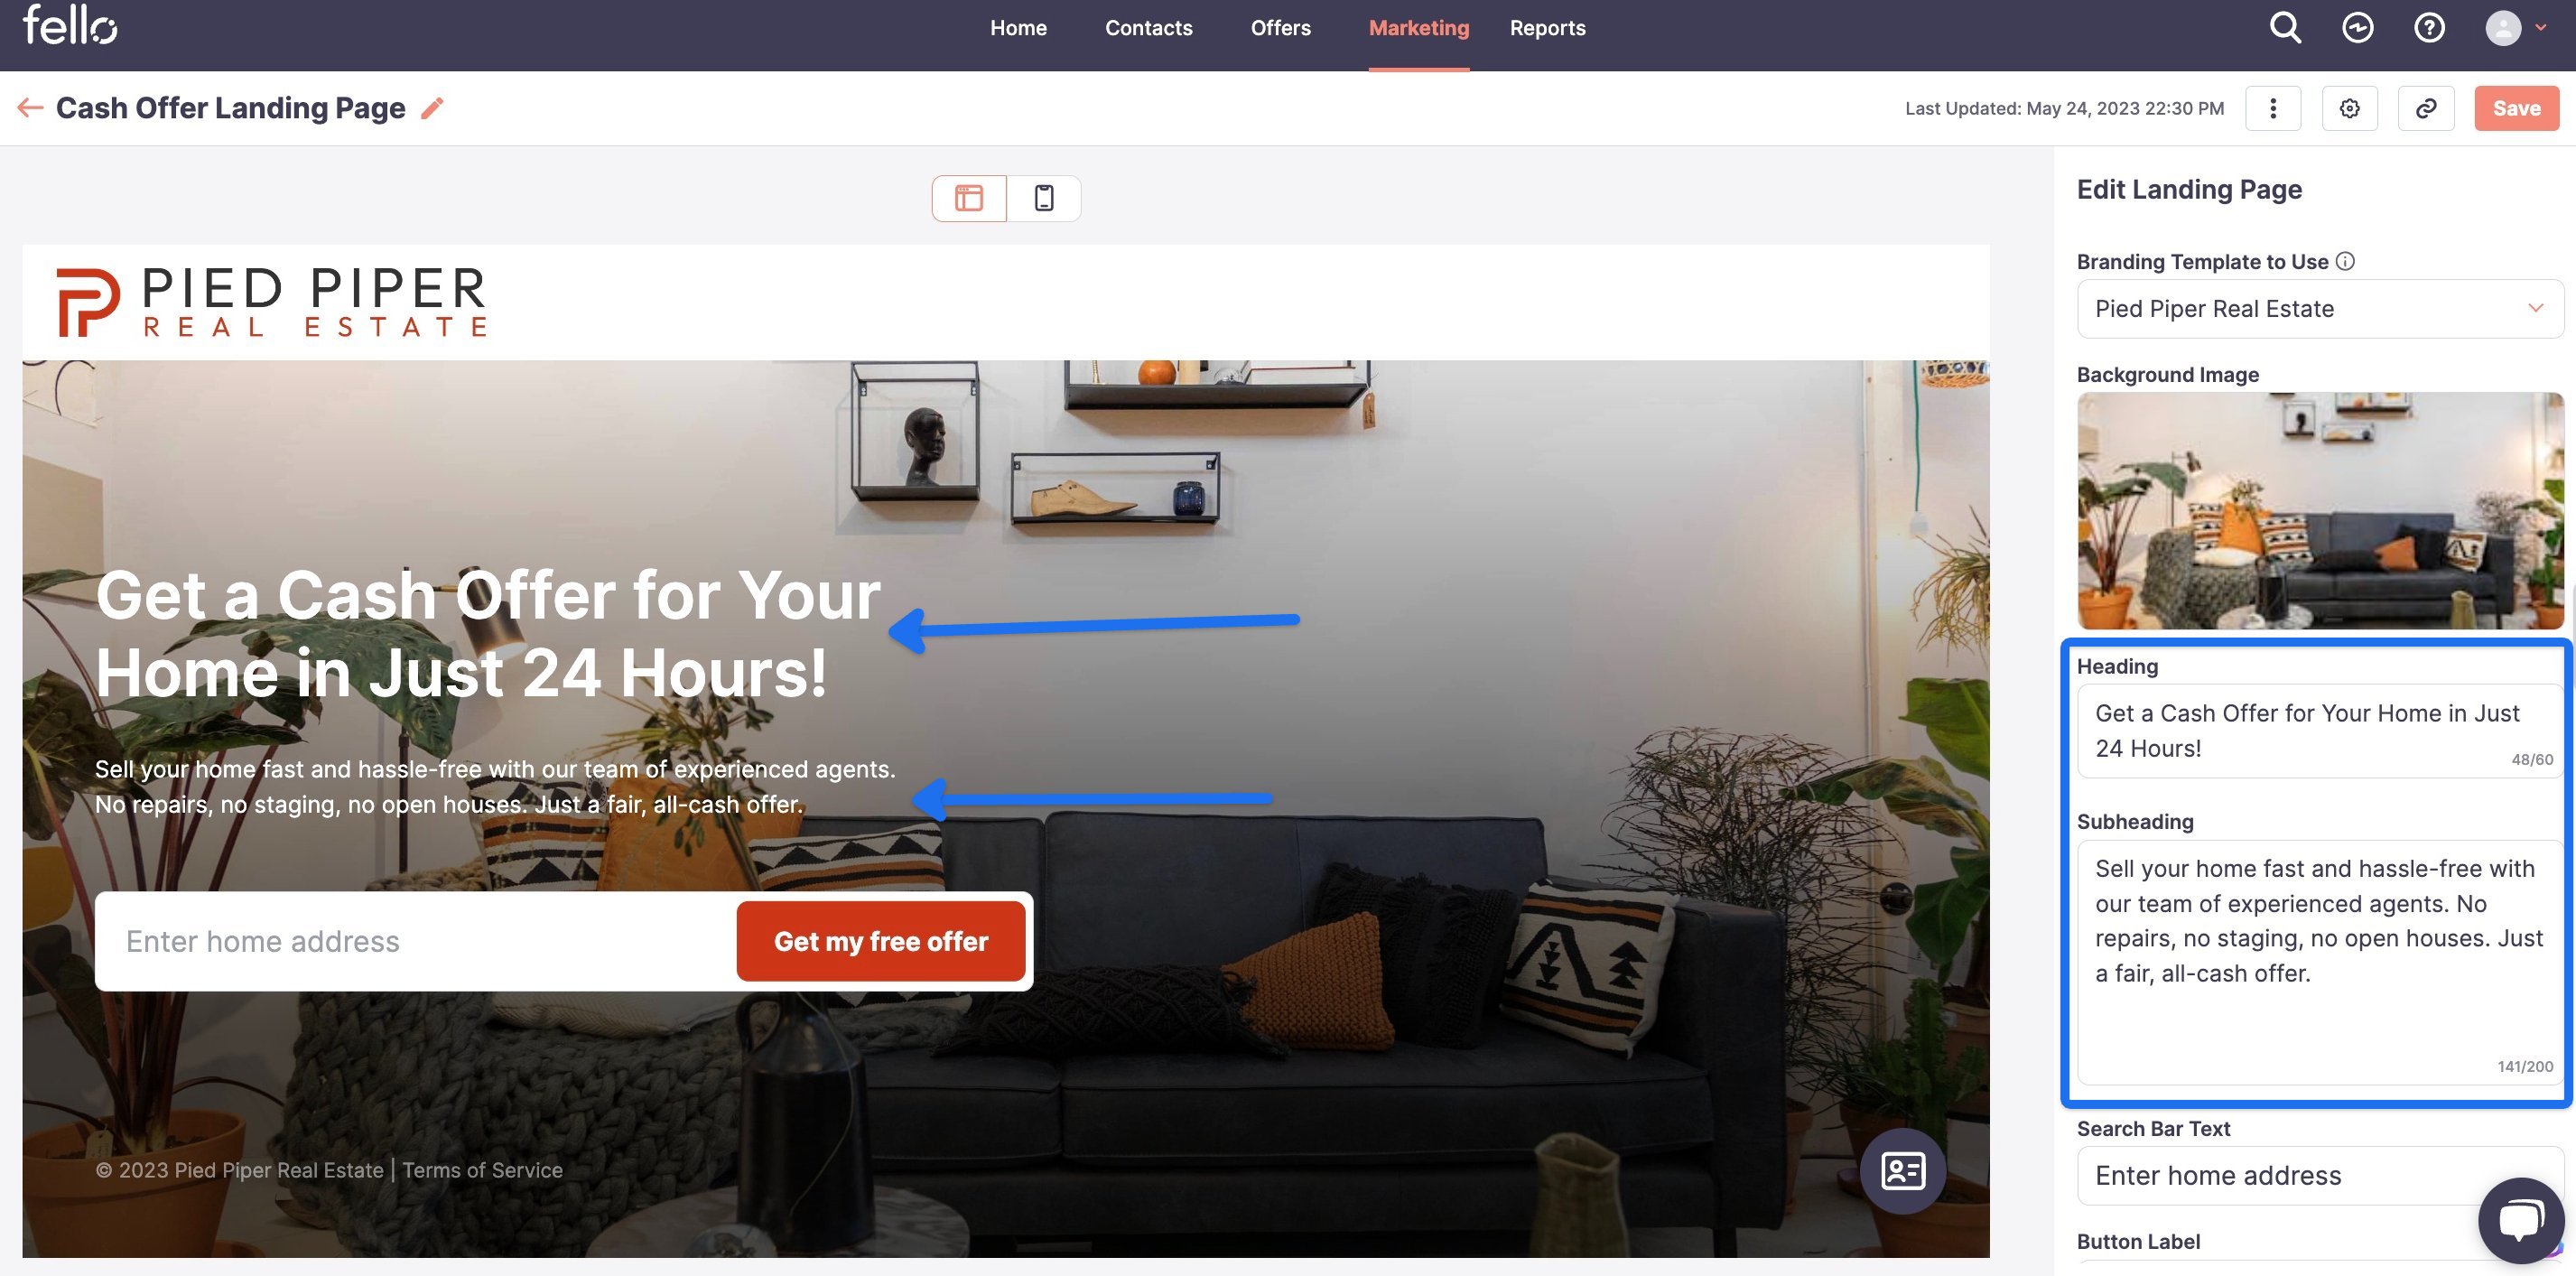
Edit the Heading and Subheading directly in the text boxes. Click Save on the top right to save changes.
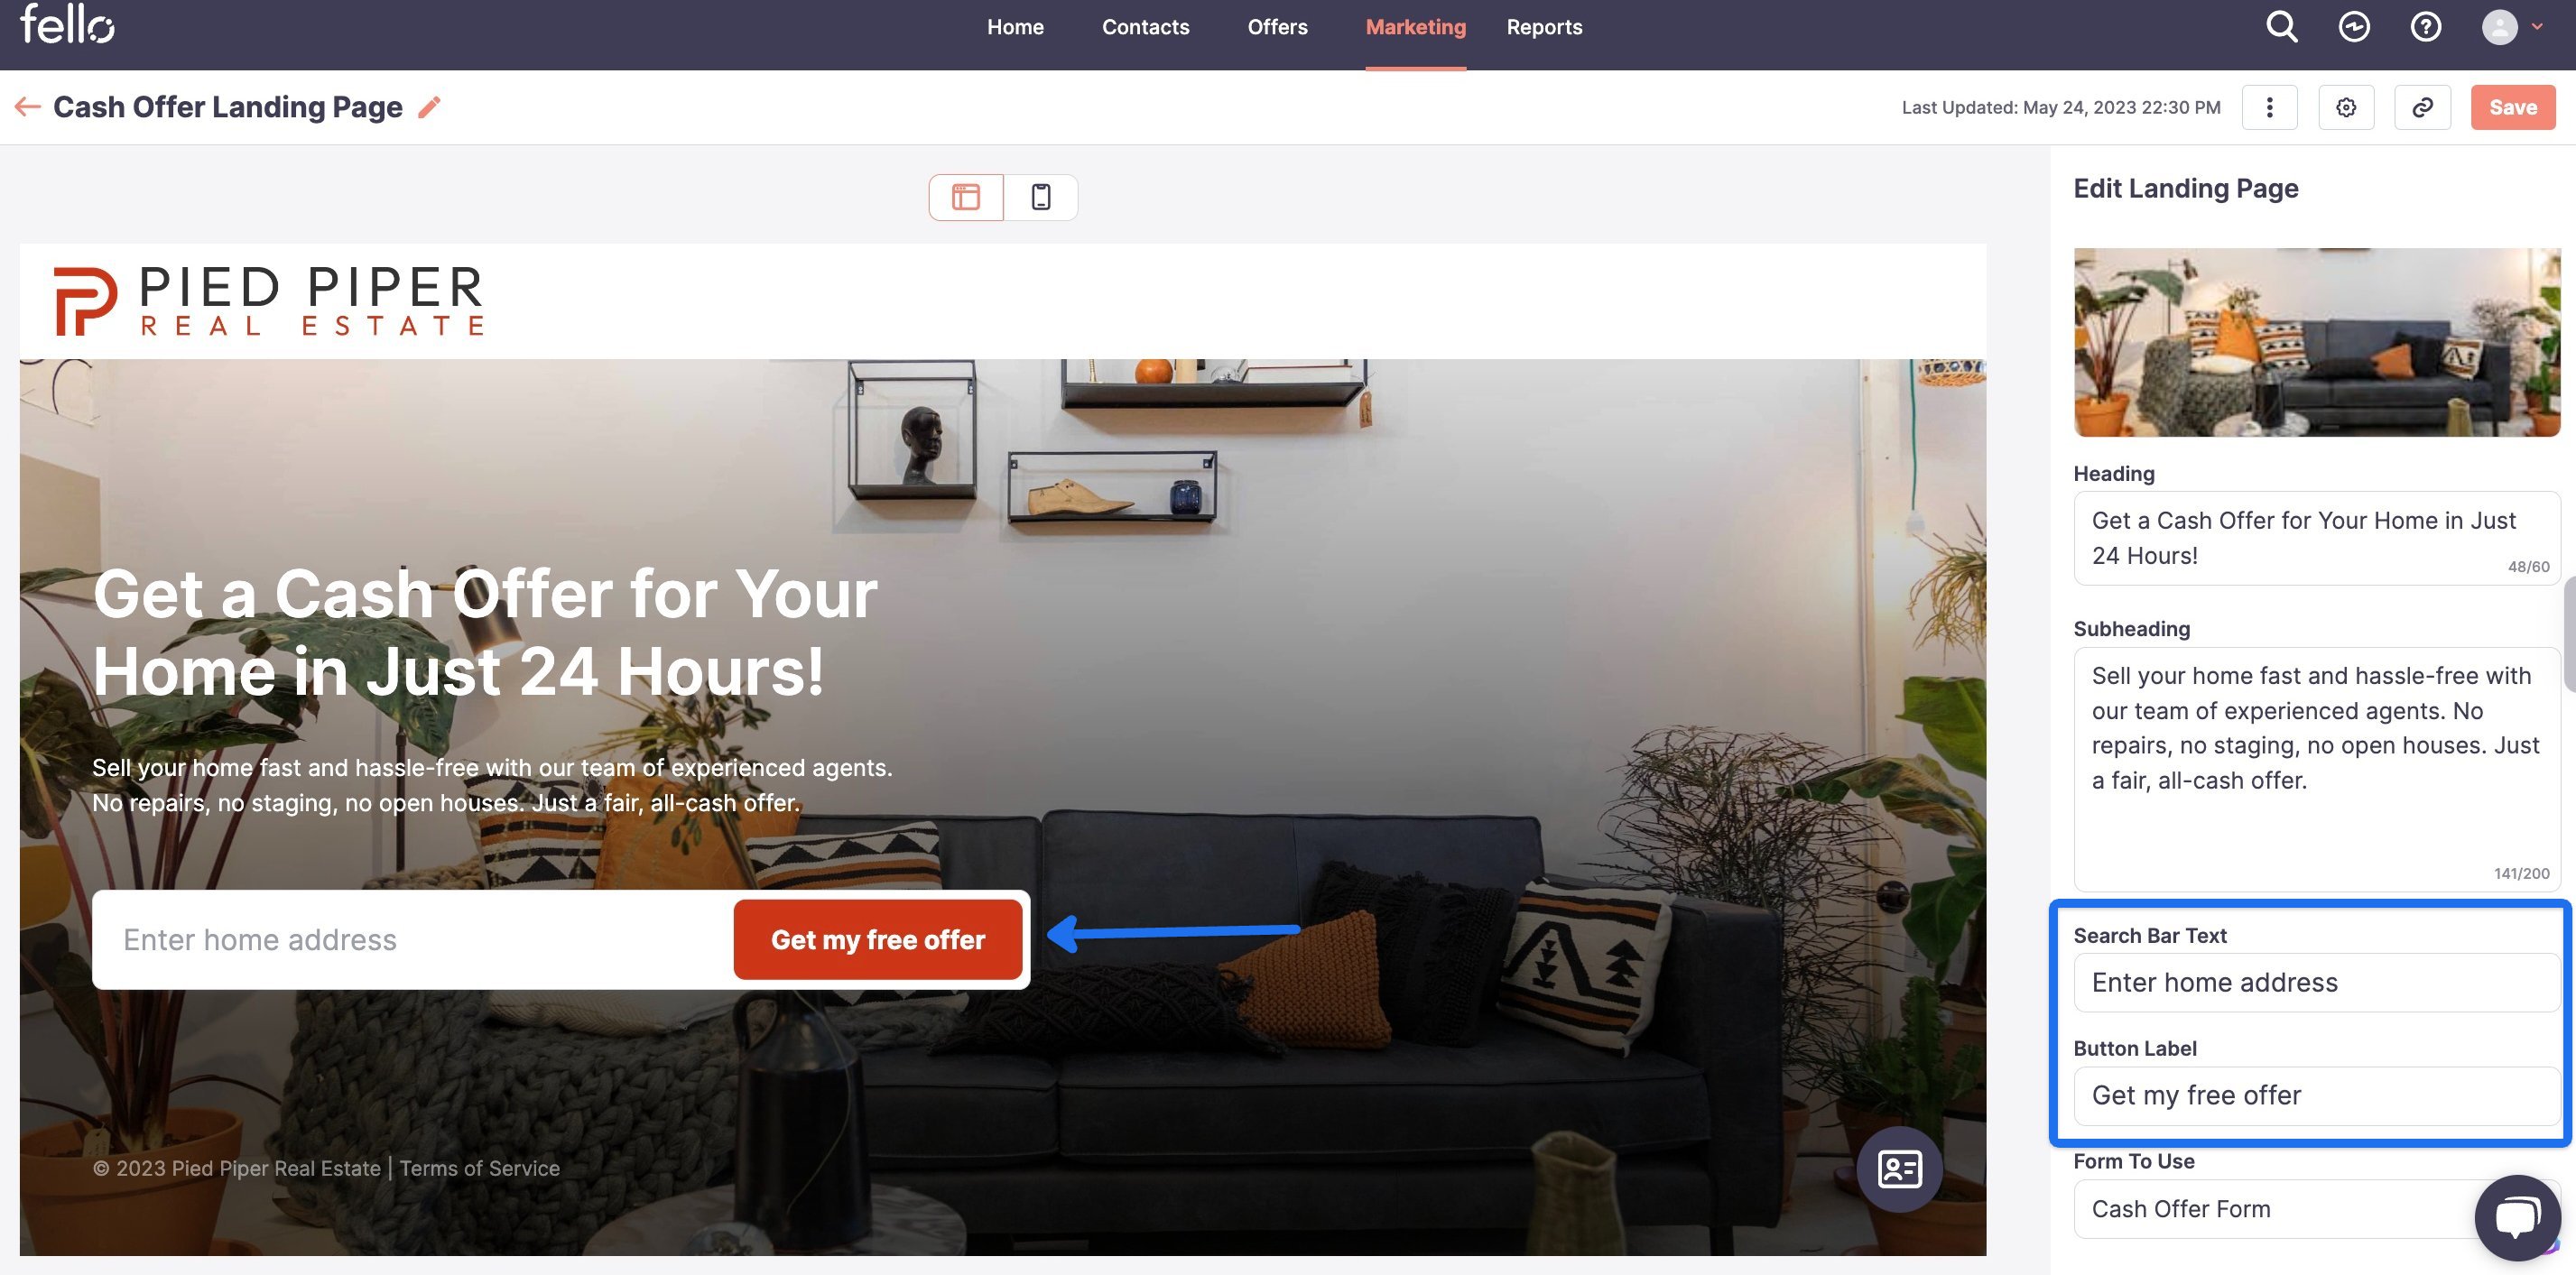
Edit the Search Bar Text and Button Label on the widget directly in the text boxes. Click Save on the top right to save changes.
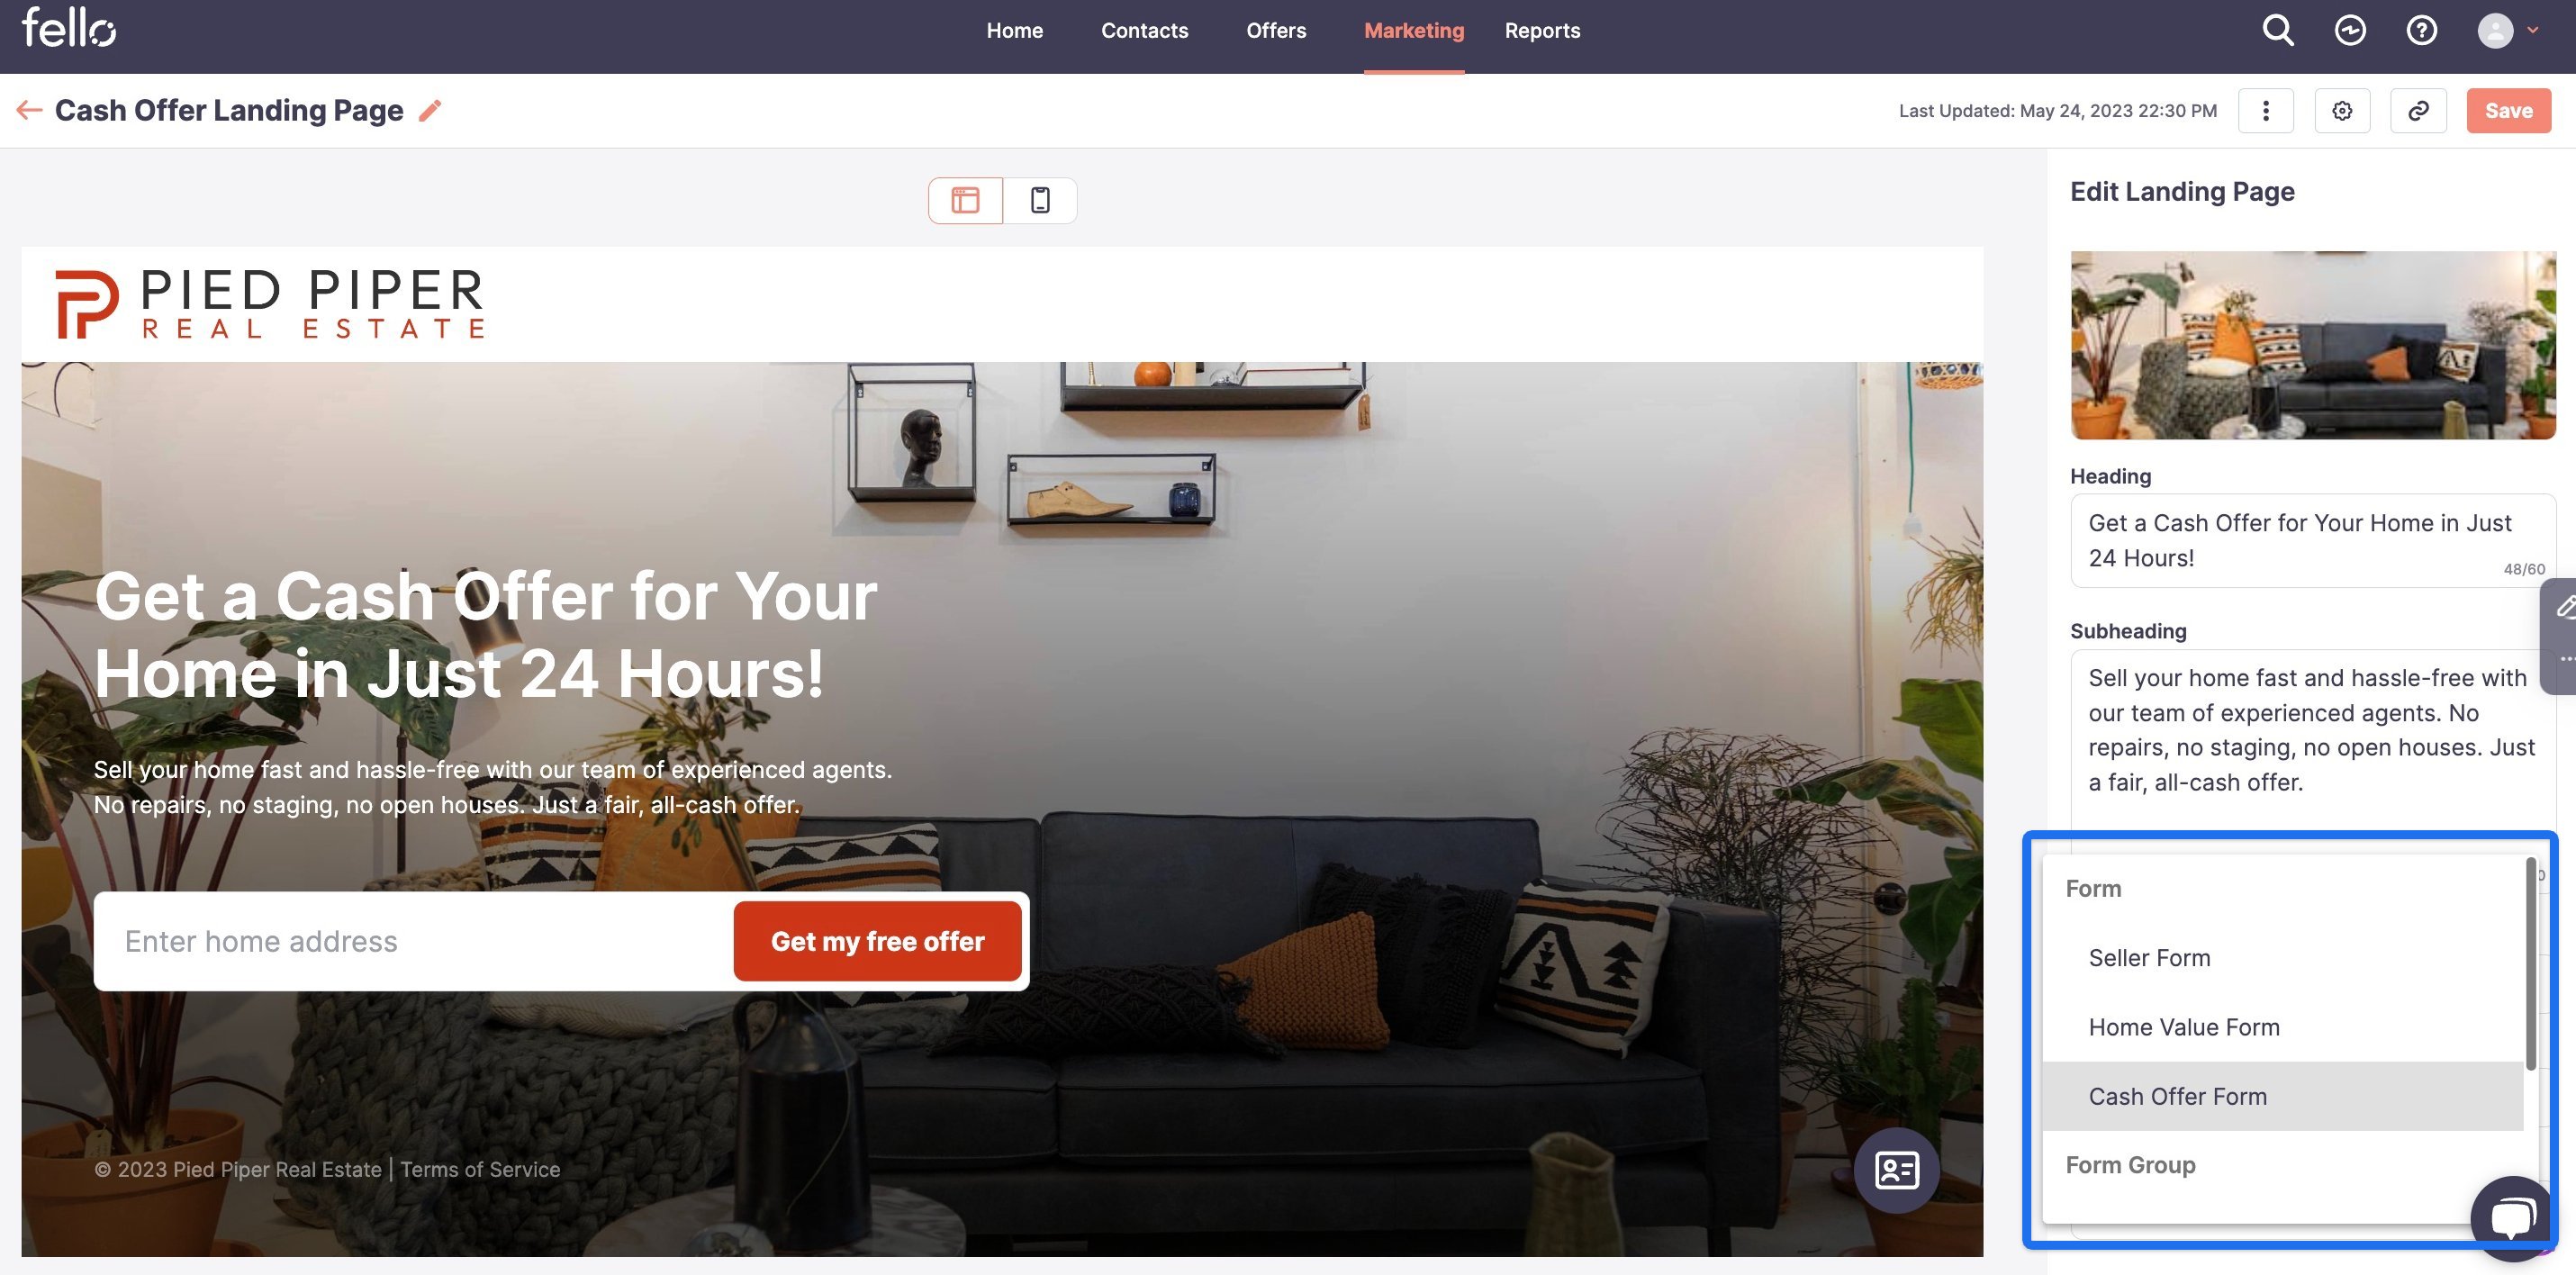
Select which Fello journey the Landing Page will direct leads to in Forms To Use. Choose from groups or single forms. Click Save on the top right to save changes.
Step 6:
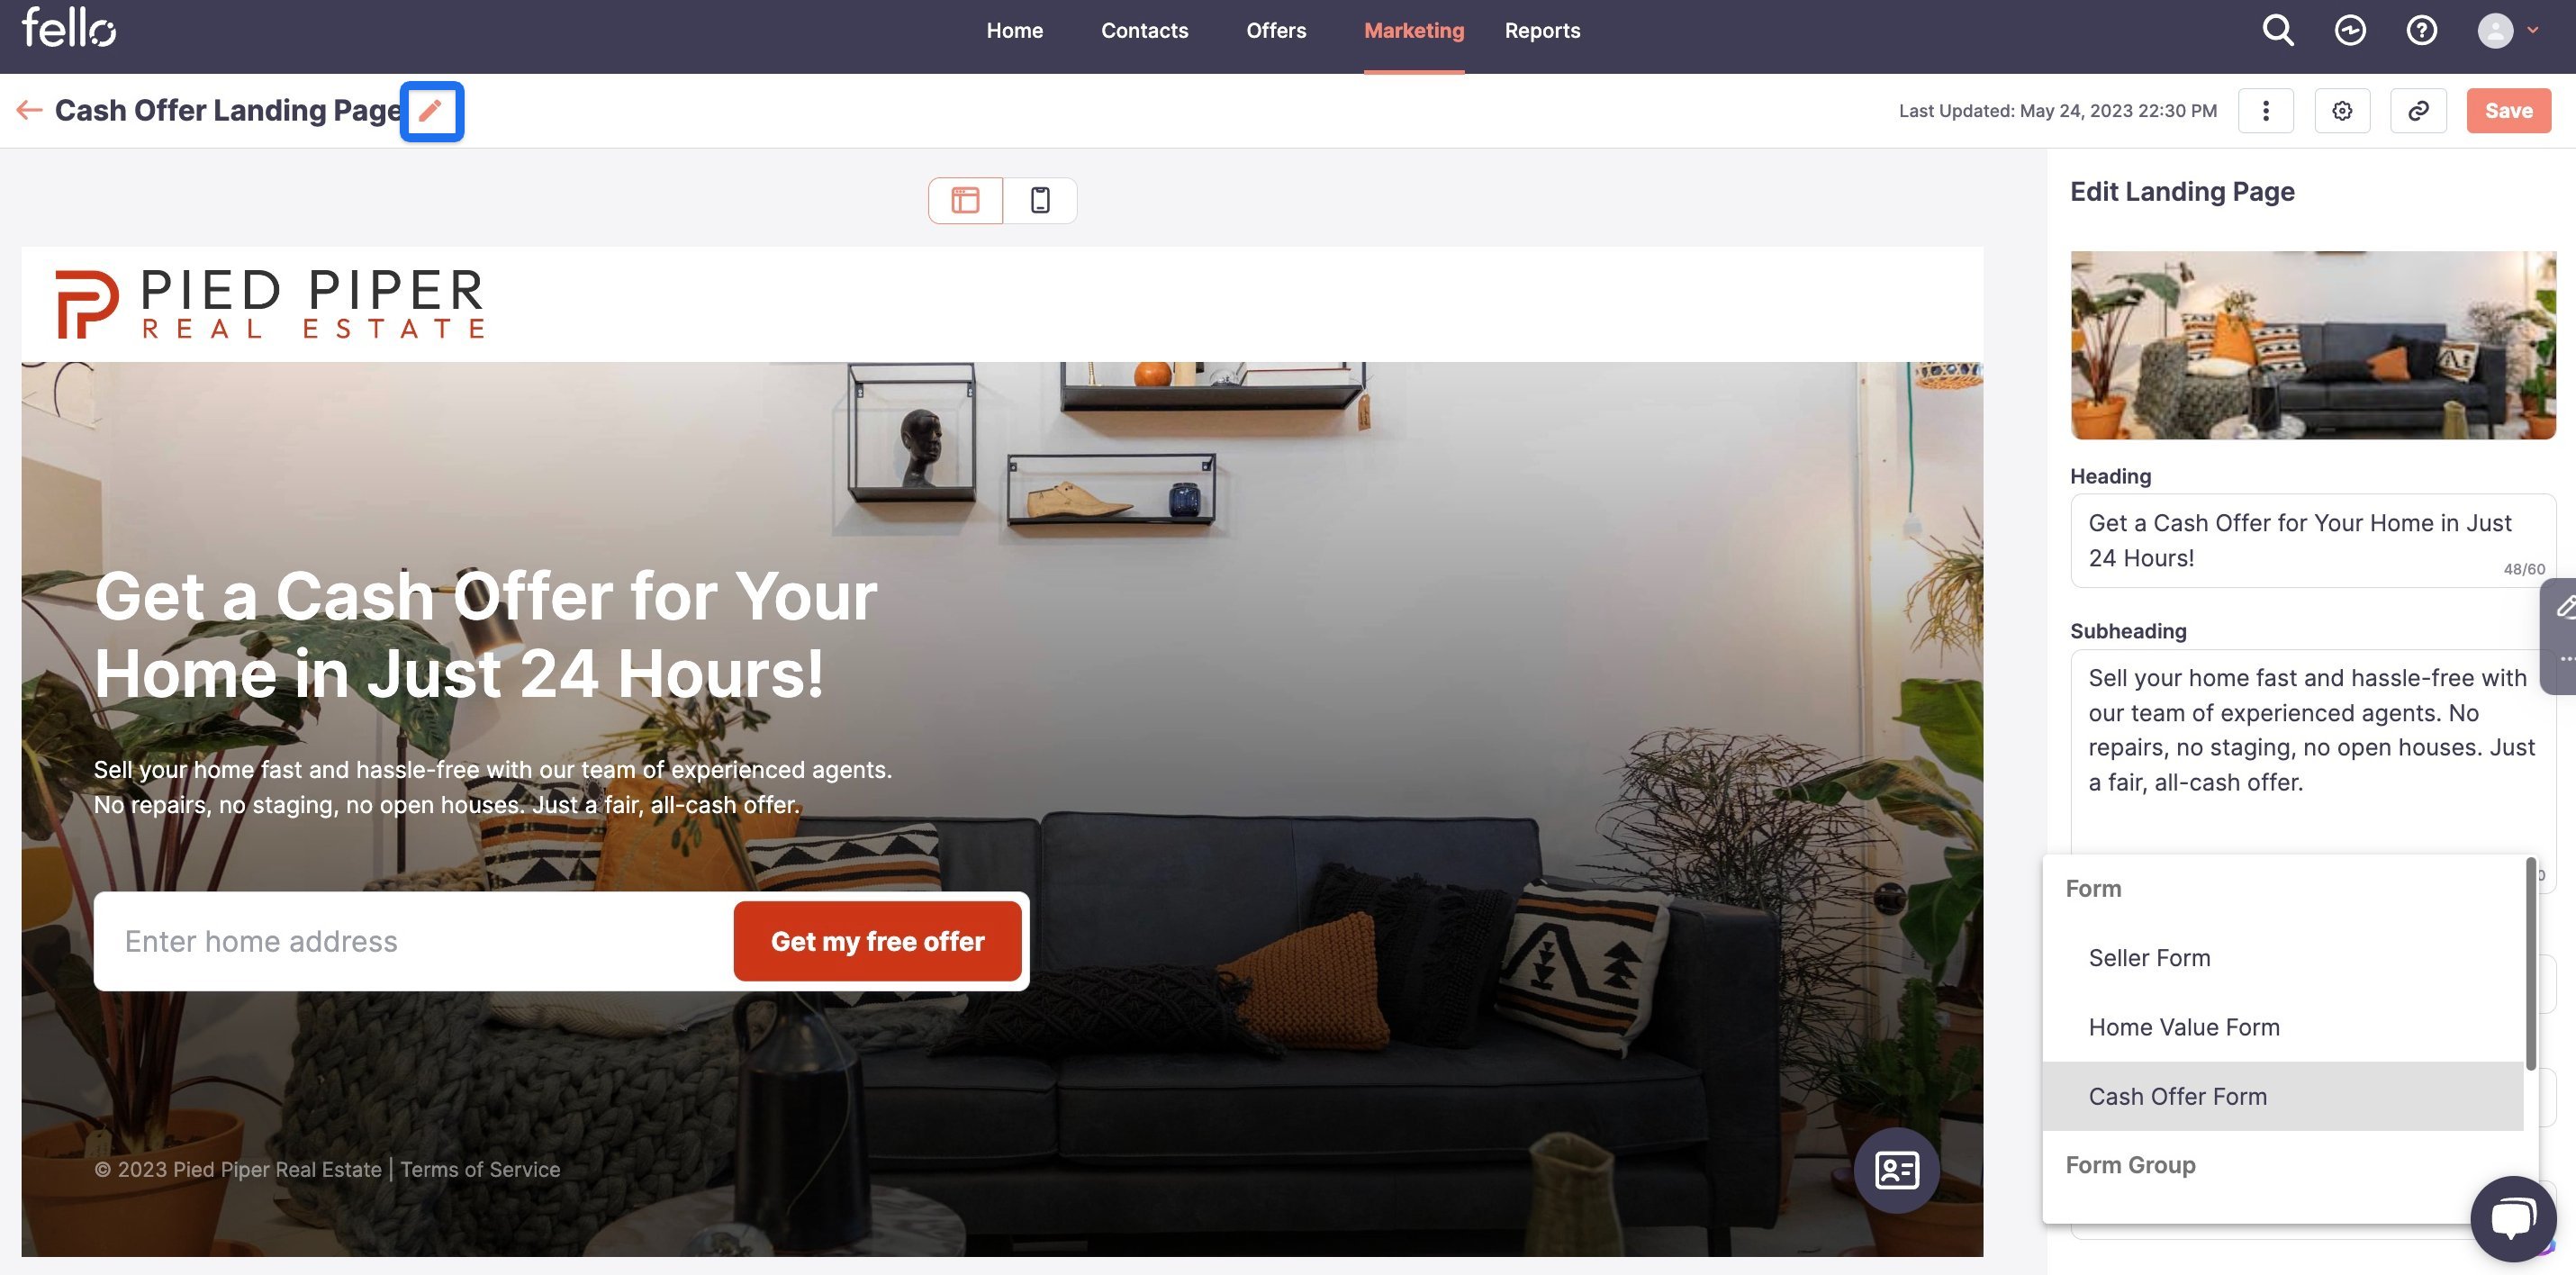
After you have finished customizing the Landing Page, label the page to match its use case by clicking the pen icon on the top left.
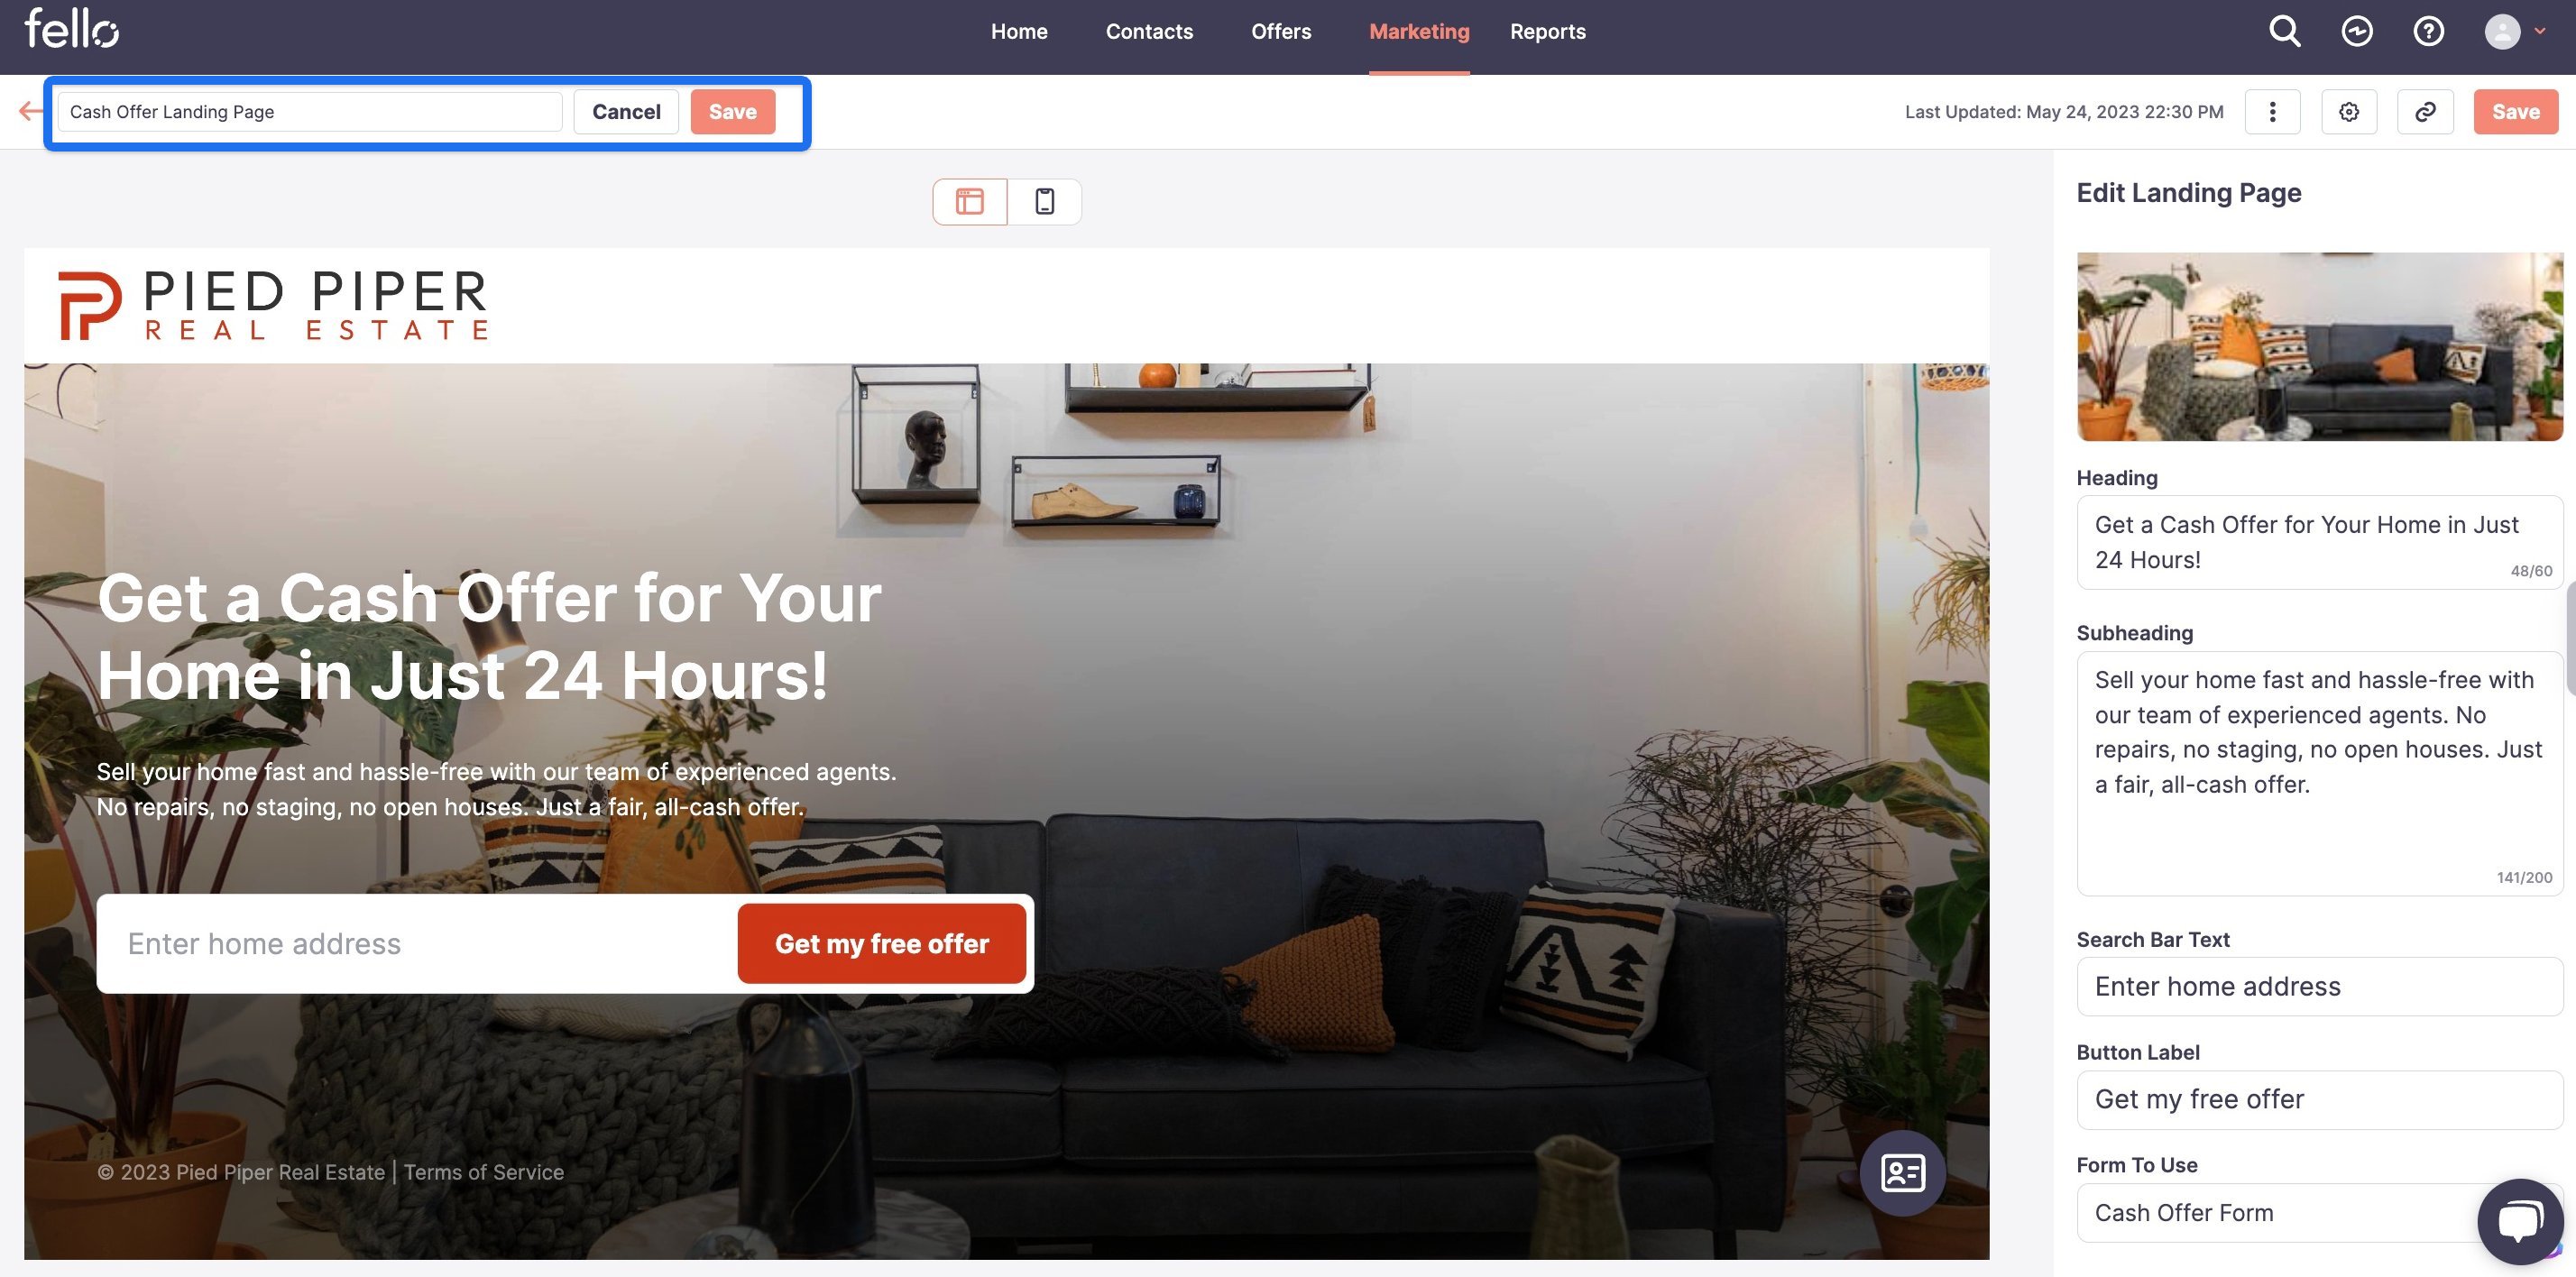
Enter your preferred label and click Save.
Tracking Codes & Social Share settings:
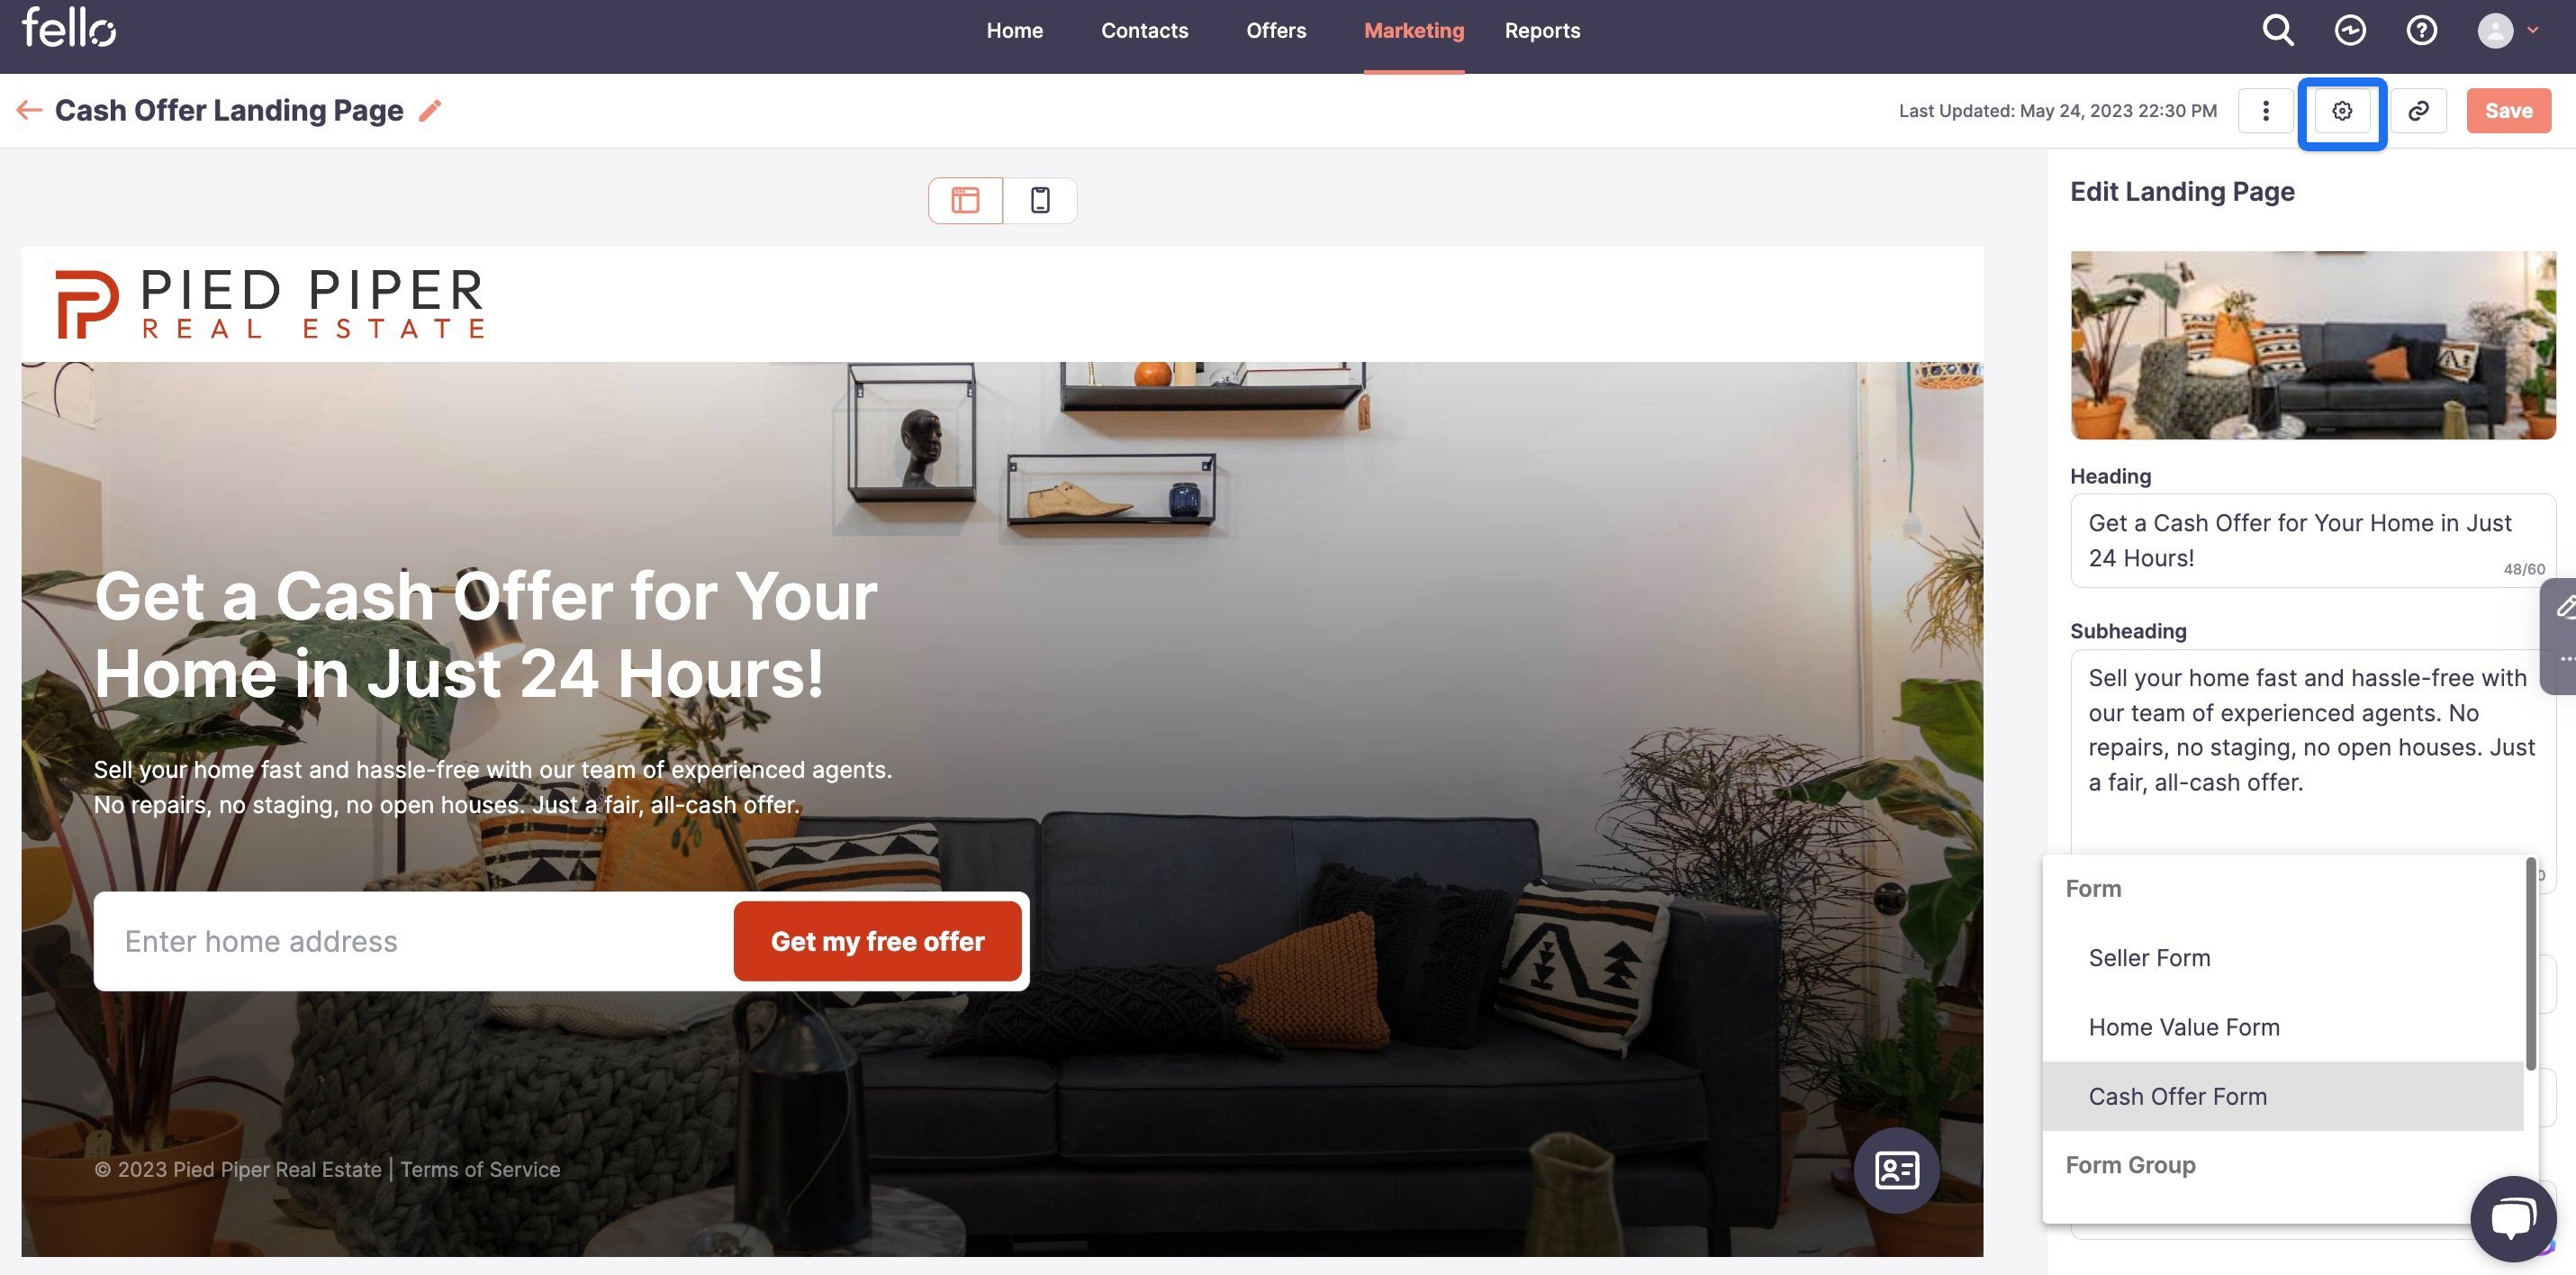
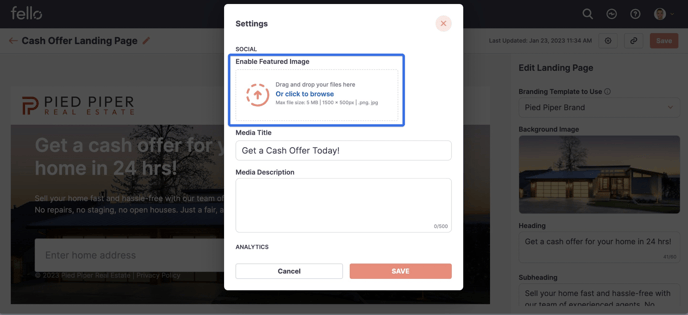
Add Tracking Codes and edit Social Share settings for Landing Pages. Social Share settings refers to the image and text displayed when the Landing Page is shared on social media. Click on the Gear icon in the top right corner.
From the Social section of the popup window, upload your preferred display image.
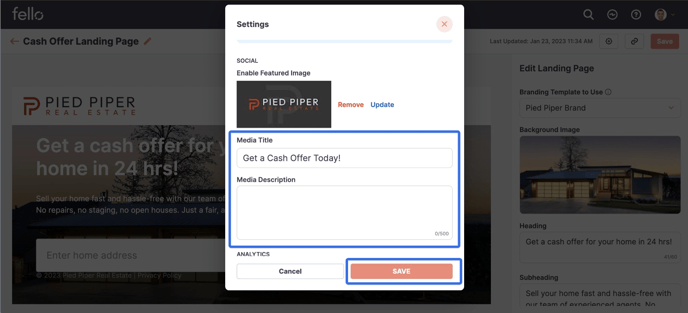
Edit the title and description as you would like it to be displayed on social media posts.
Scroll down to Analytics to paste a Tracking Code from Facebook Pixels or Google Analytics in the box. Click Save.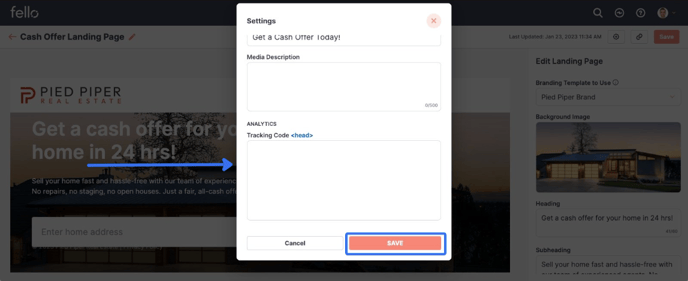
To learn more about how to use Tracking Codes, check out this article.
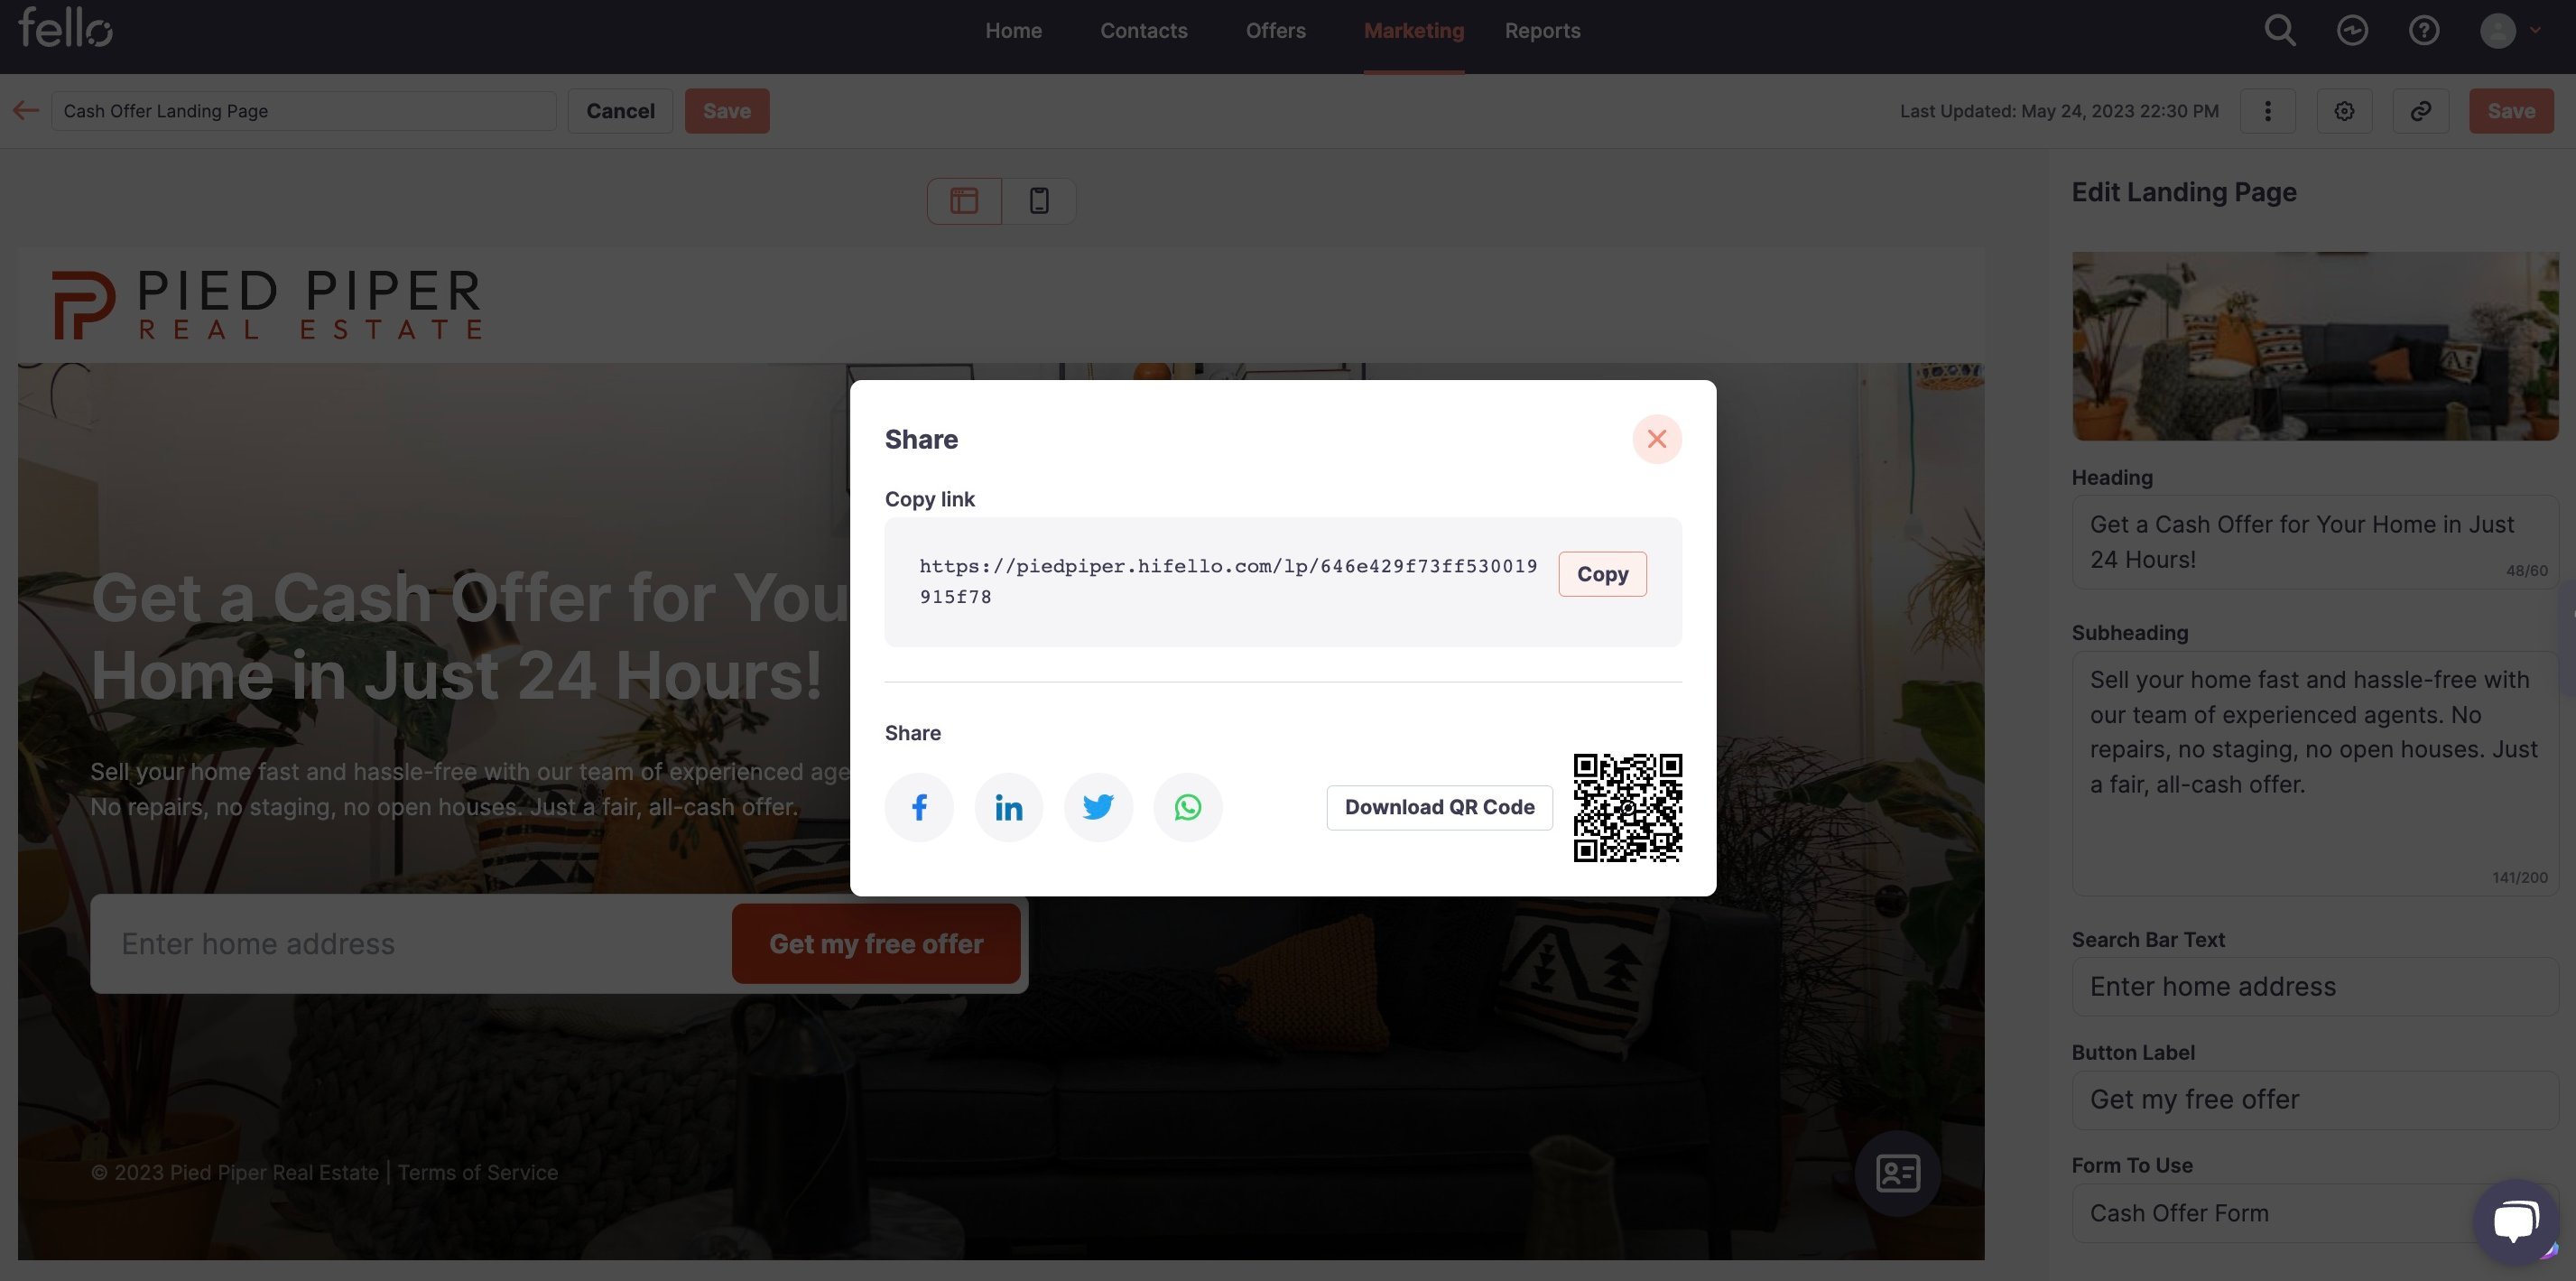
How to access the URL & QR Code connected to the Landing Page:
You can access the Landing Page URL in order to link it to your website or to use it in marketing campaigns by clicking the link icon on the top right. You will also be able to download a QR code that redirects to the Landing Page to use on marketing materials.

Copy the URL and download the QR code from the popup window.