If you want to remove contacts from automations as soon as they don't match the enrollment criteria, then you can use unenrollment triggers. Here's how:
- Go to Marketing > Automations.
- Select an automation and click Edit Automation from the top-right corner. (You can also do this while getting started with a new automation if you don't have an active one already.)
- Click the Edit (Pencil) button near the Enrollment Criteria.

- Navigate to the Unenrollment tab.
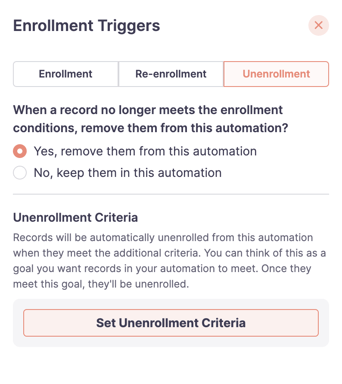
- Select Yes, remove them from this automation.
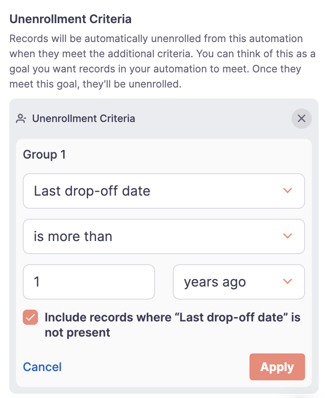
- Click Set Unenrollment Criteria if you'd like to set additional criteria for unenrolling contacts. For example, this could be used to unenroll contacts only when an appointment is set.
- Click Save.
Now, your contacts will be removed from this automation as soon as the unenrollment criteria have been met.
A few points to note:
- Before unenrollment triggers were introduced, the only way to unenroll contacts was by specifying user branch criteria for each stage of an automation. You can still continue to use user branch criteria, but unless you want to use different unenrollment criteria for each stage of the automation, we recommend that you use unenrollment triggers as it's a much faster solution.
- If an automation contains both user branch criteria and unenrollment triggers, contacts will be unenrolled based on whichever criteria is met first.